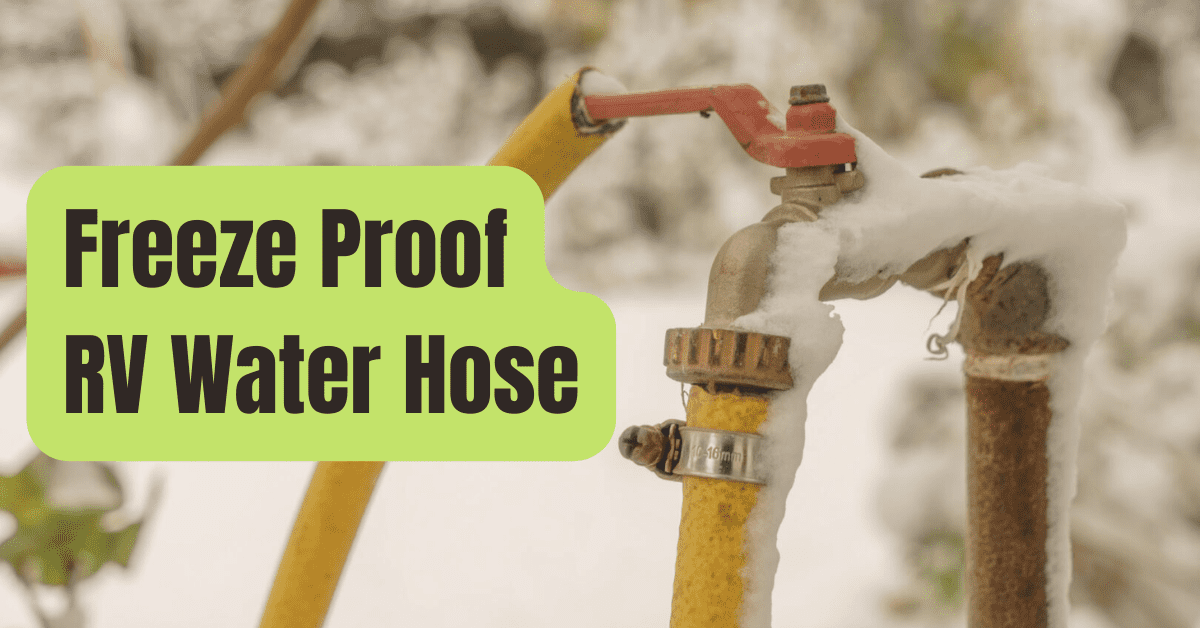
RVing in subfreezing conditions poses a variety of particular difficulties.
One of those difficulties is that the water pipes, from the hose to the tank, might freeze.
The whole system has the potential to crash if left uncontrolled.
We highlight the most efficient techniques to winterize your RV water system so that this doesn’t happen to you.
And we’ll teach you how to rapidly defrost your hose if the unthinkable happens and it freezes over.
Let’s begin immediately!
How Cold Must It Be For Pipes In An RV To Freeze?
At 32oF, water starts to freeze.
RV water pipes will begin to progressively freeze at such temperature.
The freezing process will be accelerated by persistently low temperatures, but if the temperature varies, it may take some time before the system is completely frozen.
The likelihood of your system freezing is rather minimal as long as you keep the lines circulating by using your water often and you’ve properly prepared your camper for winter usage.
However, the danger rises as the temperature drops.
You may completely prevent this issue by being ready for the worst.
DIY RV Water Hose Heater
The first technique is as easy as heating and insulating your current water pipe.
Here are the methods to achieve it correctly:
#1. Use A Heat Cable.
Get enough heat cable to completely cover your hose after measuring its length.
In frigid climates, these wires naturally warm up and provide insulation.
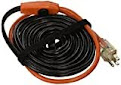
Frost King Automatic Electric Heating Cables
Price:
Shop now on Amazon
If you use this link to buy anything, we could be paid a commission without charging you anything more.
Disconnecting the hose from the water supply will make this step simpler.
To keep the sensor firmly pushed to the hose, use electrical tape.
After that, parallelize the cable on the hose and fix it in place by wrapping tape (around each foot) around it.
Never wrap it around since doing so might cause the hose to overheat and could be damaged.
For optimal safety and efficacy, always refer to the manufacturer’s instructions whenever in doubt.
#2. Insulate Both The Hose And Heat Cable
You may wrap the whole assembly with insulation tubing or pipe wrap after fastening the heating wire to the hose.
This additional covering traps heat and blocks off cold.
Frost King Foil Backed Pipe Wrap
Price:
Shop now on Amazon
If you use this link to buy anything, we could be paid a commission without charging you anything more.
Insulation made of pipe wrap is chosen since it may be bent by your water hose easily.
And it’s as simple as hanging the thermostat and connector for the heat wire from the end of a hose and cable wrapped in insulation.
A word of advice: Avoid wrapping insulation over the thermostat on the heating wire since doing so might prevent the thermostat from turning on the heating system when the temperature falls below a preset level.
If insulating tubing is your preferred option, separate one side of the tube and insert the hose.
It would be much simpler to attach the tubing to the hose if you had purchased self-adhesive tubing.
If not, use duct tape to link the locations where you formed the hole and tape them every one to two feet.
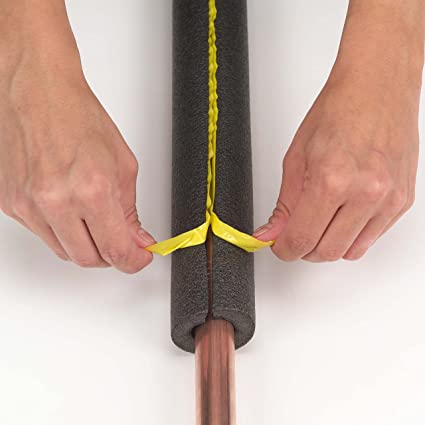
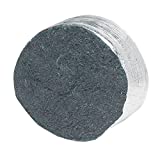
Self-Sealing Tube Pipe Insulation
Price:
Shop now on Amazon
If you use this link to buy anything, we could be paid a commission without charging you anything more.
Having difficulties hiding the hose’s attachment point to your RV? Special foam insulation pieces with 90o angles are available and fit properly.
#3. Cover The Foam With Insulation Tape
Insulation tape includes a metalized coating and a special, frost-resistant adhesive.
Wrap the tape around the hose beginning at one end and overlapping it by half an inch with each coil until the other end is covered.
#4. Attach The Heat Cable To An Electrical Source.
You inserted a heating wire that is powered by electricity.
You may hook the cable into any nearby power source or one of your RV’s outlets after the hose has been completely insulated.
When the sensor determines that the temperature is low enough, the heater begins to operate.
#5. Reattach The Hose To The Water Supply And Pump System In Your RV.
The water tank port on your RV should receive the hose.
Next, connect the port’s other end to a neighboring pump system.
Before opening the valves, make sure all connections are solid.
To be cautious, you may add water to your tank before cutting the line to stop it from freezing.
Even though it could be a little more labor, you won’t have to worry about manually using a heat gun to defrost a frozen hose.
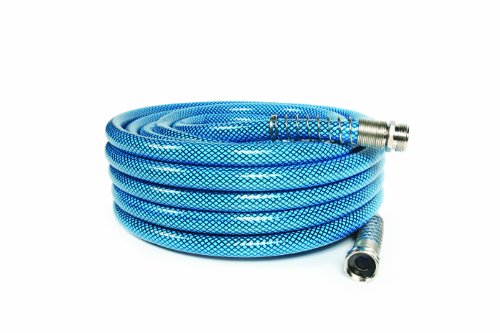
Heated Water Hose by Camco
Not a DIY fan? Not to worry! Get yourself an RV hose with built-in heating and insulation as an option.
A specific RV hose has a sensor that detects cooler temperatures and immediately activates the heating, similar to a heating wire.
Get a model that has a drinking water-safe certification and complies with NSF-61 criteria if you want to use the hose to provide drinking water.
We advise the Camco Heated Drinking Water Hose despite the fact that there are a few other brands of heated water hoses available.
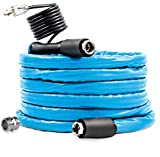
Camco TASTEPure Heated Drinking Water Hose
Price:
Shop now on Amazon
If you use this link to buy anything, we could be paid a commission without charging you anything more.
This specific hose is a lead- and BPA-free drinking water hose that has earned the NSF-61 certification! It comes in lengths of 12, 25, and 50 feet.
It is available in two different protection levels: -20 degrees and -40 degrees.
When Not In Use, Store The RV Water Hose.
While the aforementioned techniques work well if you leave your hose permanently attached to a water source, remember that you can always just unplug it when not in use.
In other words, connect your hose to the municipal water system and almost fill your fresh water tank.
After that, take the hose off and keep it inside your camper.
Your hose and connectors won’t freeze over as a result of this.
The only drawback to this approach is that if you use a lot of water, you’ll need to constantly take out your hose, connect it, fill up your tanks, take the hose off, and store it.
Still, dealing with a frozen hose is preferable!
How to Defrost a Water Hose in an RV
A frozen RV water hose can be unavoidable if you remain in exceptionally cold weather for an extended period of time.
Here’s what you have to do to have it fixed quickly:
#1. Use A Heat Gun First
The hose must be disconnected and brought inside your RV to defrost.
It’s possible that some of its connections are too frozen to undo.
To prevent the hose from being harmed when you detach it, use a heat gun on each of these surfaces.
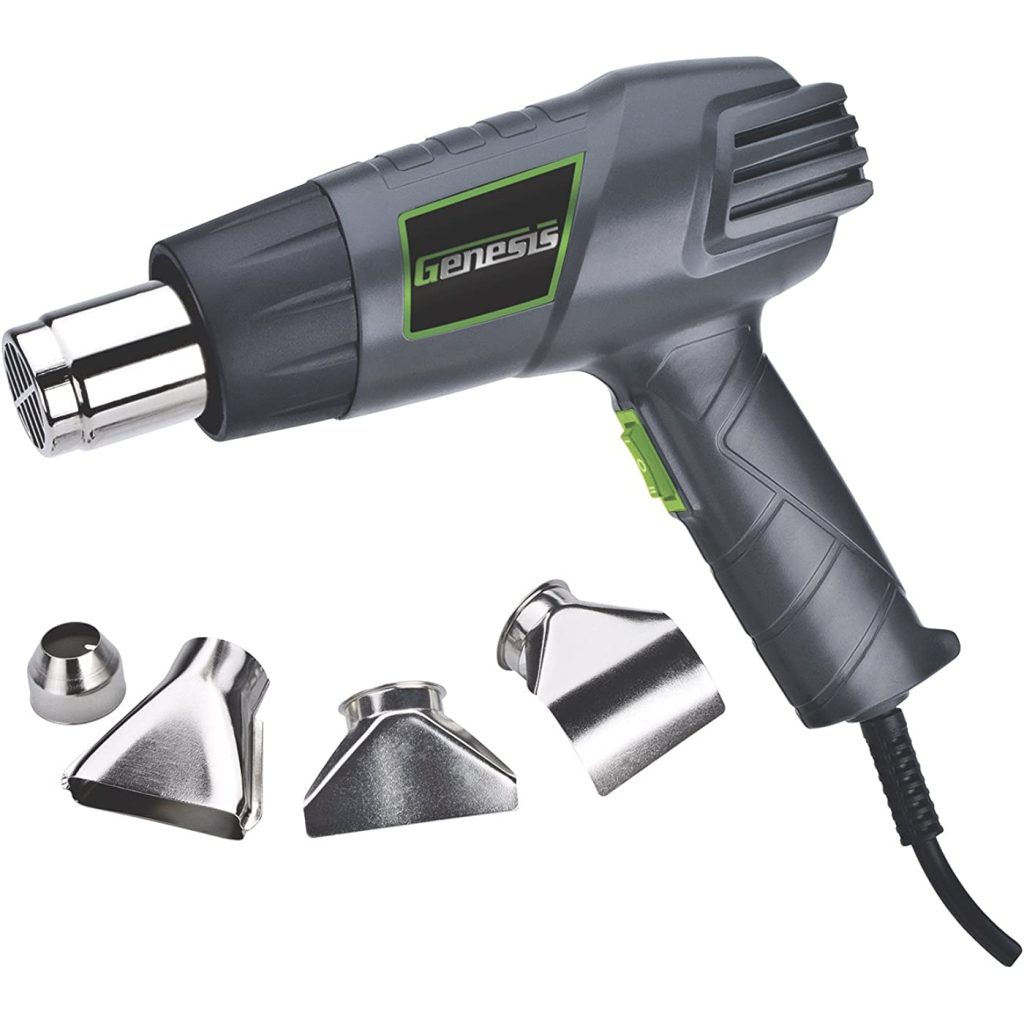
Heat Gun Dual Temperature Settings
Price:
Shop now on Amazon
If you use this link to buy anything, we could be paid a commission without charging you anything more.
If a hairdryer is nearby, that ought to work as well.
#2. Disconnect the Hose
Make sure that each valve is shut all the way before unscrewing your hose from every port.
Rotate the hose’s ends in a counterclockwise direction to begin loosening it, and then carefully pull it away.
Applying too much force during this procedure might harm your hose since it is more vulnerable to damage while it is frozen.
Use a heat gun to further defrost a frozen portion of the hose if you’re having trouble detaching it.
#3. Include a Hose With Your RV
Bring your frozen hose inside after unscrewing it.
Using your heat gun or cranking up your RV’s heater can expedite the procedure.
Place it in a location where the melted water won’t cause a mess (bathroom, kitchen sink, etc.)
#4. Examine Any Damage
Before reconnecting your hose, be sure it is not damaged.
Water expands when it freezes, creating an internal force that may strain, break, and tear the hose.
The hose may be reattached to the water lines if it is undamaged.
We don’t recommend using a damaged hose for drinking water in particular.
This is why we always advise carrying an extra water hose in your RV.
Camco Premium Drinking Water Hose
Price:
Shop now on Amazon
If you use this link to buy anything, we could be paid a commission without charging you anything more.
How Should My RV Water System Be Winterized?
While your water hose is most susceptible to freezing, it’s a good idea to prevent the pipes in your RV from freezing as well as the tanks and other infrastructure.
Particularly if you venture outside in the cold a lot.
Oh, and prevent the sewage hose on your RV from freezing (trust us, not a fun one to dethaw and clean).
#1. Use A Thermal Skirt
Your RV’s waterlines and external valves are exposed to the weather.
Not to mention that the flooring of your camper allows chilly air from beneath to enter.
You may fix this by wrapping your RV with an insulated skirt.
There are several ways to do this:
- Wrap the edge with vinyl siding, insulating foam boards, or even hay bales (hay bales are not recommended though as they can attract mice and other rodents).
- To discover whether they have a skirt built for your model, ask the manufacturer of your car.
- Your camper should have universal RV skirting installed around it.
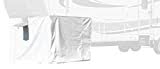
Adco Polar White RV Wheel Skirt
Price:
Shop now on Amazon
If you use this link to buy anything, we could be paid a commission without charging you anything more.
#2. Utilize A Space Heater
The water valves on the majority of RVs are located in outside compartments.
Due to the chambers always receiving residual heat anytime your RV is turned on, these valves are less likely to overheat.
However, if the temperature drops too low, they might freeze.
The inside of the wet bay may be adequately heated by installing a heat lamp or space heater.
Use the heating only when necessary to save electricity.
Important: Never leave a space heater on in an unattended RV!
#3. Install A Heater For A Holding Tank
Attachable pads called holding tank warmers save your tanks from freezing.
Plug in the heater and connect it to your water holding tanks if the temperature falls below 32 degrees Fahrenheit.
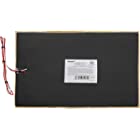
Facon 12″ x 18″ RV Holding Tank Heater Pad
Price:
Shop now on Amazon
If you use this link to buy anything, we could be paid a commission without charging you anything more.
Keep your water tank as close to full as you can, on average.
To lessen the chance of freezing, keep the valves on your black and grey tanks closed and only empty them when they are almost full.
A completely empty tank is more likely to freeze and could even develop ice buildup in the line and valves.
Make sure your hoses, pipes, and other plumbing components don’t freeze even if you’re winterizing your RV for the year to store it.
For all the information, see our winterizing a camper guide!