Cell phone signal boosters increase 3G and 4G LTE signals to improve cell coverage and prevent lost calls.
The optimum mobile signal coverage in your home, business, or car is ensured by proper installation.
Poor installation, on the other hand, will have a negative impact on your coverage area and uplink power.
The installation procedure is broken down into many easy phases.
Let’s look at how to set up a mobile phone signal booster in your house, vehicle, or RV.
For each case, we provide comprehensive mobile phone signal booster kits:
Small office or at home
A car, a truck, a recreational vehicle, or a boat
Commercial structures
Owners of businesses and properties, as well as installers and integrators, should take note.
How to Set Up a Signal Booster at Home
It is not difficult to install a home mobile phone booster; you do not need to be an expert cellular signal booster installation to complete the work.
If you truly despise the thought of installing a booster yourself, Wilson Electronics’ weBoost Installed Home Complete includes free expert installation.
You’ll need a ladder, your smartphone, a Phillips-head screwdriver, and an adjustable wrench if you opt to do it yourself.
Step 1: Outside Your House, Find The Best Cellular Signal.
An external antenna is used by cell phone signal boosters, also known as repeaters and extenders, to capture the existing weak signal.
The power of the signal being broadcast might be affected by its location.
As a result, the antenna should be placed in an area with the strongest signal.
As a result, it’s critical to locate the strongest signal before placing the antenna.
Walk around your house and use the following to test the outside signal:
- Signal bars on your phone: The antenna should be installed on the side of your house that has the most bars available. However, it’s crucial to remember that, although phone bars are a useful tool for determining signal strength, they are subjective metrics. Sprint’s threshold may be four for Verizon, three for AT&T, and two for T-Mobile. This is due to the lack of a standard for the degree of signal intensity that each bar indicates.
- dBm measures: You’ll get the most accurate signal strength readings if you use dBm measurements. The strength of a mobile signal may vary from -50 to -120 dBm, with -50 dBm indicating full bars and -120 dBm indicating no signal. The side of your house with the highest dBm measurement is where you’ll want to put your antenna. Your dBm measurement may be found in your Android device’s settings or in the Field Test Mode menu for iPhones.
Using Your Phone to Get dB Readings
For iPhone Users:
Make sure you are not connected to WiFi or a Hotspot → Dial *3001#12345#* → Press the Call Button → Field Test Menu will Appear → Drag Down Notifications Bar → dBm reading will be displayed on the left-hand corner
For Android Users:
Go to Settings → About Phone → Network or Status → SIM Card Status → Signal Strength
Step 2: Installing the Outside Antenna
The exterior antenna (also known as a donor antenna) should be mounted as high as possible, preferably on your home’s roof.
As a result, the antenna’s line of sight with the mobile phone tower will be improved, and the number of impediments between the antenna and the tower that might damage the signal will be reduced.
The antenna may be mounted on a mounting pole, a vent pipe, or a fascia.
The ladder, Philips-head screwdriver, and adjustable wrench will come in help at this point.
It is advised that the antenna be mounted on or near the roof’s edge.
If you’re using a directional antenna, such as a yagi antenna, make sure it’s pointed away from your roof and toward your carrier’s closest cell tower.
An omnidirectional antenna does not need any aiming.
You may attach the antenna in the attic, on a wall, or near a window facing the cell tower if mounting it on the roof isn’t possible.
Keep in mind that the additional impediments may weaken the signal received by the antenna.
As a consequence, the amplifier will receive less signal and the coverage area will be reduced.
Step 3: Connecting the Amplifier to the Outdoor Antenna
Connect the coaxial cable that came with the antenna to the antenna and run it inside your house after it’s been installed.
This may be accomplished in a variety of ways:
- Drilling a hole in your home is a risky business.
- Follow the satellite TV antenna cable inside your home and run the coax cable beside it.
- Using a vent to route the cable
- Use a window entrance cable that is flat and runs below the window.
Whatever technique you choose, a drip loop should be installed in your cable before it enters the home.
A drip loop is a low point or loop on the wire that forces water to drip off instead of entering your property.
Connect the cable to the signal amplifier after it’s inside.
Step 4: Installing the Inside Antenna
The inside antenna should ideally be placed in or near the region where you’re having problems with connection.
Different kinds of indoor antennas may be found in cell phone signal booster kits:
- Dome Antenna: This antenna is suspended from the ceiling and broadcasts a signal in a 360-degree arc.
- Panel Antenna: This antenna is usually put on the wall, but it may also be mounted on the ceiling (make sure it’s looking down). A single signal is distributed in a 45 to 70-degree angle using panel antennas, which means the signal is stronger in the regions adjacent to it.
- Desktop Antenna: Any flat surface may be used to mount these antennas. Some booster kits, such as the weBoost Home Room, have a stand-alone desktop antenna, whilst others, such as the SureCall Flare 4G 3.0 or HiBoost Home 4K Plus, include a 2-in-1 amplifier/antenna combination.
Make sure there is at least a 20-foot vertical or 50-foot horizontal distance between the outside and inside antennas while installing the inside antenna to avoid oscillation, which will cause the booster to shut down.
Connect the coaxial cable that came with the box to the antenna and the amplifier (excluding amplifier/antenna combinations) after situating the antenna in the region where you need a stronger signal.
Step 5: Turn the Power On
Connect the power wire to the amplifier and a wall socket to finish the mobile phone signal booster installation.
The booster will need a few seconds to configure itself.
The green lights on the booster signal the end of poor coverage and lost calls once it’s completed.
Simply disconnect the power cable and put it back in after a few seconds if you need to alter the equipment’s placement or troubleshoot the amplifier.
To reset your wireless signal, do the same thing you’d do with a router.
How to Install a Signal Booster in a Car
The installation of a car signal booster is quick and easy.
There will be no need for any tools.
Step 1: Installing the Amplifier
As long as the amplifier is adequately ventilated, it may be put wherever in your car.
The amplifier is usually placed beneath a seat, although it may alternatively be fixed on a seat.
Step 2: Installing the Outside Antenna
Most vehicle boosters come with a magnetic mount antenna, making installation on a car, truck, or SUV a breeze.
Simply mount the external antenna to your vehicle’s roof, and you’re done.
The antenna should be at least 6 inches away from any windows and at least 1 foot away from any other antennas on your vehicle’s roof for maximum performance.
Connect the amplifier to the wire that runs under a door’s weather seal.
The antenna will not magnetically connect to an aluminum roof for new Ford owners or other automobiles constructed of metal.
To connect the outside antenna, you’ll need to utilize stickem.
Step 3: Installing the Inside Antenna
The most prevalent in-vehicle antennas are low-profile antennas.
They may simply be Velcroed to the dashboard or a seat, both vertically and horizontally.
Cradle antennas, on the other hand, are mounted on the air vent of your car.
Regardless of the antenna your booster use, it must be placed at least 8 inches away from any human being.
Connect the antenna cable to the amplifier once it has been fitted.
Step 4: Turn the Power On
Connect the DC power source to the booster and the auxiliary power outlet to finish the vehicle booster installation.
The booster will need a few seconds to configure itself.
If all the lights are green when it’s finished, you’re good to go.
How to Install a Signal Booster in an RV
It’s not difficult to set up an RV signal booster.
The installation of the exterior antenna is the most challenging stage.
A Phillips-head screwdriver and an adjustable wrench are required.
Step 1: Installing the Amplifier
As long as the amplifier is well ventilated and adjacent to a power outlet, it may be positioned anywhere in your RV.
It may be hung on the wall, set on a counter, or tucked away in a cupboard.
Step 2: Installing the Outside Antenna
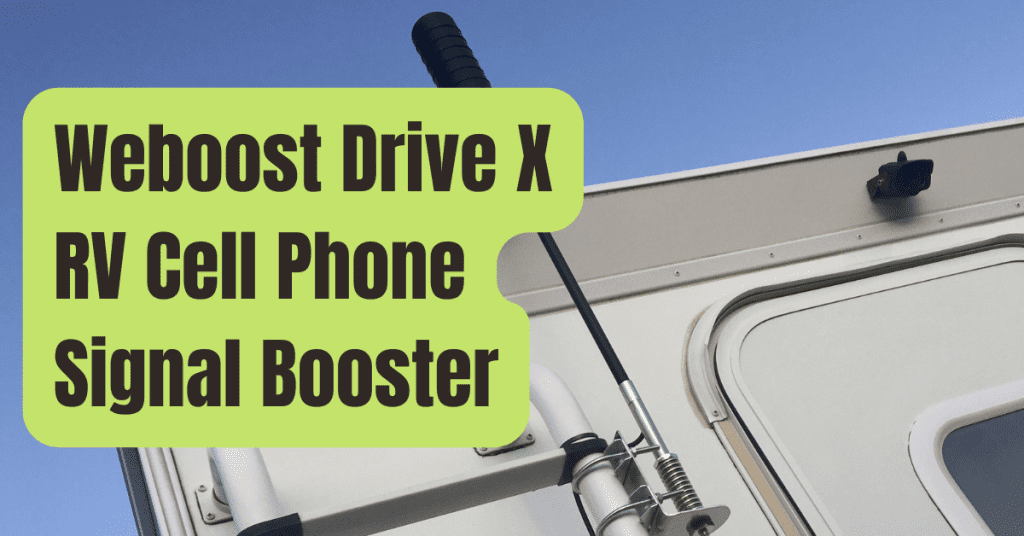
Outside antennas for RVs must be secured on the roof.
It’s simple to install to the ladder or railing support post on the RV.
Omni antennas are used by the majority of RV boosters.
Mount the antenna upright, not horizontally or at an angle, for the best results.
The booster’s performance will suffer as a result.
The higher you can raise the antenna, similar to a home booster, the better.
The line of sight between the antenna and the cell tower will be improved, and the amount of mobile phone signal obstructing material will be reduced.
Just make sure the antenna isn’t higher than the state’s maximum height limit.
Step 3: Connecting the Amplifier to the Outdoor Antenna
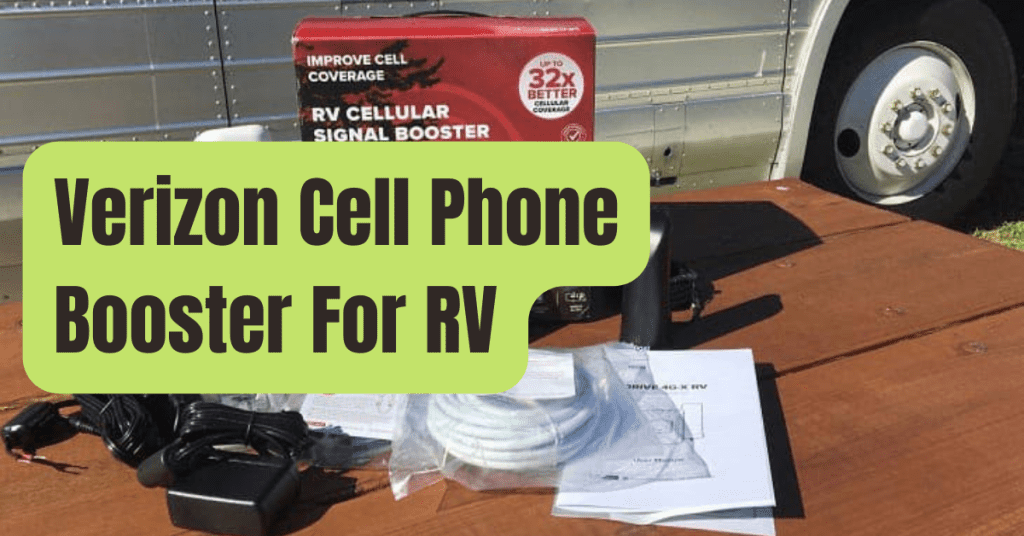
Connect the coaxial wire contained in the box to the exterior antenna and run it inside the RV when it has been fitted.
Drilling a hole in the roof or wall and weatherproofing it afterwards, or rerouting the wire via an existing entrance point are also options.
After connecting the cable to the booster, use cable clips or cable tie mounts to secure the cable outdoors.
Step 4: Installing the Inside Antenna
Install the inside antenna in the location where you want to boost your phone service.
Desktop antennas are used by certain RV boosters, such as the HiBoost Travel 4G 2.0 RV LTE and the weBoost Drive Reach RV, to increase signal inside, while low-profile antennas or inside whip antennas are used by others, such as the Cel-Fi Go+ and the SureCall Fusion2Go 3.0 RV 4G.
- Setting up a desktop antenna is a breeze. The antenna may be placed on any flat surface.
- Low-profile antennas may be Velcroed to the dashboard or a seat vertically or horizontally.
- The amplifier is directly connected to the inside whip antenna. Make sure it’s in an upright posture for best effects.
Connect the antenna’s cable to the amplifier after situating the antenna in the location where you want to boost your signal (excluding the inside whip antenna).
Step 5: Turn the Power On
Connect the AC/DC power source to the booster and the auxiliary power outlet or wall outlet to finish the RV booster installation.
The booster will need a few seconds to configure itself.
If all the lights are green when it’s finished, you’re good to go.

