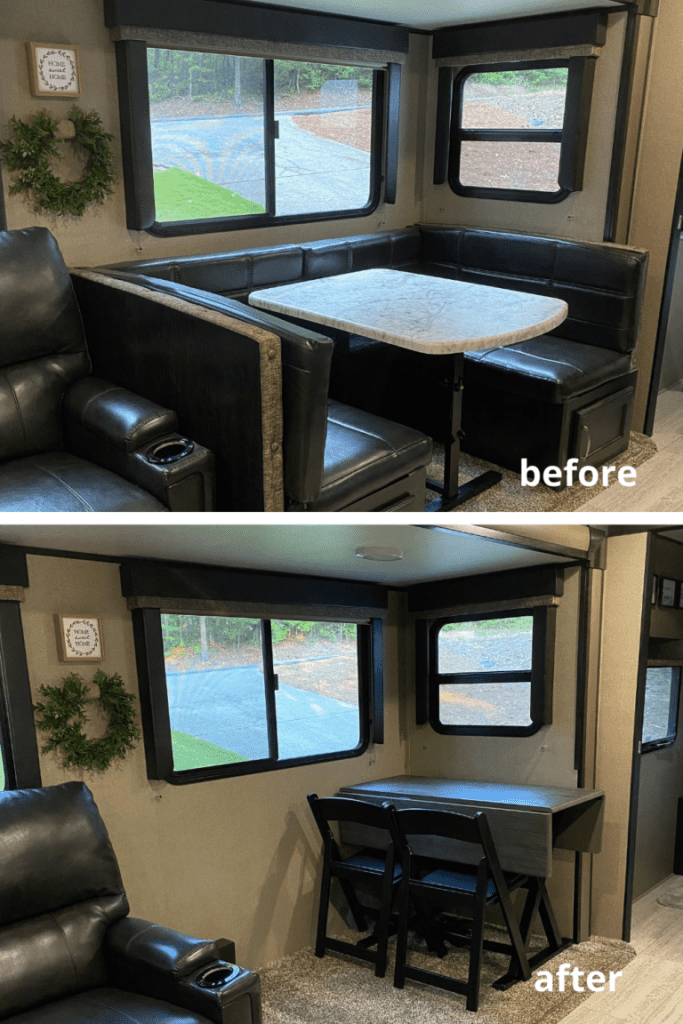

We exchanged our smaller camper for a somewhat larger one.
We just bought a used 2018 Grand Design Imagine 2600RB and are quite happy with the layout and space (for the two of us and our dog Daisy).
Step 1: Take Out The Dinette.
We always consider resale value and did not want to take any actions that may reduce its future worth.
Delicately removing the dinette, we did so.
Starting with the cushions, we moved on to the most noticeable items one at a time.
This was kept in our attic (keeping for resale value).
Step 2: Electrical Issues
Look at the wiring and outlet in the dinette in the photo below.
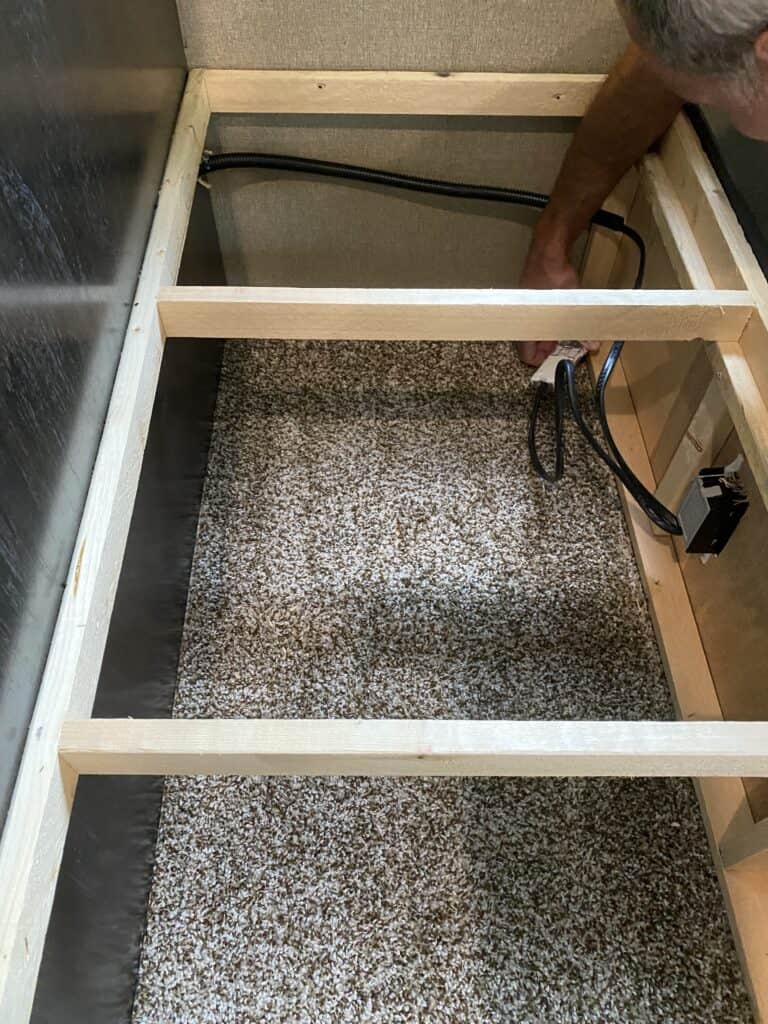
There were two outlets in the dinette, which meant that electrical cables were coming through two holes in the wall and the floor.
While Neal is excellent at electrical work in a home, doing it in a camper gave us pause.
Since we can’t access our camper’s underside without causing further problems, we didn’t want to start shifting wiring.
Therefore, we saw this challenge as an opportunity and developed a charging station!
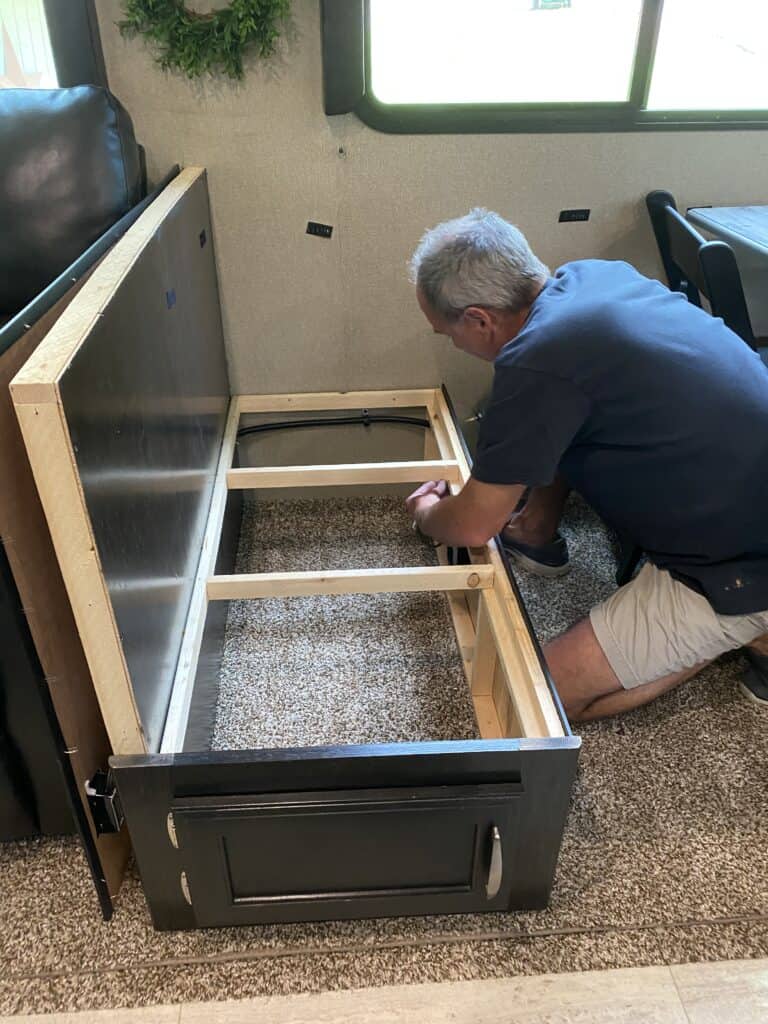
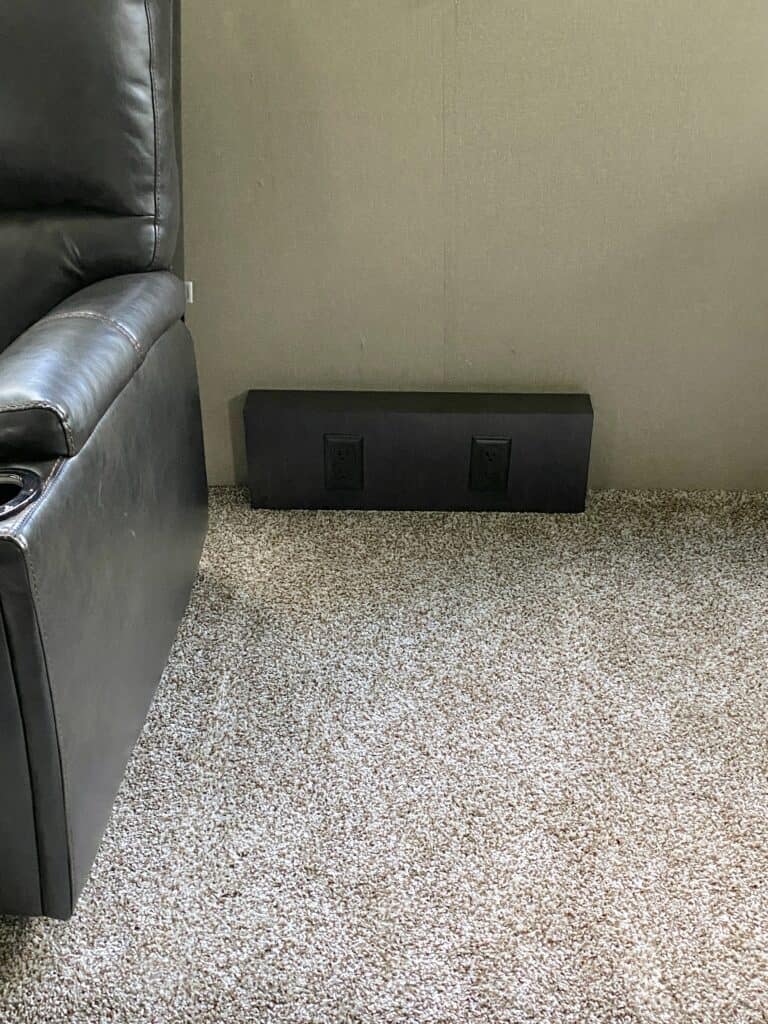
Step 3: Making a Charging Station (Creating Two New Outlets)
We constructed a box to hold the cables, cover the floor and wall holes, and serve as the location for the two new outlets.
For the front of the box, we utilized a piece of wood paneling that was on the inside of the dinette.
(In other words, because the dinette would not be seen if we placed it again, we could replace it with another piece of paneling.)
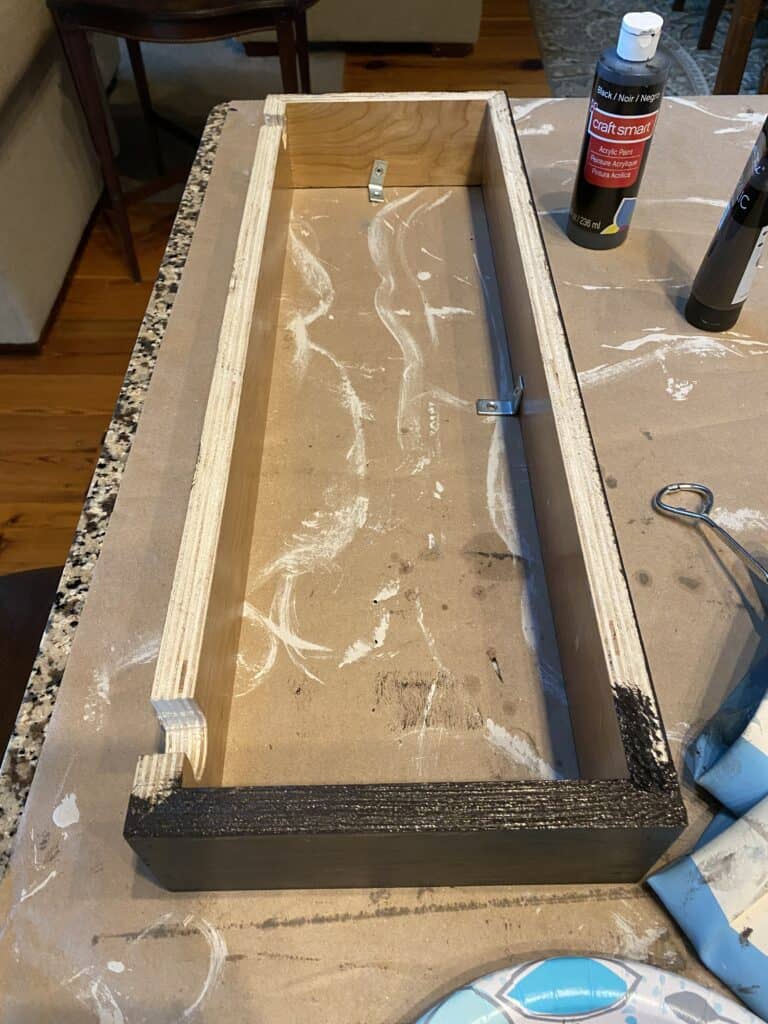
Another thin piece of cabinet grade paneling that we had left over from another job was utilized.
For the box’s top and sides.
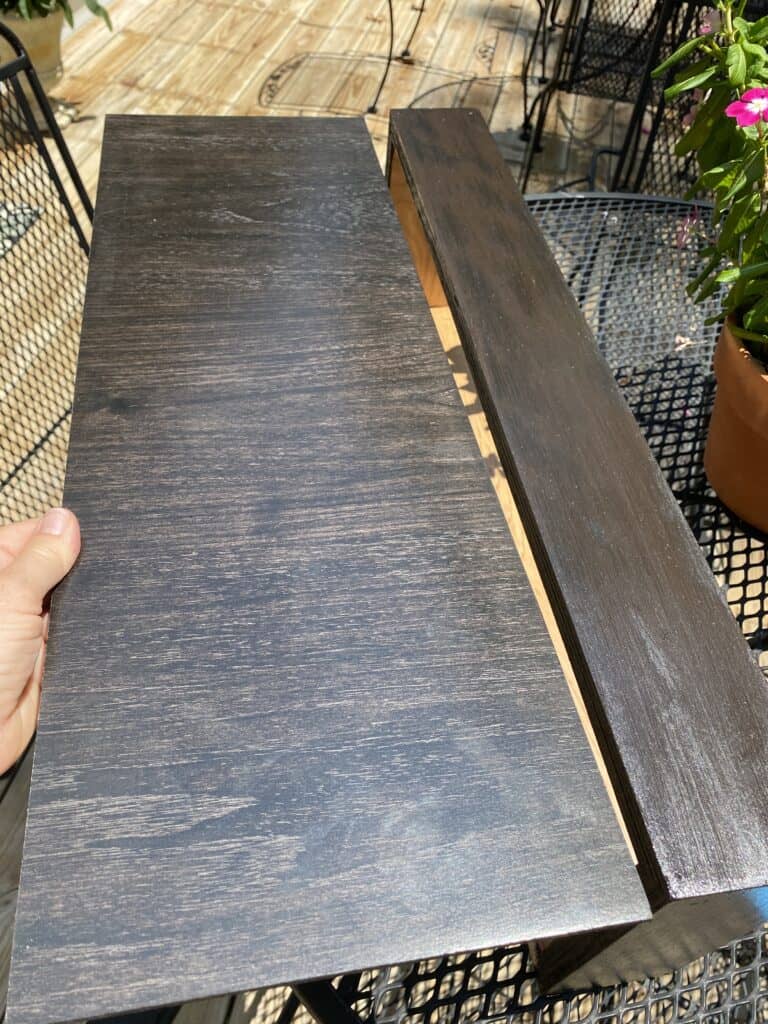
Step 4: Matching the Wood to the Existing Cabinets Through Painting
In order to make these wood pieces resemble the existing paneling, I painted them with a mixture of brown, black, and yellow acrylic paint that I had on hand.
I’ve done so many DIY projects that I’ve grown very adept at coordinating textures and colors.
The paneling is on the left in the image below, and the item I painted to match or mix with the paneling is on the right.
Step 5: Installing The Box And Outlets
Neal carved two rectangular holes for the outlets at the front of the box using a jigsaw.
The outlets were then reconnected.
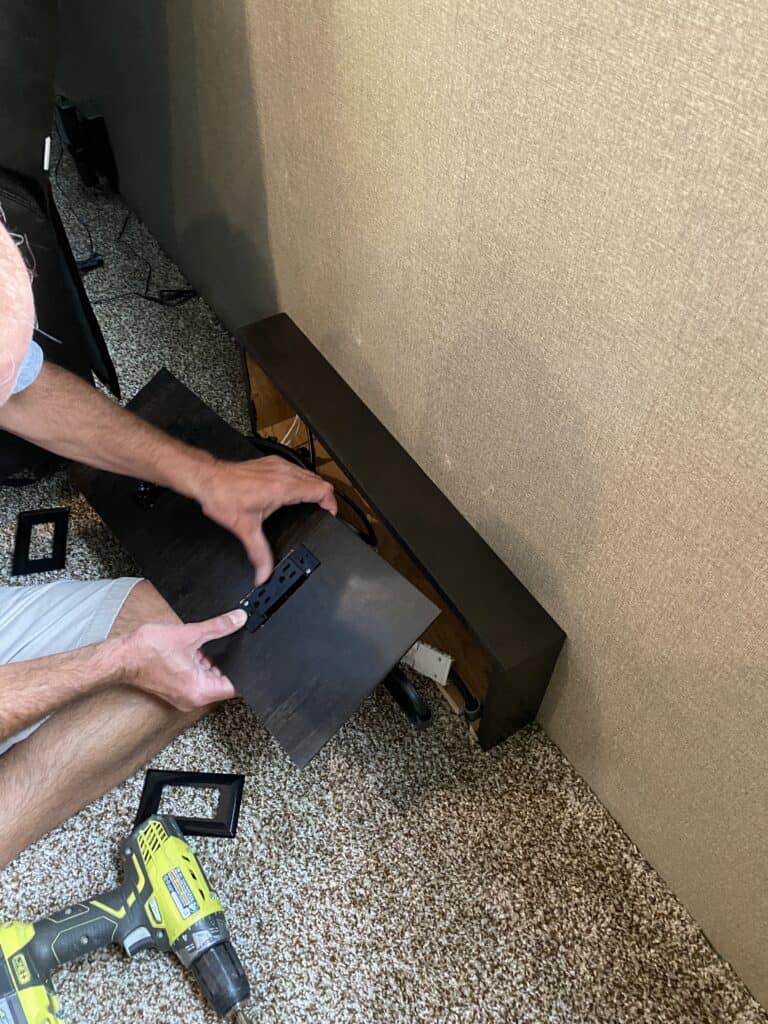
He finished mounting the box using a nailgun.
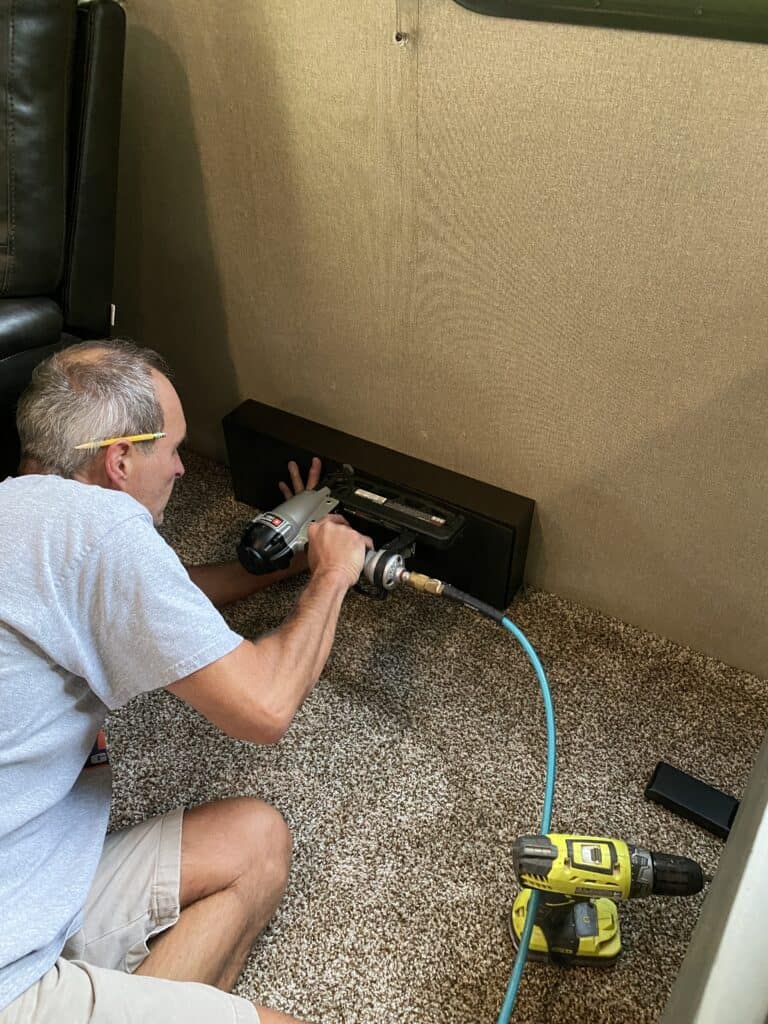
The completed box (charging station) after the outlet covers were installed is shown in the photo below.
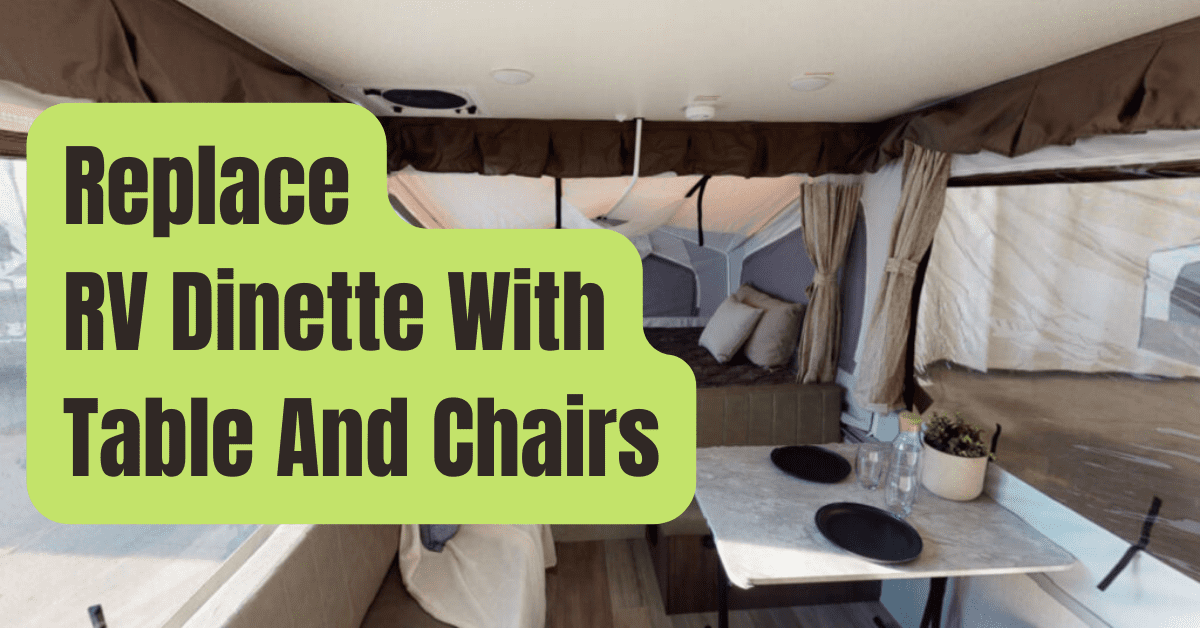
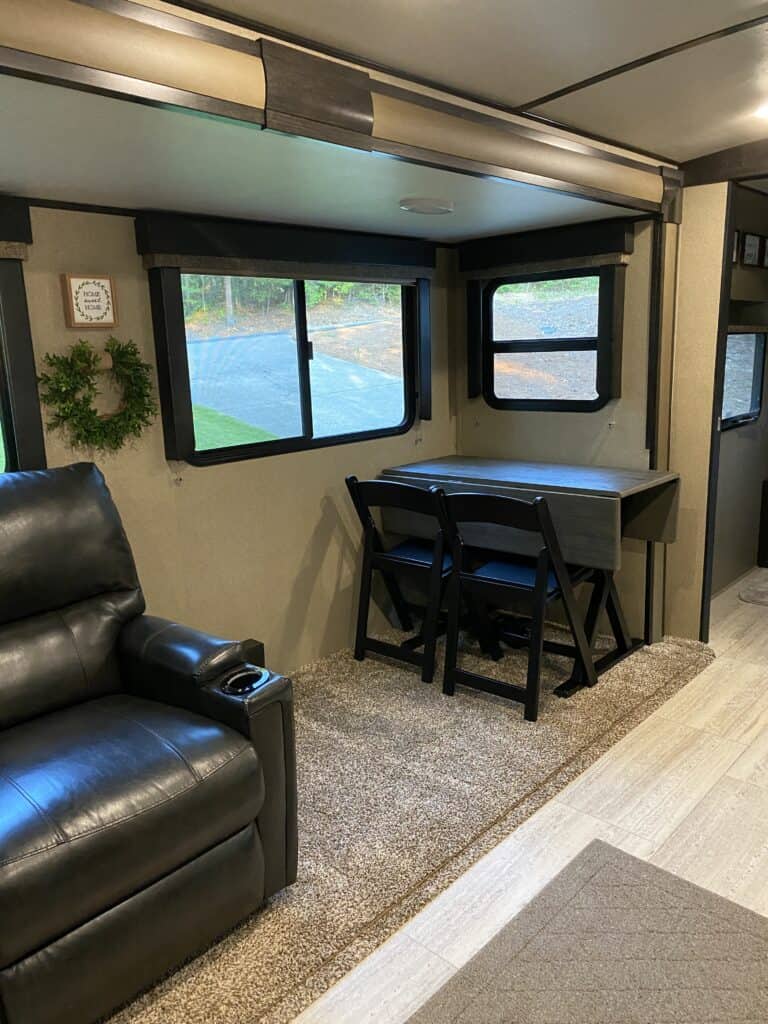
Step 6: Purchasing A Table And Chairs
From Target, we bought a drop-leaf table and foldable chairs.
Although we really purchased four chairs, we usually just bring two when we go camping with just the two of us (and Daisy).
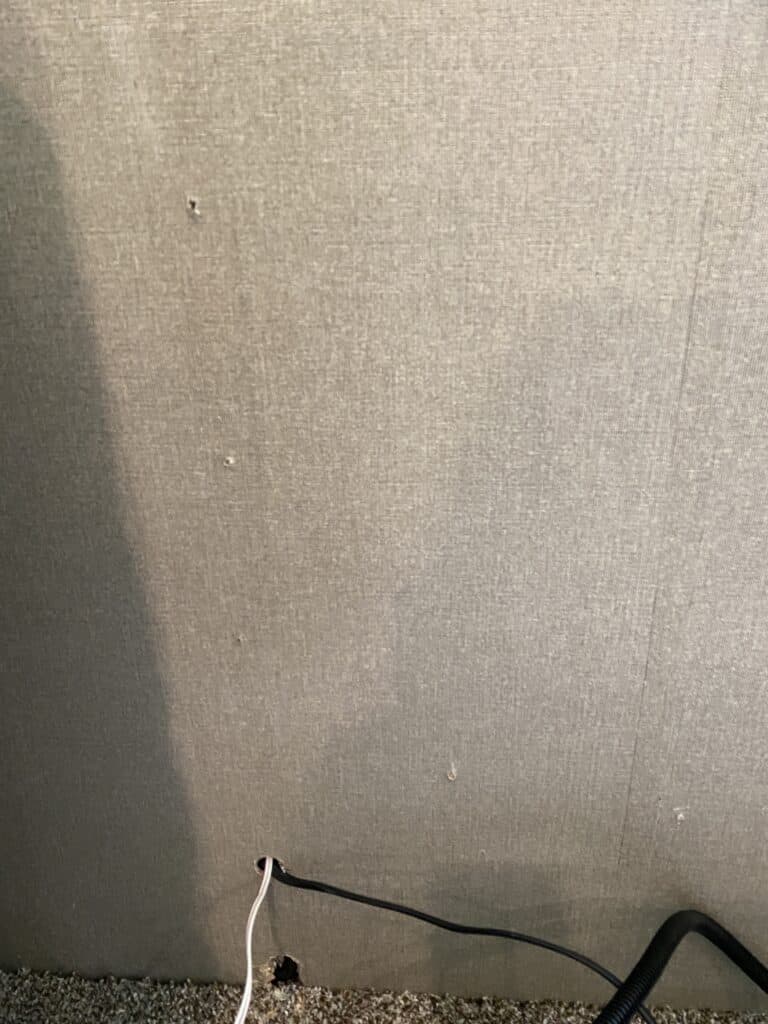
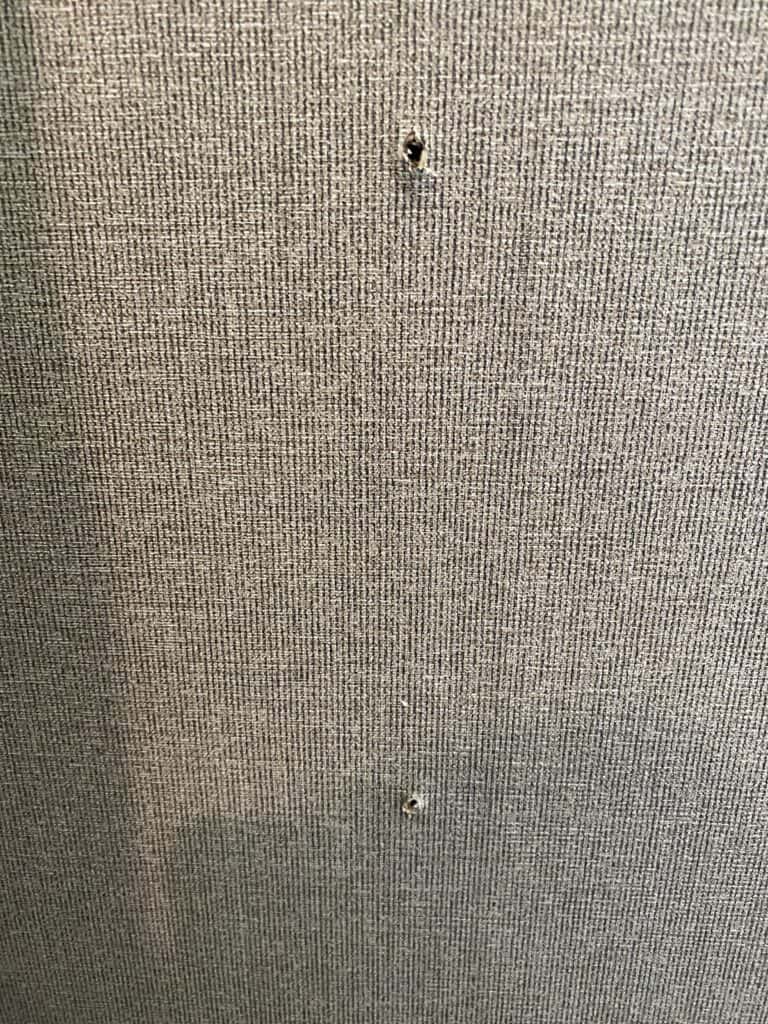
Step 7: Filling Up Holes
Where the side of the dinette was fastened into the wall, there were a few holes in the wall.
For these holes, we bought some tan filler.
Additional Ideas
A table, particularly one with drop leaves, provides us several possibilities for how to arrange the furnishings.
We have two options: either we can move the table to the center of the room and use all four chairs, or we can move the table to the wall and just use two seats.
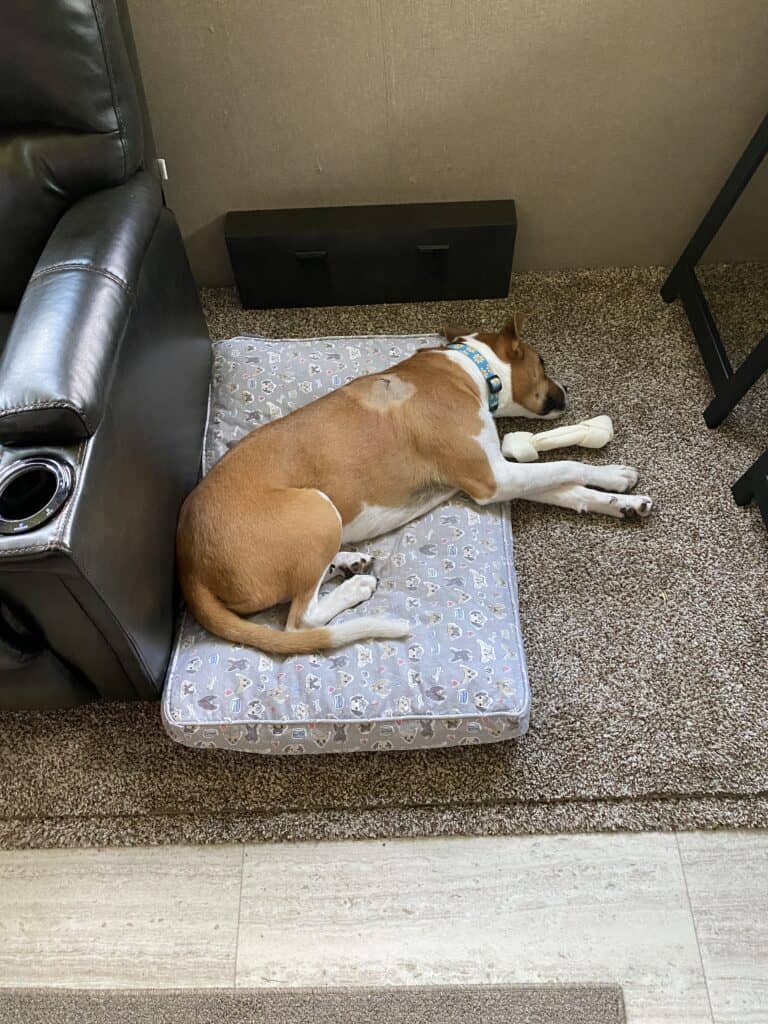
Daisy can now have her own space to sleep, which is what we originally wanted when we removed the dinette.
The charging tables are quite useful for recharging laptops and smartphones.
Actually, while charging, we can conceal our computers and cell phones under the theater chairs.
We enjoy the space and appearance of having a table and chairs, and we are so happy we got rid of our dinette.
Daisy also enjoys this!