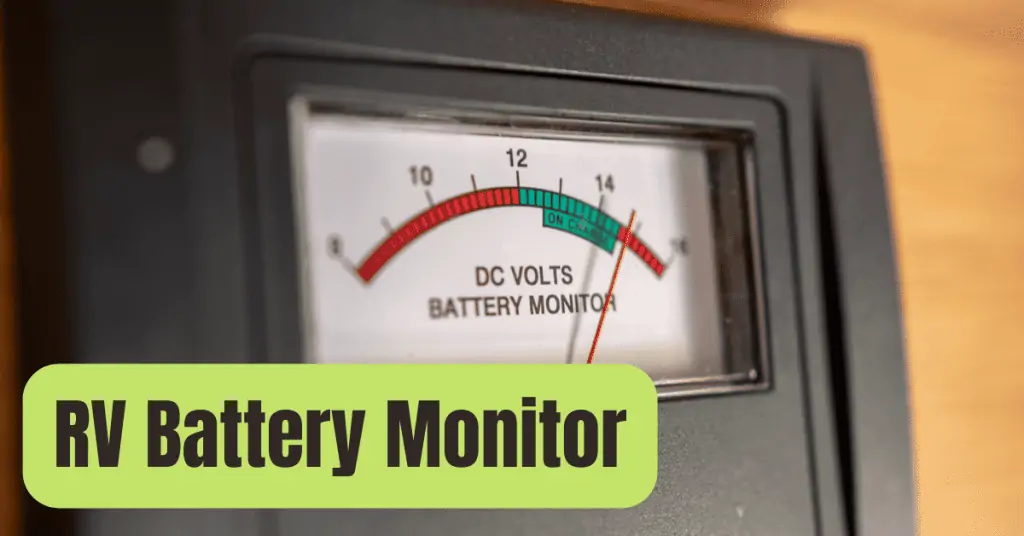
Simply look at the flashing lights whenever you want to determine if your solar inverter is operating correctly or not.
On the inverter screen, there are (typically) red, yellow, and green lights displayed:
- If the green light is turned ON, the inverter is in regular operation.
- If the green light flashes, it signifies the inverter is in the initialization phase, which is normal.
- If the red/yellow lights are ON, it indicates that there is a problem.
- If the red/yellow lights flash, it implies the inverter is about to shut off.
Turning The Solar Inverter Back To Default
Follow these instructions to revert the configuration to factory defaults:
- Step #1: After downloading the program, connect an additional USB terminal to the laptop and the inverter cable to the communication (com) port of the inverter.
- Step #2: Next, “watch power an inverter monitoring,” which will be the link between your inverter and PC.
- Step #3: Select “Login” and enter “administrator” for the password.
- Step #4: After a short period of time, click the IP-address of the inverter shown in the left dialogue box to connect your PC to the inverter (you will enter administrator mode).
- Step #5: Go to “device control” and choose “restore to default” to reset the settings. It will display a warning option; all you have to do to confirm the changes is click the “restore” button and then hit the “yes” button.
Your solar inverter will be returned to its factory settings in this manner.
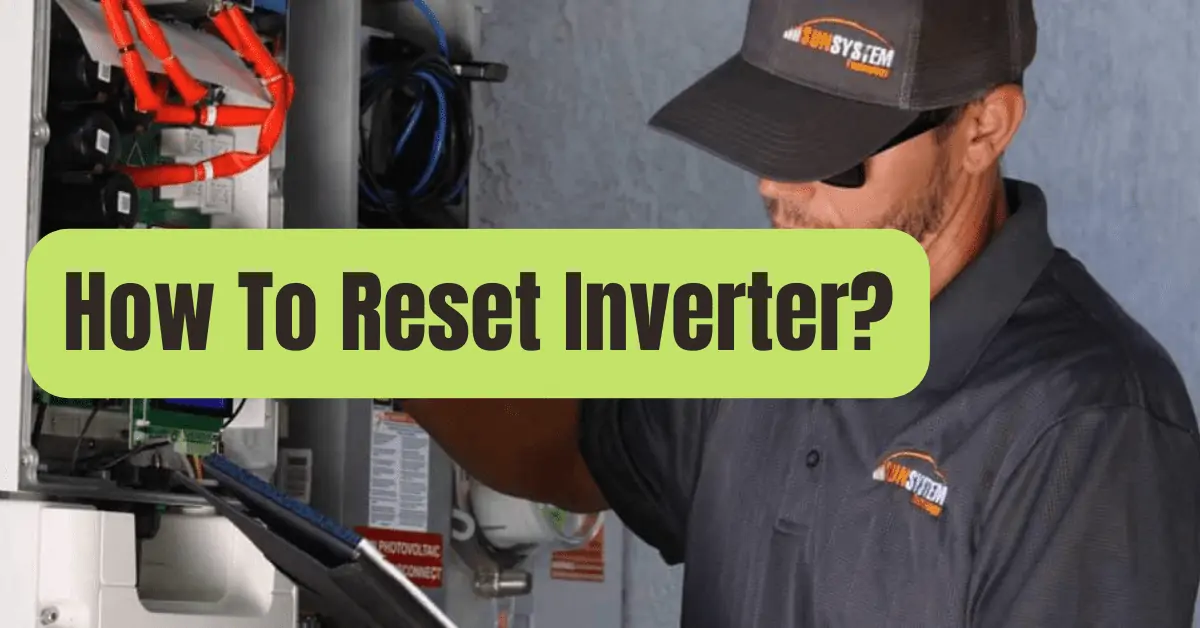
Manually Resetting A Solar Inverter
Follow these instructions to manually reset the solar inverters:
- Step #1: Turn off the inverter using the AC/DC toggle switch located behind it.
- Step #2: Disconnect the primary Solar DC switch.
- Step #3: For safety reasons, disconnect the main AC power.
- Step #4: Wait for around 1-2 minutes and then do the steps backwards.
- Step #5: Turn on the main supply
- Step #6: Activate the primary Solar DC switch.
- Step #7: Use the AC/DC toggle switch behind the inverter to turn on the inverter.
** Crucial! To prevent the inverter from being damaged, make sure the steps are followed exactly.
Manually Resetting A Power Inverter
The green lights on the front of the power inverter should be checked:
- The inverter is on and operating when there are two solid green lights.
- The inverter is placed on hold for 30 seconds when the input voltages are below the predetermined value and the green light begins to blink. The red light will then turn on and the inverter will switch off.
Follow these instructions to reset the power inverters:
- Step #1: Attach the voltmeter to the inverter’s input and set it to DC. It will display the inverter’s input voltages.
- Step #2: Use the voltage regulator or another DC voltage source to deliver a voltage that is higher than the rated input voltage.
- Step #3: Next, switch the power inverter on and off once again to achieve two solid green lights once more.
The following is an excellent video that shows how to reset an inverter:
Is It Possible To Restart The Inverter Using A Smartphone?
Yes, remote access to inverters is possible from anywhere in the globe.
With the aid of a (IoT) – Internet of things, you can reset it and monitor the controlled variables like voltages, currents, power, etc. from smartphones (integrated module installed in the inverters).
How To Reset An Overload Inverter
Your inverter is overloaded? No issue.
Follow these steps to reset the inverter overload:
- Step #1: Turn off the inverter.
- Step #2: Turn off the circuit breaker or unhook the loads from the inverter to disconnect them.
- Step #3: Verify that the battery is completely charged and that all of the connections are secure.
- Step #4: Turn on the inverter and push the RESET button
If the overload error keeps happening, the inverter is likely experiencing an internal short circuit in one of its electrical components.
By doing this, even when there is no load attached, it is guaranteed that the issue is with the inverter.
** Caution! Working with electricity is risky, therefore if you are unsure about your actions, STOP IMMEDIATELY and get expert advice!
My Solar Inverter Stopped Down, Why?
The following are the most typical reasons why your inverter may have first shut down or ceased functioning:
#1: High Voltage Causes Inverter Failure.
The inverter must transmit electricity back to the grid when power production exceeds demand.
A solar inverter has to apply voltages that are greater than the grid voltages in order to push the power back.
Since inverters can only handle up to 250V (or 120V in the USA), they will automatically turn off if the grid voltage is too high and they cannot handle it.
#2: Poor Illumination.
The solar panel sheets that just produce electricity via sunshine are linked to the inverter.
The system won’t provide electricity at sunset, fog, rainy season, or when there is snow on the sun-fueled sheets since the light’s passage is blocked, therefore no power is produced and the inverter shuts down.
The inverter will begin operating properly when there is enough light to generate electricity.
This is a condition that might manifest throughout the winter months on gloomy days.
#3: Grid Breakdown
The inverter does not receive electricity from the grid if there is a power outage or when the regulator switch or earth leakage switch is turned off.
As a result, the inverter turns off by itself to ensure safety.
The inverter continually monitors the grid’s voltage and frequency while storing the energy produced by the panels and adjusting the generated power accordingly.
As a result, the inverter turns off by itself when there is a shortage of energy from the grid.
#4: High Output Voltages
The inverter’s excessive output voltages are to blame if it shuts down many times.
Therefore, for safety reasons, the inverter cuts off automatically.
#5: Defective Battery Connections.
It’s possible that the connections between a battery and an inverter are loose or set up improperly.
#6: Eroded Battery Terminals
Long-term usage of the inverter may cause the battery connections to corrode owing to oxidation, and the release of carbon will cause the inverter to shut down.
#7: A Defective Battery.
Your battery may not have charged enough, even if your inverter may be operating correctly, causing it to shut down.