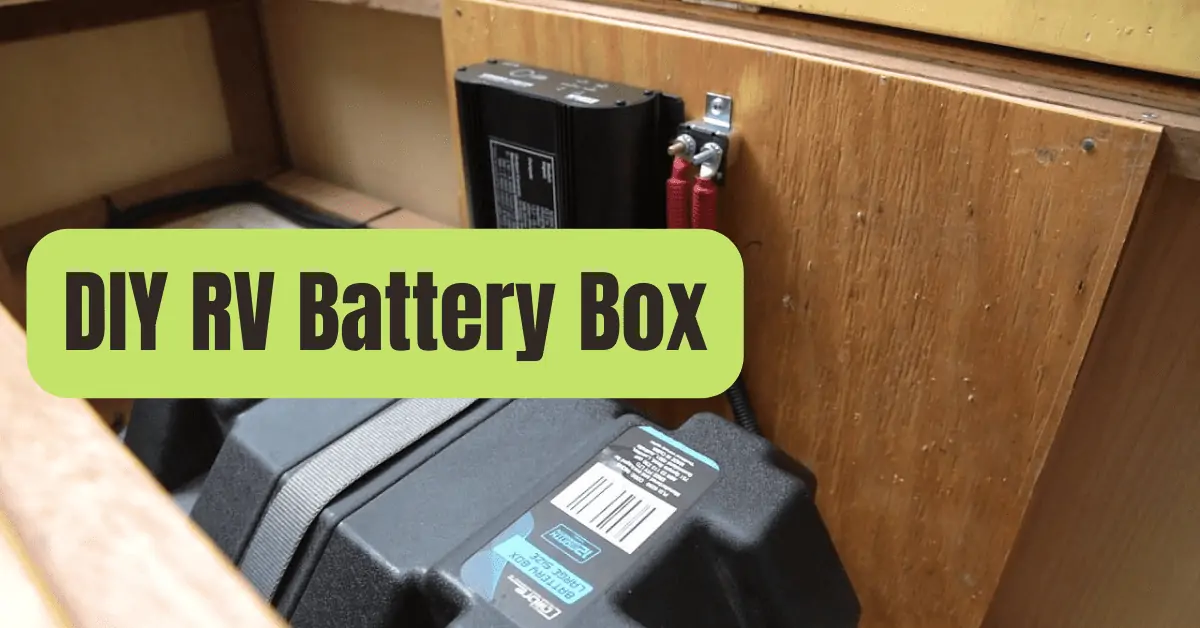
It takes more than just new paint and shining appliances to renovate a 1970 Avion truck camper.
This vintage camper requires complete renovation after 50 years of exposure, including the electrical system.
Older RVs often catch fire from wire shorts, but thanks to our brand-new electrical system, that risk is somewhat reduced.
We are constructing a DIY lithium battery to power the whole system, along with new, marine-grade wiring and robust connectors.
We now have the cells and all of the related gear, however the battery box is still lacking.
Setting Objectives
Battery boxes have a variety of uses.
It serves as storage, just as any box.
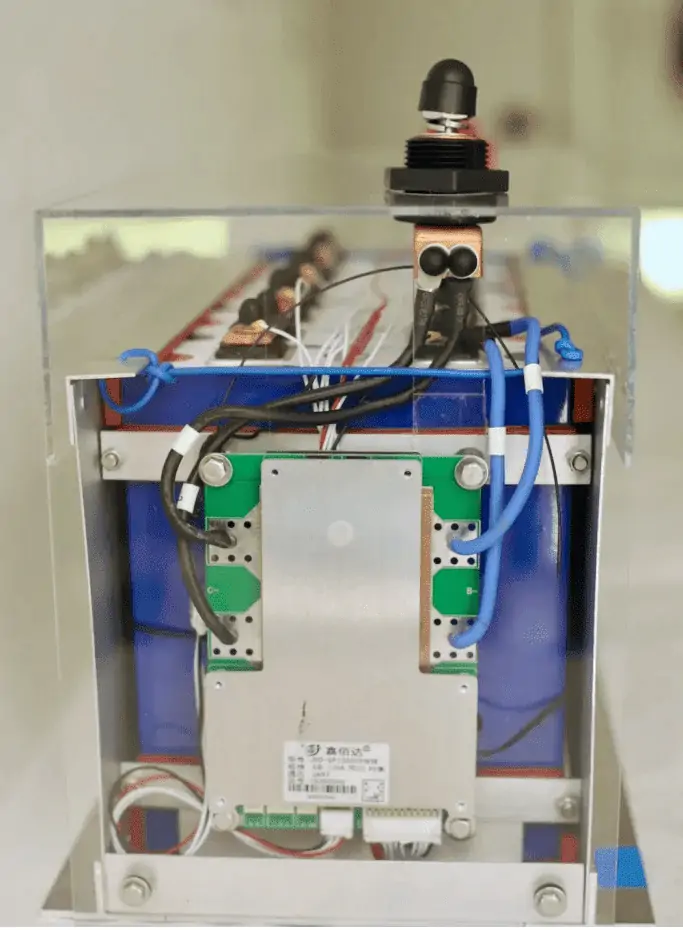
It safely encloses the electrical connections, battery management system (BMS), and battery cells that make up the battery.
By shielding the cells from impacts and electrical shorts in addition to keeping components within, the box also keeps dangers outside.
We have requirements that go beyond the conventional function of a battery box.
This battery will be in our mobile home, so it will be vulnerable to the jolts and bumps of the roads we go.
To safeguard the batteries, the box must have a shock-resistant structure.
We have aesthetic preferences in addition to utilitarian requirements.
We want to be able to show these batteries for educational reasons when we offer tours of our camper because of all the unique work we have put into them.
The box will also serve as a showcase for our handcrafted batteries’ internal workings.
All of this implies that any standard retail case will not do.
We shall construct it ourselves, just like everything else.
The Style
The majority of RV batteries have a pretty typical appearance, with a positive and negative terminal protruding from a plastic box covered with branding and instructions.
It basically functions as a black box.
The batteries are charged with electricity, which is then stored until it is needed to power another device.
Our box should be robust, helpful, and clear.
To do this, we look into the materials that will strike a balance between our demand for strength and transparency.
Materials Selection
Molded plastic makes up the majority of battery boxes.
This is a straightforward and cost-effective approach.
It could be useful for our goals.
However, it is preferable to control the molding of plastic on an assembly line.
Using materials that we can manipulate with our own tools and abilities, we wish to construct a box.
#1. Plexiglass
Although plexiglass has not yet been used in our construction process, I have used it in the past on other projects.
RV windows and other transparent surfaces that are vulnerable to collision often use this material.
So that visitors can see the batteries in our battery box, it is evident that the display parts should be made of plexiglass.
#2. Aluminum
Additionally, we need a sturdy area to secure the batteries.
We decide to create an aluminum enclosure to keep faithful to the camper’s origins.
Aluminum is a very conductive material, as I said when picking a material for the bus bars on this battery.
Aluminum is the perfect material for housing batteries because of its low weight and strength, but it must be kept as far away from the battery terminals as possible to prevent electrical shorts.
Fortunately, this problem also motivates a more comprehensive answer.
#3. Rubber Silicone
Electrical circuits often use rubber as an insulator.
Additionally, it serves as cushioning to soften hard blows.
After deciding to use aluminum for the casing, we decide to fill the inside with rubber to act as an insulator, a shock absorber, and to guarantee that the batteries would fit tightly within the case without being harmed.
Connecting the Dots
Everything is coming together as it should.
The box’s design is also affected by this.
There won’t be even one hinge.
Instead, we’ll use the pliability of aluminum to draw away from the side walls as we install the battery cells, and then we’ll bond the batteries in place by attaching them all together.
We agree on a final plan and begin ordering the materials after drawing out a number of different designs and highlighting flaws.
Fortunately, we had a spare metal sheet left over from building the Avion.
However, ordering is required for rubber, plexiglass solvent, and extruded aluminum bars.
Building the Case
The case is very simple to put together after all the material and design study.
We have hundreds of bonds that we have buck riveted while restoring our Avion truck camper, making us an accomplished riveting crew.
Making ensuring the case fits as precisely as possible is the biggest problem.
Which means that as the casing comes together, we regularly took a break to test fit various components.
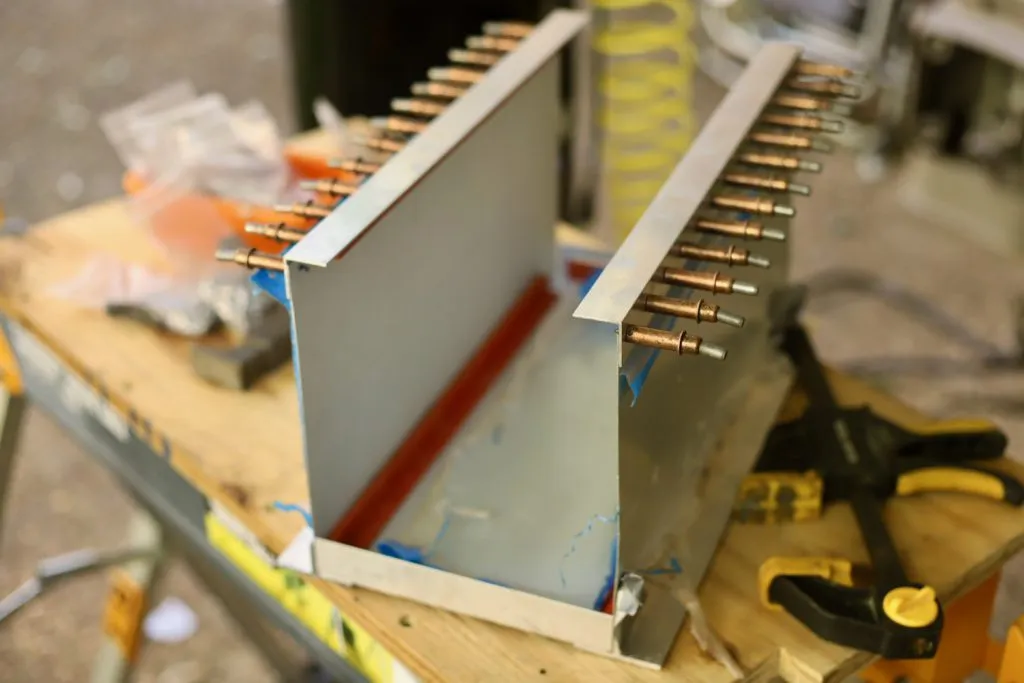
Step 1. Aluminum Base Cutting and Riveting
Effectively, three of the battery box’s six sides are made up of the metal section.
Aluminum rivets and metal bar edging are used to join sheets of aluminum together.
In order to strengthen the box’s stability and offer an exterior lip for fastening the box to the camper floor, the box’s long bottom metal side borders are T-bars.
The right-corner bars along the short bottom borders will serve as the mounting points for the plexiglass cover.
The BMS part and the battery cell section of the box are separated by an extra T-bar on one side of the box.
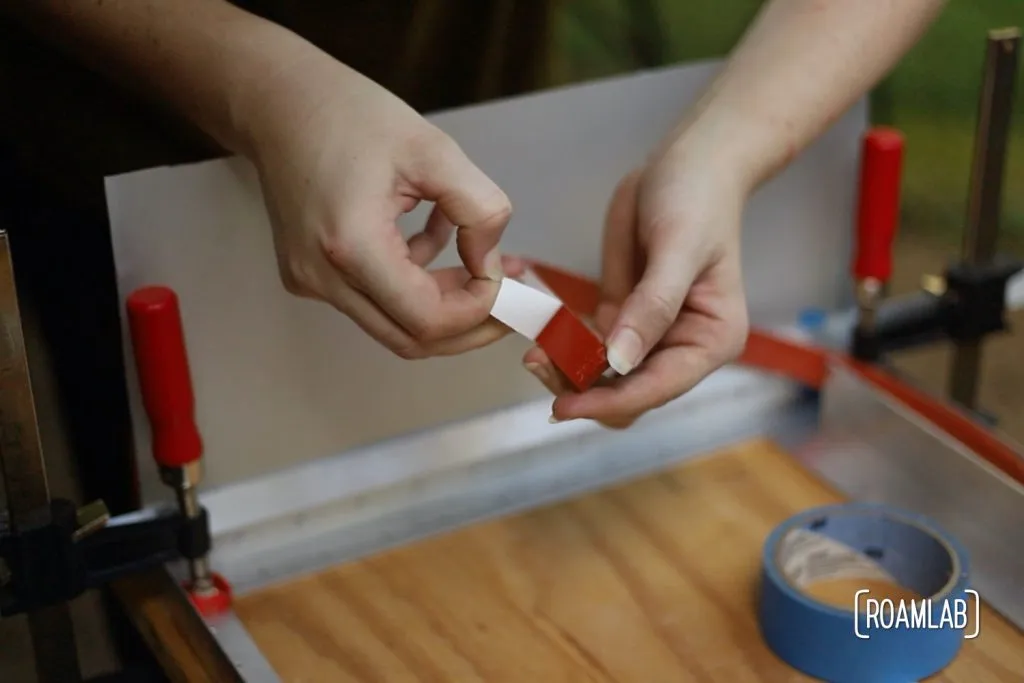
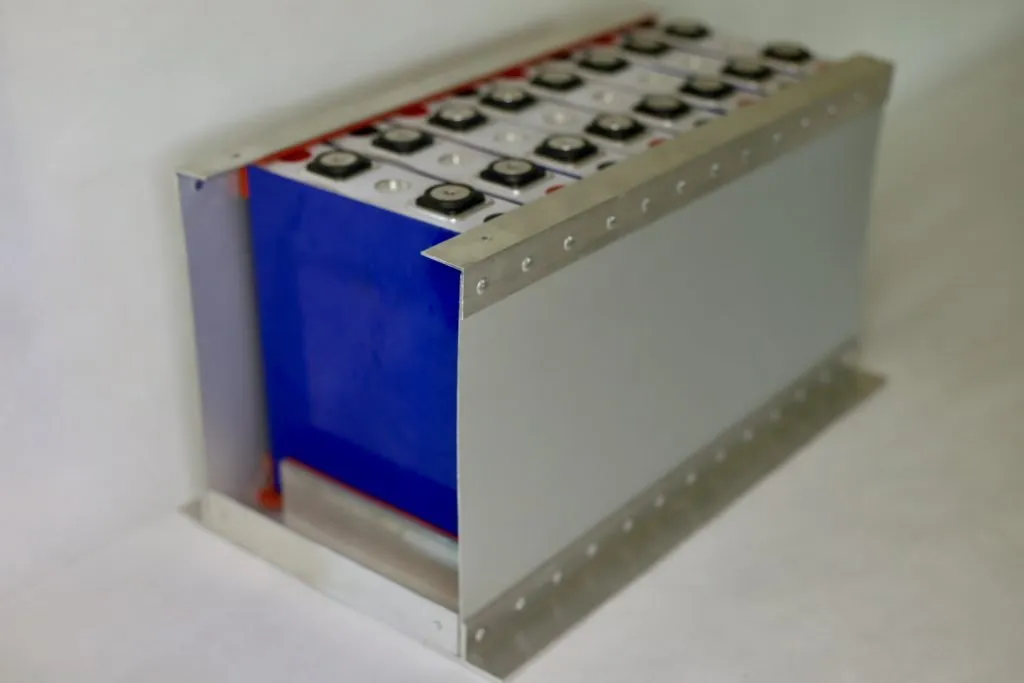
Step 2. Silicone Rubber Strips Being Applied
Instead of using a sheet of rubber to insulate the whole casing, we choose to employ thick, durable silicone rubber strips.
The rubber strips between the battery and the case will function as air gaps to help keep the batteries cool.
They will also offer shock resistance, snugly hold the battery in place, and shield the battery cells from an interior that is uneven due to the row of rivets holding the aluminum case together.

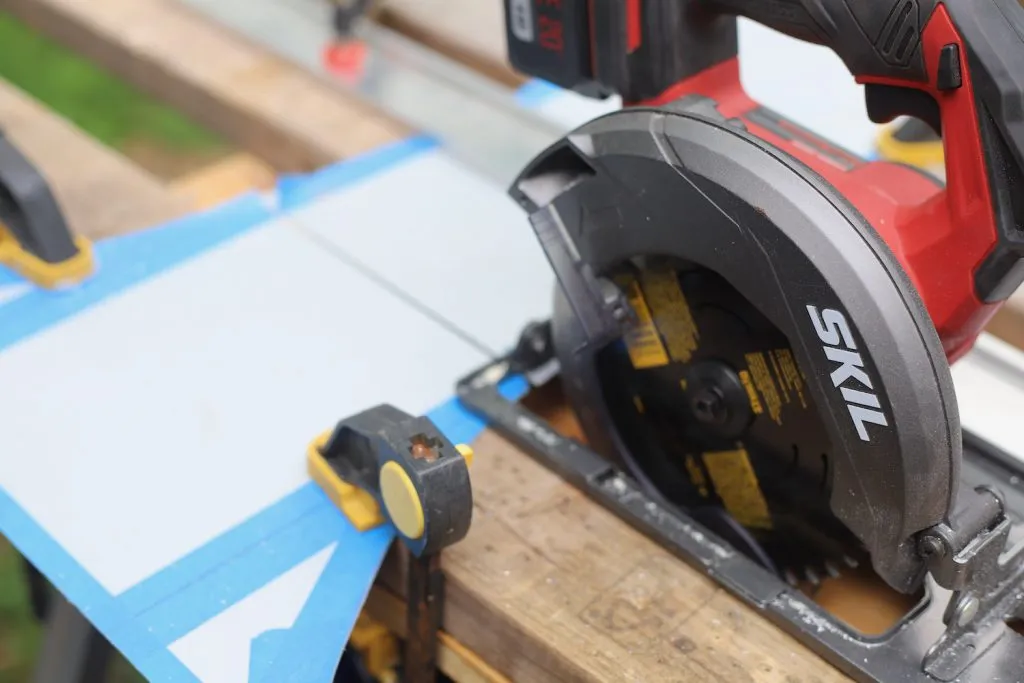
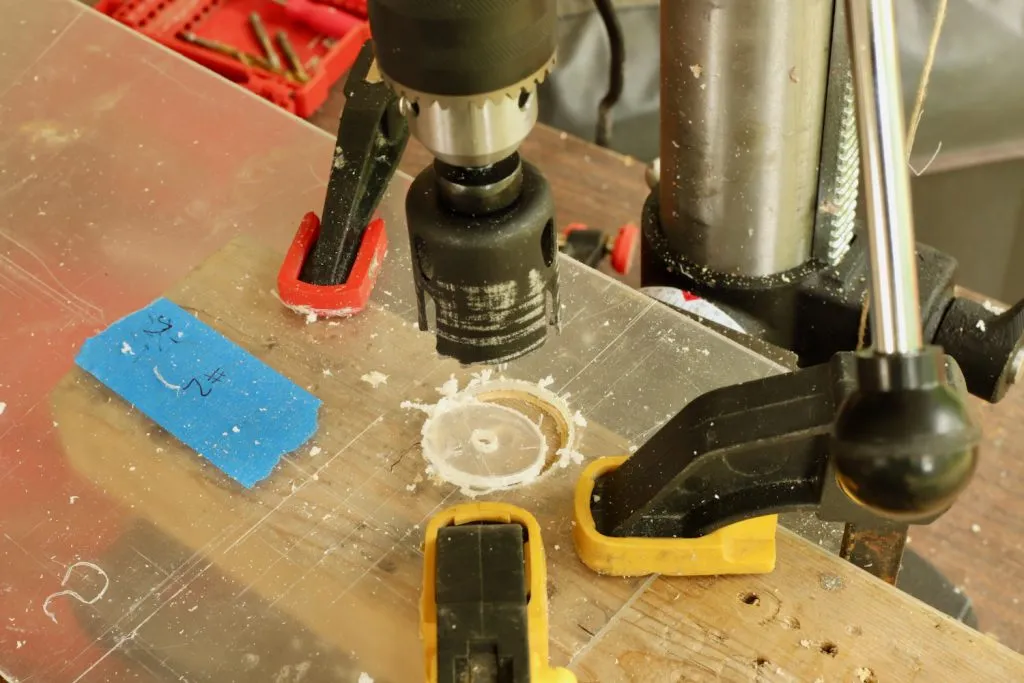
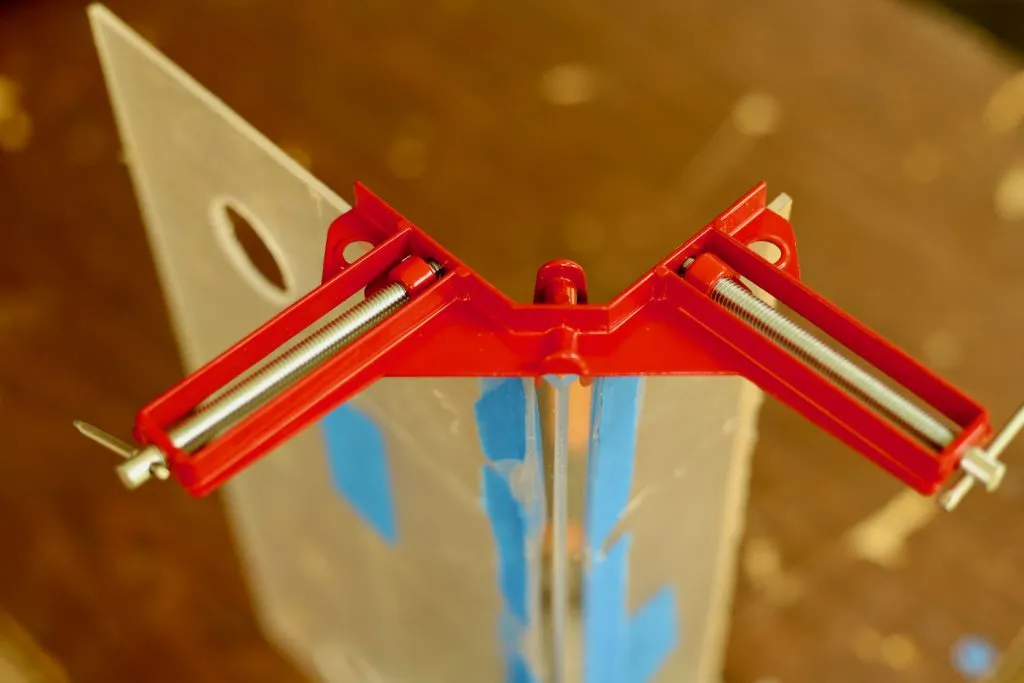
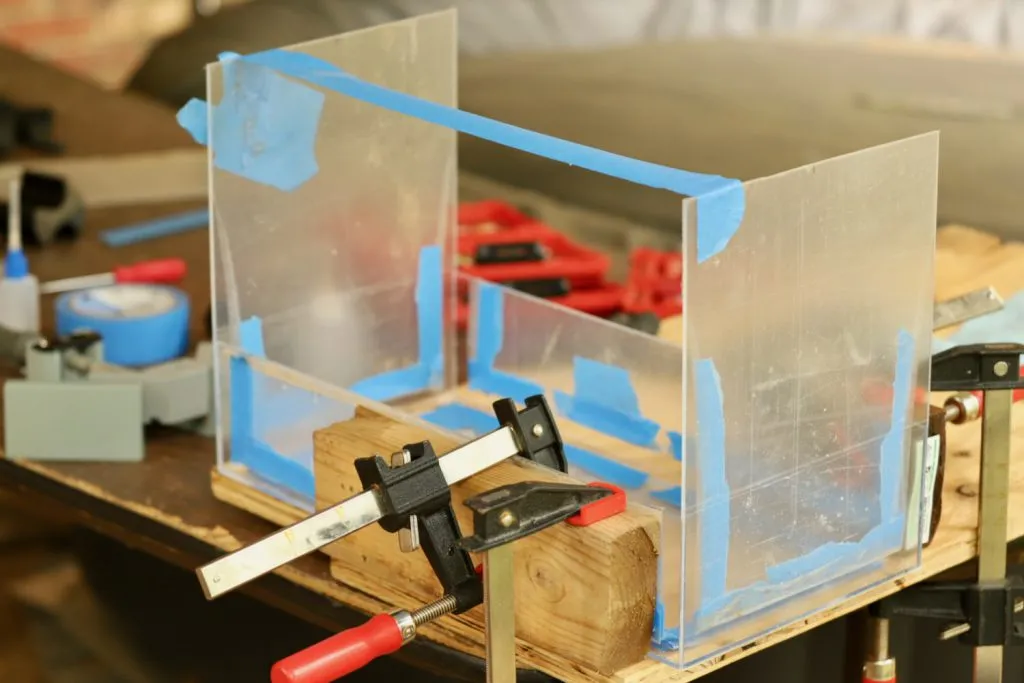
Step 3. Plexiglass Cover Construction
The plexiglass cover must be put together as the last stage.
Although extremely resilient, plexiglass may also melt and break if improperly cut.
In order to cut the plexiglass, we purchase a fine tooth saw blade.
However, we periodically stop cutting when the blade becomes too hot and begins melting the plexiglass rather than cutting it.
When tying a connecting piece of plexiglass, it is essential to have an absolutely straight edge.
Therefore, cutting it is a careful task.
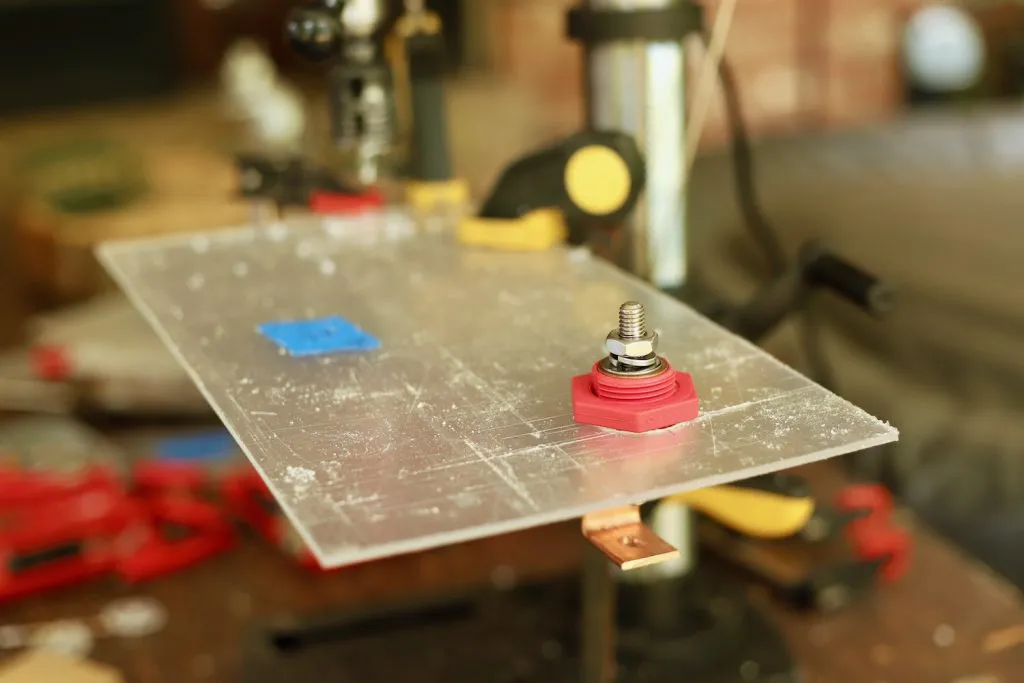
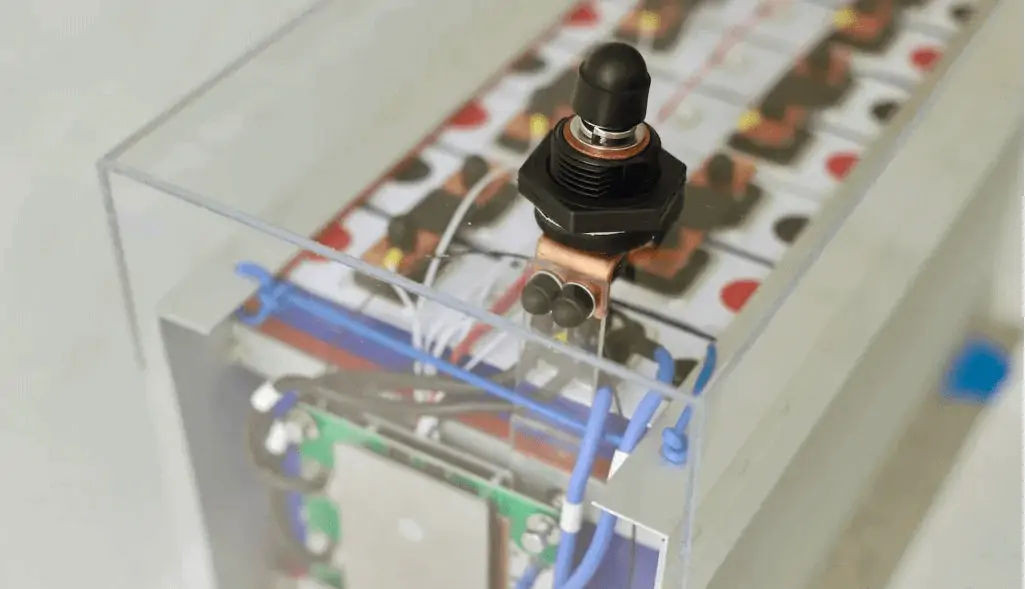
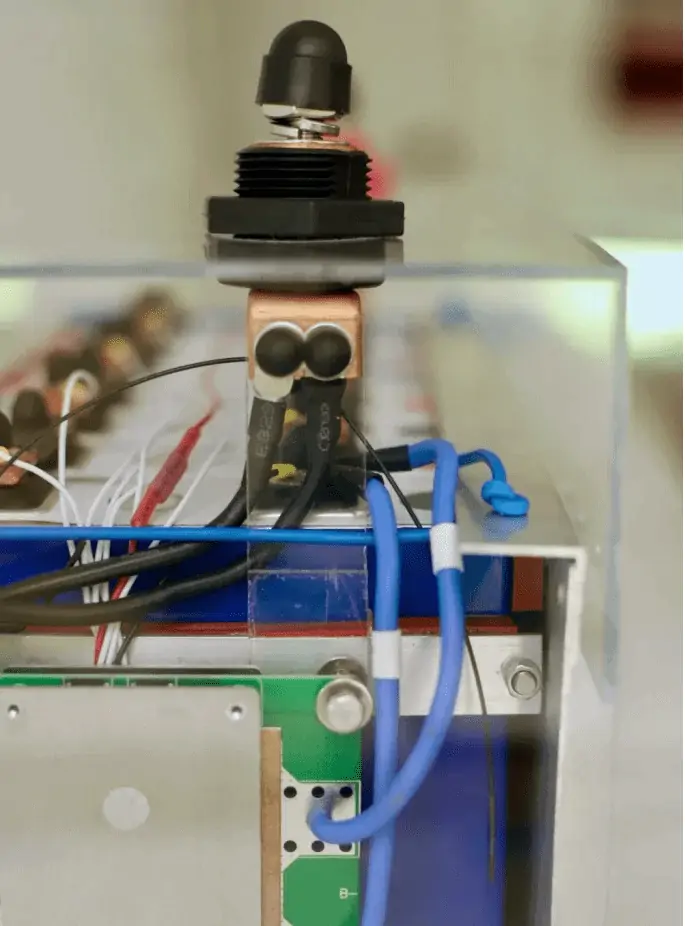
We use similar precautions while drilling holes on the top of the box for the power terminals.
In this instance, there is some melting, but we manage to prevent any fractures.
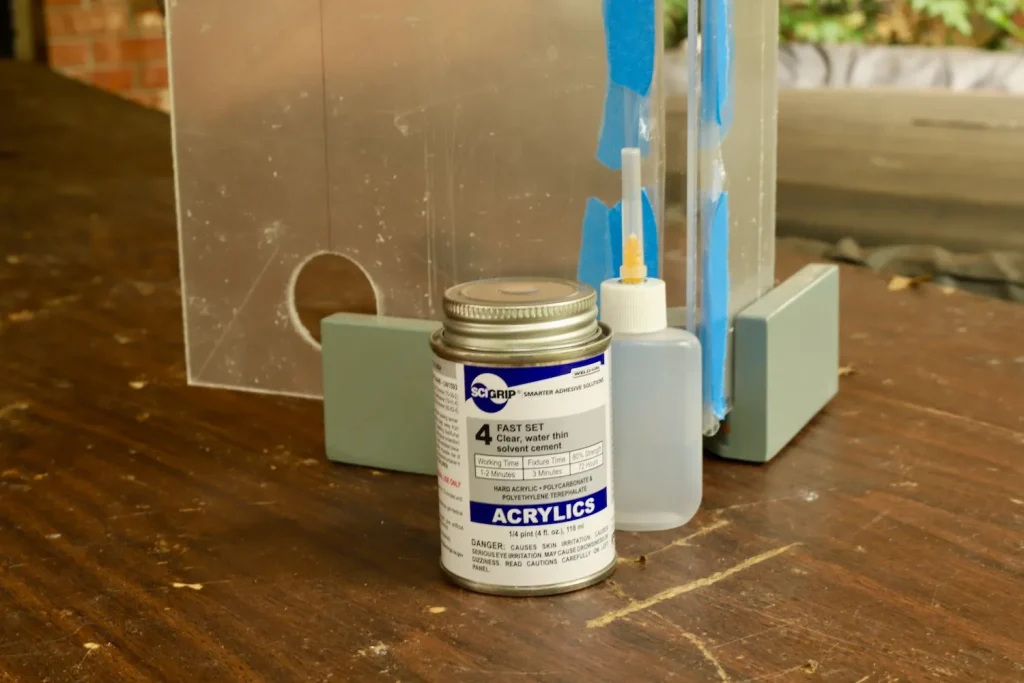
Step 4. Oil Based Acrylic
While we could use another material to frame the plexiglass edges and join the pieces, we choose to have only one sheet of plexiglass in order to optimize viewing.
Therefore, the components are joined using a quick-curing acrylic solvent.
We may assemble the battery in the casing after giving it 24 hours to fully cure.
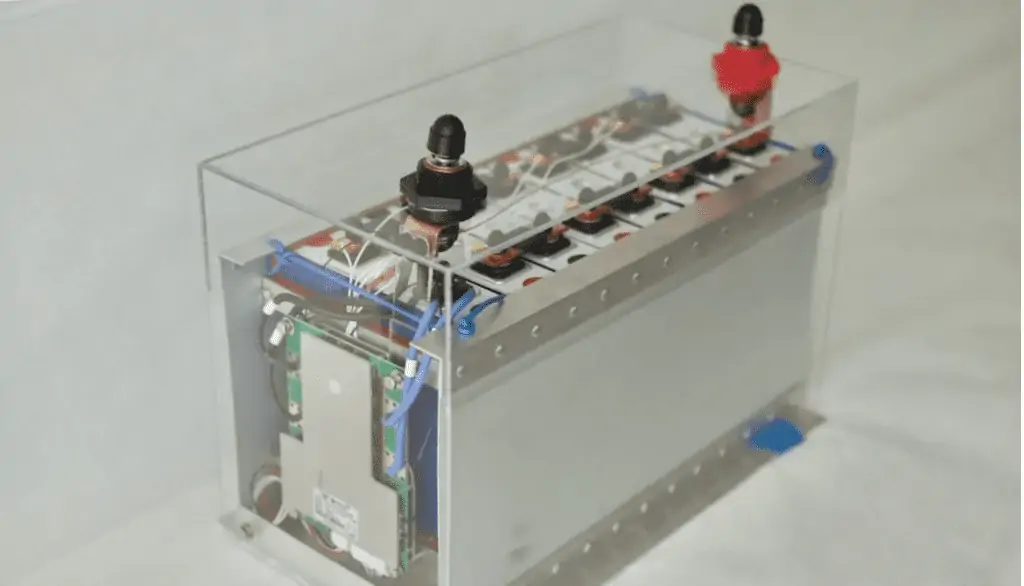
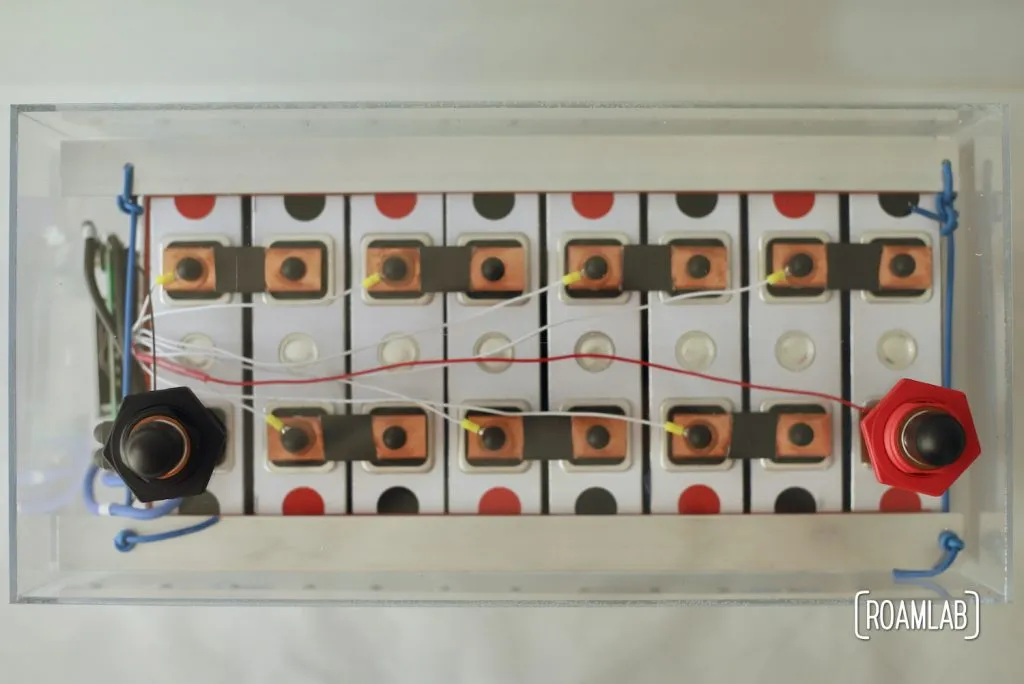
The Sought-After Case
Not much else needs to be said.
Here is the last instance:
A Coda
I’ve manufactured plexiglass boxes before, and I’ve had side splitting issues before.
I therefore take great care when handling this new plexiglass box out of concern that too much stress could result in a critical failure and in the hope that its final storage location will serve as structural protection, allowing the plexi to serve its primary purpose of preventing accidental shorts.
But I won’t have time to construct the seat storage until after our first journey with the batteries.
We decided to cover the electrical system with a board instead.
The plank serves a dual purpose by supporting our test air conditioner.
(I’ll elaborate later.)
The idea is to disassemble the air conditioner while we are moving and then reinstall it after we have stopped moving for this relatively short journey.
Nevertheless, one day we hurry out with the air conditioner on because we are pressed for time.
We take it gently and pay close attention to the vehicle.
But until the unit has vanished from view, we are unaware that anything is amiss.
By that time, the issue is obvious, and we are both shocked to discover that the air conditioner must have hit the batteries.
Since the air conditioner fell on the batteries, we are shocked to see that there isn’t even a discernible scratch in the plexiglass when we leap into the rear.
The boxes seem to be better than I had anticipated from my negative thoughts.
So there you have it: the boxes made it through their first test with flying colors.
Once we have finalized our design, I can’t wait to install them correctly.