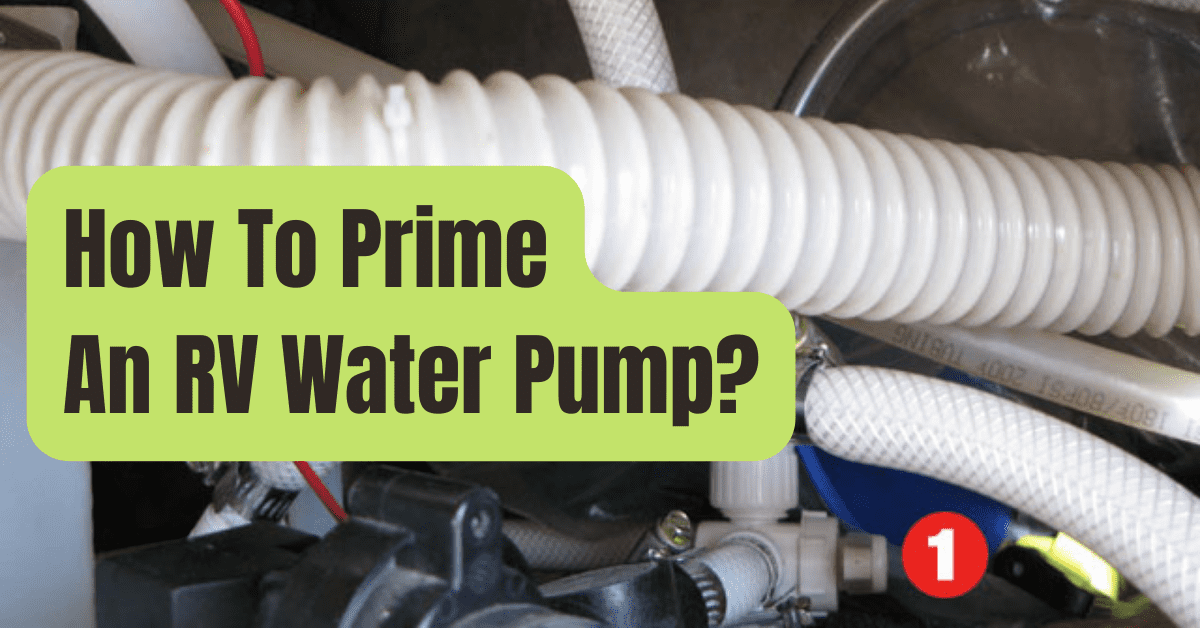
It is possible that you will need to prime the pump in order to get the system pressurized and functioning once again if you have just replaced the water pump in your RV or if you have just taken your camper out of storage.
Thankfully, there are just a few easy steps involved in completing this task!
So, let’s get started with learning the proper technique to prime the water pump in your RV, and then we’ll go over some troubleshooting suggestions in case your water pump still doesn’t pump water.
How to Prim a Recreational Vehicle Water Pump
You will need to fill your freshwater tank, turn on the cold water tap, flip the switch for the water pump, and then wait for the pump to prime by allowing water to go from the tank, through the pump, and out of your faucet.
Priming a 12v RV water pump requires all of these steps to be completed.
Obviously, the above is just a summary of the priming process on a high level.
Let’s break down each phase of the process, and then I’ll provide some advice on how to make it move as quickly and easily as possible.
Important: Before you get started, make sure you review the handbook that came with your RV or travel trailer for specific instructions on how to prime the water pump.
It is possible that it will have detailed instructions on how to manually prime the pump, but this will depend on the type and year of the pump.
Step 1: Fill The Tank With Freshwater.
To get started, water should be put into your freshwater tank first.
If you have a gauge, make sure it shows that it’s at the full level.
It is also a good idea to check that all of the valves are in their correct positions at this time.
As an example, the valve for winterization is closed, the valve for the fill tank is in the regular position, and so on.
Step 2: Open the Valve for the Cold Water.
After that, start by turning on a single cold water tap, such as the faucet in your kitchen.
Make sure that the water is turned off at the camper’s other faucets.
Step 3: Activate The Water Pump.
Now would be a good moment to activate the water pump.
On most monitors, the on/off switch may be found on the panel of the display.
Nevertheless, if you can’t seem to find it, you should probably examine the owner’s handbook for your recreational vehicle.
When you turn on your pump, it will “prime” itself by drawing water from the freshwater tank, passing it through the pump, and finally forcing it out the faucet.
This process takes place immediately after you switch on your pump.
Step 4: Let Pump Run
When you switch on the pump, you should see that air is sputtering out of the faucet tap.
This is a sign that your pump is performing as it should.
It is important to keep in mind that it may take some time for the water to travel through the water pipes and finally come out of the faucet tap.
When the water begins to flow from the faucet, wait until all of the air has been expelled from the supply pipe before turning the water supply off.
Step 5: Repeat This Process With Each Of The Water Taps
Last but not least, we have to remove all of the air from the water lines in the RV by using the purge function.
Therefore, you should open each faucet one at a time in order to enable the accumulated air to be expelled and the water to flow unobstructedly.
At this point, your pump should be primed, and the pressure in the water system should have been increased.
At this point, the only time your pump should come on is if you have a faucet turned on.
Important: Be sure to reverse the by-pass valve if your water heater was in by-pass mode while you were priming and pressurizing your plumbing system.
This will enable the hot water heater tank to fill up before you turn the water heater on.
This is very important.
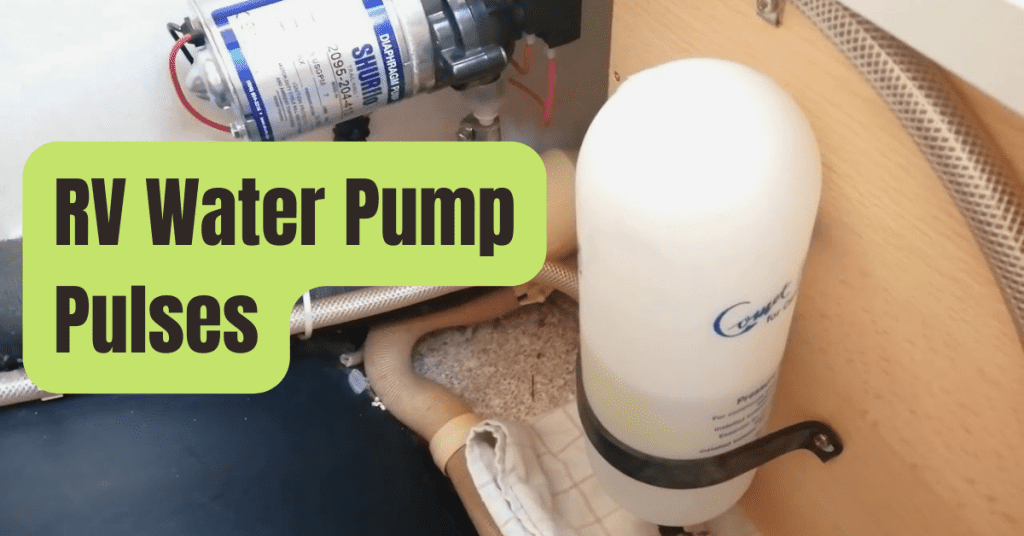
Hints for Fixing Problems with an RV Water Pump
The owner’s handbook for the Shurflo 4008 Series diaphragm pump contains the troubleshooting recommendations shown in Figure 1.
There are a few things we can examine to get your RV water pump operating again if it is still not pumping water after we have tried everything else.
- Check the freshwater tank: Let’s begin with the question that requires the least amount of investigation: Is the freshwater tank full? Be careful to check the fuel level in the tank. We won’t hold it against you if you forgot to fill the tank or if you mistakenly placed the water hose in the incorrect inlet (such the black tank flush inlet), but we will ask you to remember to do so in the future. Yes, it occurs).
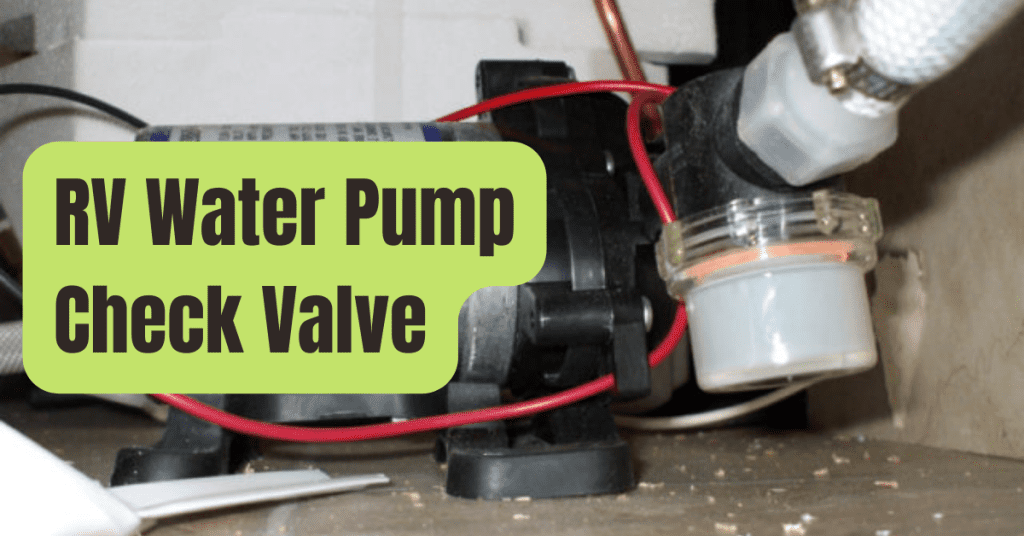
- Check the water lines: Start by inspecting the line that leads directly to the water pump, then go on to the rest of the lines that are linked to the pump. Investigate any connections that are not secure, any lines that are broken, and any evidence of leaking. After that, give the lines that go to each of the faucets in your apparatus a second lookover.
- Ensure the Valves: While you are examining the lines, you should also check that all of the valves are in the right position. This includes any winterization valves, intake valves, and any other types of valves.
- Check the fuse for the 12v water pump: If the pump is not generating any noise, the problem may be caused by a blown fuse in the pump. Check to see whether the fuse needs to be replaced, and if so, do so before attempting to turn the pump back on.
- Check the input strainer: Make sure the pump’s intake strainer is clean (and, while you’re at it, check the lines for kinks). If there was ever any sediment in the water that was stored in the freshwater tank, the standard pump strainer consists of a thin mesh that may rapidly get clogged.
- Priming the pump manually: Most RV water pumps are self-priming. They are sent with a trace amount of water already inside of them so that they can prime more easily. It is possible, though, that you may need to manually prime your lines if they have been stored for a significant amount of time, or if you have accidentally blown out your lines. Every type is unique, but with Shurflow water pumps, for instance, you may take out the strainer, pour some water in it, run the pump for a second, pour some more water in it, and then put the strainer back in place. This is one way to ensure that the pump is working properly. The video that follows will show you how the procedure is carried out.
- Be sure to check the pump: One last possibility is that the pump itself is malfunctioning or that it is not receiving the right voltage.