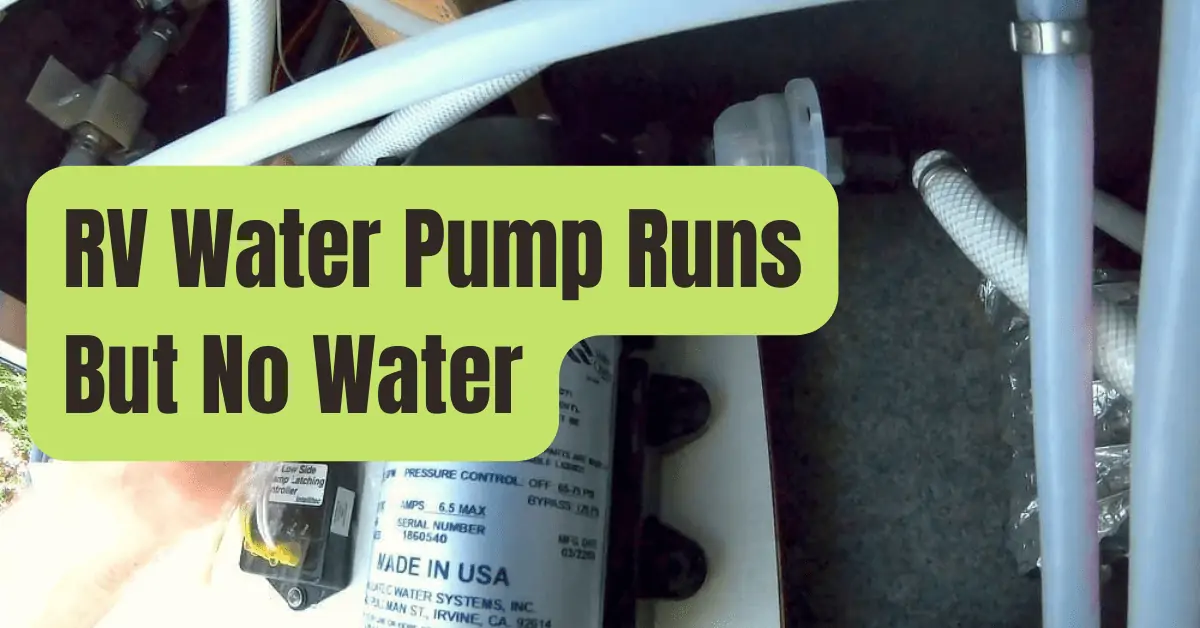
It is essential to have an RV water pump in order to move water from the fresh water tank to the various faucets and fixtures located throughout your recreational vehicle (RV).
Despite the fact that they normally have a very long life, there are a lot of different reasons that might cause them to fail.
So, what should you do if the water pump in your RV is running, but there is no water in the tank? You have a good chance of correctly diagnosing the issue and maybe even resolving it on your own if you put in a small bit of effort and use some deductive reasoning.
In this post, we will discuss some of the more typical factors that might lead to a water pump failing, as well as some potential solutions to the problem.
How Do I Make A Diagnosis Of The Problem With My Water Pump?
There is a good chance that you are familiar with the typical noise that is produced by your water pump while it is operating.
The majority emit a recognizable, low hum.
If this noise changes or if it continues to be the same, but water still does not flow out of your faucets, there are things you may do to determine the root of the issue and fix it.
Even if you can’t immediately repair it yourself, doing some of the homework might help decrease the whole labor cost of taking it to a skilled RV technician.
Even if you can’t immediately fix it yourself, doing some of the legwork could help lower the entire labor cost.
Step 1: Double Check the Tank Containing the Fresh Water
It is conceivable for a freshwater tank to spring a leak that goes undiscovered for a number of reasons, including the fact that this may seem a little bit apparent.
It is possible for the gauge on your freshwater tank to become stuck, giving you the impression that there is water in the tank while in reality it is either almost empty or completely dry.
You may utilize the time-honored technique of measuring water level using a dip stick if you are unable to determine the amount of water in the tank at a glance.
In most cases, an inexpensive wood dowel purchased from a hardware shop would suffice.
What Should I Do If My Tank Holding Freshwater Has A Leak?
When you’re out on the open road, the last thing you need is for your freshwater tank to spring a leak.
If you have a significant leak in your water tank that causes it to empty out quickly, it is quite probable that you will be without water until you are able to locate a new tank and have it fitted by a trained expert.
It is possible that you will be able to do a temporary repair in the event that the fresh water tank has a little leak.
There is a wide selection of crack filler materials available from JB Weld and other competing companies.
It is necessary for you to choose the one that is suitable for your aquarium.
In most cases, the break cannot be repaired while it is wet; thus, you may need to purge, empty, or siphon the tank before attempting to fix it.
After that, you immediately apply the substance to the crack after mashing and kneading it together in accordance with the guidelines that are printed on the packaging.
It is recommended that you work on this task in a team of two people.
The first person works a little bit of the substance by kneading it to activate it, and then the second person applies it.
This increases the likelihood of the patch remaining pliable after it has been applied, which ultimately results in a better hold.
After that, applying a strip or two of plain old-fashioned duct tape to the part that was mended may assist in keeping it in place.
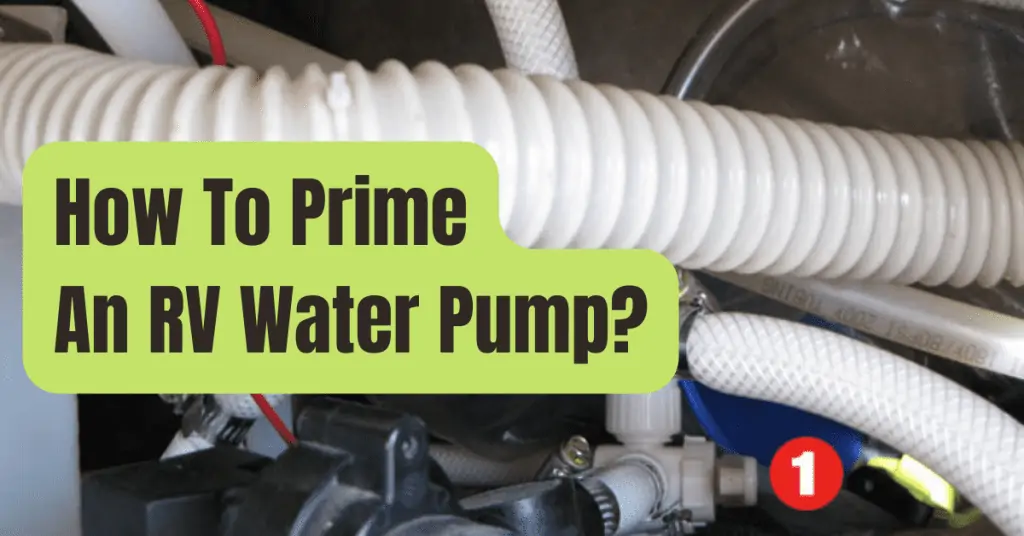
Step 2: Initialize the System.
Some RV water systems need priming before they can successfully transport water from the tank to the pump, and then from the pump to the faucets and fixtures around the RV.
This is particularly true for recreational vehicles, which must be prepared for winter, put away during the winter months, and then brought back to life in the spring after having been stored.
On some more dated systems used on more compact recreational vehicles, the primary water line may have a bulb that can be compressed.
In essence, this draws water from the fresh water tank into the pump, which then transports the water to the subordinate lines.
Priming the water system in a recreational vehicle that is just a few years old is a simple process.
You only need to turn on the tap or open the valve that is located as far away from the pump as feasible.
After that, turn on the machine and wait a few of moments for the water to pressurize the lines before continuing.
After that, you turn on every other faucet until you reach the pump and turn it on.
Because of this, the system will be cleared of any excess air; thus, you shouldn’t be shocked if the faucet burps and sprays a little bit.
Step 3: Check For Leaks In The Waterlines
Some of the water lines are quite delicate.
Especially more ancient ones, which could have been constructed of rubber but lacked the type of reinforcing fibers that can be seen in more contemporary waterlines.
As water lines age, the connections between its sections may begin to leak, and the pipes themselves may even fracture.
When anything like this takes place in the primary water line that runs from the freshwater tank to the water pump, it might result in a considerable drop in water pressure as well as water volume.
There are instances when the water is not difficult to find.
Failure in the main water line is likely the cause of a spraying or tremendous rush of water on the floor or below the frame of the recreational vehicle (RV).
On the other hand, there are also instances in which a leak or break in the main water line is not as readily apparent.
Water has a habit of moving in a straight line and following buildings.
If there is a leak in the main water line, water may flow down a beam for a few feet, or it may soak through the floorboards and into the basement.
The connections that are made with the freshwater tanks and the water pump are the two points along the main water line that have the greatest potential to develop leaks.
Nevertheless, you shouldn’t disregard the rest of the line’s offerings.
This section is going to rub and wear down over time if your waterline goes from the outside of the RV to the inside.
Because a leak in this area is often difficult to see, you may need to dig in with your fingers or pull back a little portion of the carpet in order to check for dampness.
What Should You Do If Something Blocks the Main Waterline of the Recreational Vehicle?
It is also important to keep in mind that it is not impossible for debris of some kind to get into the waterline, which might then result in a blockage.
If you have a terrible habit of allowing the freshwater tank to get dangerously low in level before you refill it, then this is more likely to be an issue for you.
While doing so might help you save money on fuel expenditures and lower the weight of your RV, it also raises the risk that silt from the holding tank will get into the main water line or potentially the water pump in the recreational vehicle (RV).
The majority of water tanks inevitably accumulate some level of sediment over time.
It is also somewhat more likely to be a problem if you often fill the tank from a hard water source, or if your RV’s water tank is on the older side.
Both of these factors contribute to an increased risk.
When the main water line of an RV becomes blocked, the best solution is to simply replace the line.
This is true the majority of the time.
If you try to push the clog out, you can merely end up with water problems, or you might even end up damaging other components of the RV’s water system.
What Are The Steps Involved In Replacing A Waterline In An RV?
You ought to be able to replace the main water line on your own if the problem is located in that line.
The majority of home improvement and hardware businesses provide water pipes and hoses for sale at prices that are fair.
It is recommended that a small bucket and some paper towels be kept nearby in order to collect any water that may be released from the item.
It is recommended that you bring the old line with you to the store in order to ensure that you get a replacement of the same size and length.
While you are there, you might also consider purchasing some pipe tape for an investment of one or two dollars.
If you give the male end of each fitting two or three wraps of the thin white tape, you may make the connections “Bite” into each other more effectively, which will reduce the likelihood of leaks occurring in the future.
What If It Is Not A Problem With The Waterline?
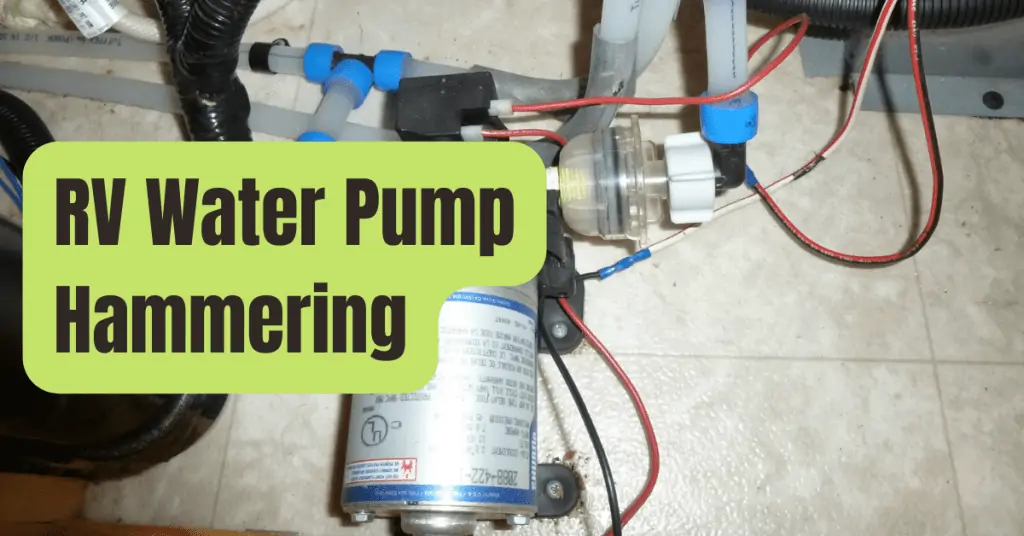
The majority of RV water pumps include a few minor moving components located within.
This might consist of a relatively modest-sized impeller that exerts a moderate amount of force on the water as it travels through the system.
Failure of an impeller may be caused by a variety of factors, the most frequent of which are silt buildup in a freshwater tank and excessive pressure from a municipal water supply that is linked to the tank.
On the other hand, time and wear and tear may have an impact, just as they can with anything that has moving components.
If you reside in a part of the nation where winter temperatures consistently drop below freezing and you failed to properly drain or winterize the water system of your recreational vehicle (RV), ice may damage several components inside of a water pump.
If you are mechanically inclined and have access to a reasonably well-stocked toolkit, you may be able to disassemble your water pump and examine it for signs of wear and tear.
You may improvise with the plumping pipe strapping if you aren’t one hundred percent convinced that it is installed in place with a rock-solid grip.
This will give you some additional piece of mind.
The majority of water pumps are fastened to the underside of the RV’s structure.
On the other hand, a more compact RV may have it located on the inside, perhaps next to the kitchen sink or the bathroom.
It could be a good idea to replace the water pump or take it to a professional to get it fixed if you aren’t very good with machines or if you don’t have too many tools available to you.
It is not too difficult to remove the pump’s installation and install a new one on your own, in the event that there is no nearby expert assistance.
To do this task in a secure manner requires numerous stages.
- Step 1: Disconnect all electricity to the RV’s water pump. In most cases, this requires pulling the fuse out of the wall or turning off the circuit breaker. If you are unsure of what to do, my advice is to turn off the electricity to the whole inside panel.
- Step 2: Detach the water pump from its mounting plate by either removing its bolts or unscrewing its screws. If you need more leverage, you may have to improvise a “Cheater Bar” out of a piece of PVC tubing if that turns out to be required. After you have removed the bolts, you will be able to disconnect the water and the electric lines.
- Step 3: Take the water pump with you when you go to a hardware shop or a store that sells camping supplies. Even if they don’t have a replacement, there’s a good chance you can locate one that will do the job. You should probably pick up a length of plumbing pipe strapping while you’re there too, just in case.
- Step 4: Connect the power and water lines to the new water pump that is being used as a replacement. Using pipe take, you must ensure that the make ends of the water connections are properly secured.
- Step 5: Attach the new water pump to the original mounting bracket. If you were unable to locate an identical replacement pump, some of the holes may not have been a good match. Even if you are successful in finding the ideal replacement, the preexisting holes may have been stripped.