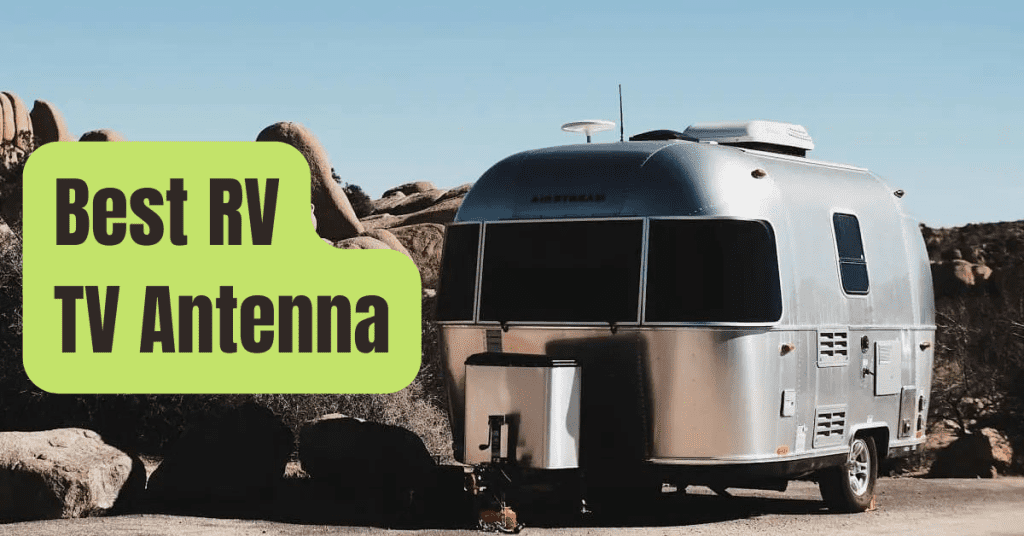
This is a how-to for making an RV Wi-Fi antenna.
We’ll show you how to construct a Wi-Fi antenna out of a Pringles box, as well as how to improve your Wi-Fi signal.
Make Your Own Wi-Fi Antenna For Your RV.
The following is a list of the steps you’ll need to complete this basic DIY RV Wi-Fi antenna:
- Make sure your wifi antenna’s base is ready.
- Drill a hole in the box
- The copper wire and connection should be soldered together.
- Install your wifi antenna’s connector.
- Prepare the parts for the wifi antenna’s front sensor.
- Assemble the sensor on the front.
- Your wifi antenna’s front sensor should be placed here.
This DIY will need the following materials:
- 1 box of “Pringles” and 2 lids to match;
- 1 screw-frame female N-type connection;
- 1 copper wire with a length of 3.81 cm;
- 1 threaded rod with a diameter of 6 mm and a length of 14.29 cm;
- 2 self-locking bolts with a diameter of 6 mm;
- 1 aluminium tube with a diameter of 10 mm and a length of 12.20 cm (or 4 sections of 3.05 cm);
- 5 steel washers with a diameter of 2.54 cm
Warning: Your computer must have a PCI card with a female SMA connection in order to attach your wifi antenna.
Step-By-Step Instructions For Building An RV Wi-Fi Antenna
1. Make sure your wifi antenna’s base is ready.
To make the base of your wifi antenna, follow these steps:
- Get a tube-size box of crisps, such as those from the “Pringles” brand.
- Empty the box fully and wipe out the interior with a towel to remove any vinegar stains.
- With a can opener, cut the inner edge of the opening and sand it smooth.
Caution: do not cut the box’s base.
2. Drill a hole in the box
Drill a 16mm diameter hole in the box using a drill, precisely 8.57cm away from the box’s base.
Tip: Drilling straight with a 16mm drill bit may cause the box to shatter.
Begin with a 6mm drill bit and increase the diameter of the drills to 16mm to expand the hole.
3. The copper wire and connection should be soldered together.
Take your N-type female connection and a copper wire that is 3.81 cm length.
Tip: Choose an N-type female connection with a screw frame instead of a holed frame.
4. Install your wifi antenna’s connector.
Connect your connection to the 16mm diameter hole on the interior of the box using copper wire.
Note: To keep the form of your box, glue rather than screw the base if you choose a frame with holes.
5. Prepare the parts for the wifi antenna’s front sensor.
To construct the front sensor of your wifi antenna, follow these steps:
- Cut your threaded rod with a 6mm diameter to 14.29cm in length.
- Cut the aluminum tube into four 3.05cm long pieces (10mm outer diameter and 8mm interior diameter).
- Cut the outline of a second “Pringles” box lid so that it has a diameter of 7.62 cm (and that it can thus fit into the box).
6. Assemble the sensor on the front.
Make a hole big enough to fit the threaded rod through in the center of the two box lids, then:
- Glue one of the steel washers with a diameter of 2.54 cm to the inside of the initial cover, near the hole.
- Insert a self-locking bolt into the threaded rod’s end and slide it into the cover’s hole.
- Then, along the threaded rod, arrange in the following order:
- A sliver of aluminum tubing;
- A washing machine;
- A sliver of aluminum tubing;
- A washing machine;
- The second cover, measuring 7.62 cm in diameter;
- A sliver of aluminum tubing;
- A washing machine;
- A sliver of aluminum tubing;
- A washing machine;
- A bolt that locks itself
7. Your wifi antenna’s front sensor should be placed here.
To sum up:
- Place your forehead sensor inside the box, with the original lid on the “Pringles” box in its original position.
- Connect your “Pringles” wifi antenna to your computer’s wifi card using a coaxial cable with male SMA connectors on both ends.
Good to know: A typical wifi antenna has a power range of 4 to 6 dBi (isotropic decibel). A “Pringles” wifi antenna has been tested and found to have a range of 12 to 15 dBi.
Tips & Strategies For Using Wi-Fi In Your RV
Many recreational vehicles may now be fitted with antennae and signal boosters, allowing your children to keep in contact with their pals… the same goes for you!
But how can you go online when you’re in the middle of nowhere?
You will have no issue accessing the web from your phone if you have a mobile phone with Wi-Fi (and a decent data plan).
You may also share your Internet connection with family members, however the signal may be weaker.
As a result, a Wi-Fi trailer signal booster comes in handy! Additionally, there are other versions of Internet boxes for RVs and 4G routers on the market; enquire!
However, a word of caution: make sure you have an adequate data plan to prevent bursting your data, since the price might be rather high if you go over…
Is Wi-Fi Available At All Camping Sites?
More and more camping sites are providing Wi-Fi Internet access to their clients, allowing them to remain in touch with loved ones, listen to music, keep up with the news, or check an Internet map, to plan out the remainder of their voyage.
However, although many campsites provide Internet connectivity to their clients, many do not do so for free.
To prevent unwanted surprises, find out about their costs before making a reservation.
How Can I Improve My Wi-Fi Signal?
With a Super WiFi USB 3 antenna, you can improve and extend your RV’s wi-fi signal!
Have you ever wished you could boost your WiFi signal’s range? If you respond no, you’re clearly not a fan of the Internet! However, most of us have experimented with various methods to get a more dependable and stronger wifi connection.
Some devices function, but the majority of them don’t provide any value.
The Super WiFi USB 3 Antenna, on the other hand, allows you to get service from 300 to 400 feet away, even over walls and other barriers! As a result, you’ll be able to pick up weak WiFi signals at campgrounds, restaurants, and other public areas while also extending the range of your home Wi-Fi network from your RV.
Simply insert it into a USB port on your computer to get robust WiFi service up to a mile away!
- It significantly boosts your Wi-Fi signal.
- Water-resistant indoor/outdoor design (IP65)
- The installation is simple, and the performance is outstanding.
- There were many mounting options available.
- A 15-foot USB cord is included.
- For rapid file transfers, “N” technology allows for connection speeds of up to 150 Mbps.
Final Thoughts On Using The Internet In Your RV
Do you need to keep connected while camping? This is made possible by the several technology included in your trailer.
Improve your trailer’s wi-fi signal with a cellular signal booster – If you can’t live without your emails or like to interact with relatives through Skype, you’ll want to be sure your RV has a dependable Internet connection.
Otherwise, the wi-fi signal may be lost, resulting in a slew of annoying scenarios!
Using your smartphone (mobile) to connect to the Internet is one of the greatest methods to obtain a decent wifi connection in your trailer.
Simply go to “Settings” and choose “Connection Sharing.” The Internet connection from your smartphone will then be shared with your laptop or tablet.
You may buy a mobile phone booster if more than one person in your trailer uses the Internet, or if the signal is poor at times.
This gadget device, as the name implies, boosts the cellular signal’s strength.
When camping, where trees might restrict the strength of the Wi-Fi signal in your trailer, we really prefer the cellular signal booster.
Many electronics retailers and large box stores sell mobile signal enhancers.
Please share your suggestions for improving your RV’s Wi-Fi connection!


