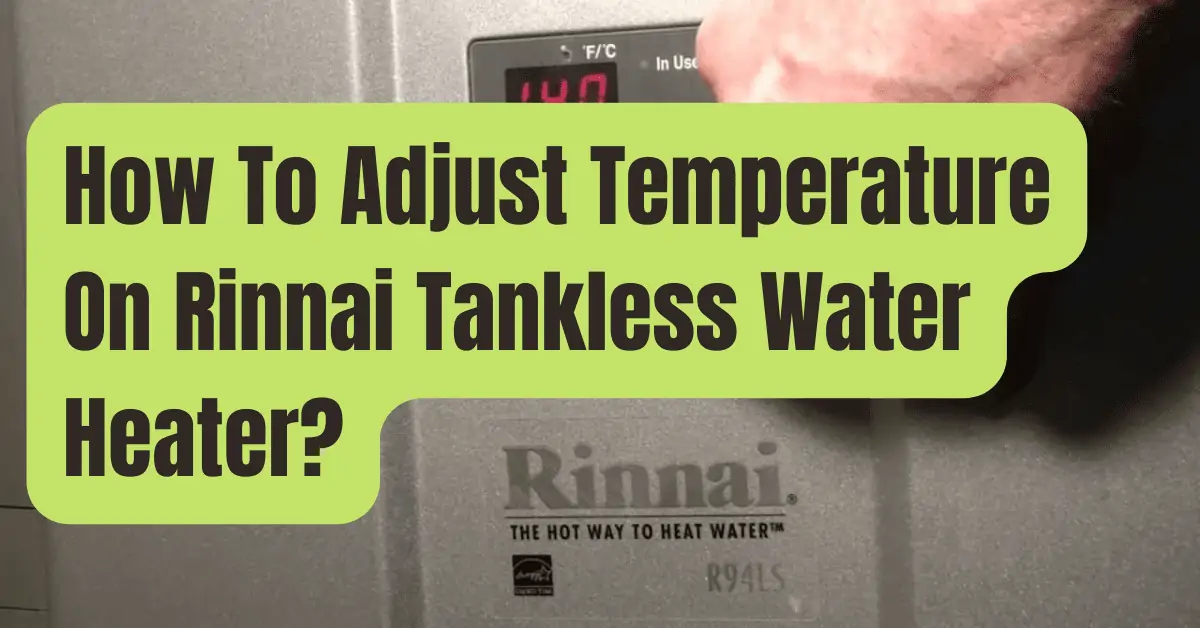
Are you interested in finding out how to change the temperature on your Rinnai tankless water heater?
The front panel of your Rinnai tankless water heater must be removed as the first step in order to reveal its internal workings.
This article will cover…
- The front panel being removed
- The priority button is pressed
- Adjusting dip switch SW1’s switch number six
- In dip switch SW1, changing switch #5
Let’s begin using this manual!
Maximum Temperature Settings for Rinnai Tankless Water Heaters
The bother of installing a tankless water heater just to find out it doesn’t heat the water enough for your home is the worst.
Unfortunately, numerous homeowners are unaware that Rinnai heaters may be set to a temperature higher than the standard 120F.
This default temperature may be raised in a few easy steps, and the majority of Rinnai tankless water heaters can be raised to a maximum of 140F.
The front panel of the heater must be removed as the first major step in altering the Rinnai’s temperature.
And you can usually regulate a Rinnai tankless heater by activating a dip switch.
Small switches arranged in series on a circuit board are called dip switches.
Other Rinnai appliances could use a particular button sequence in place of a dip switch.
The Rinnai V53DE tankless water heater will be particularly referenced in this guide’s instructions, although the overall process will be the same for other models.
Step 1: Turn On the Power
The electricity must be on in order to change a Rinnai unit’s preset temperature.
A dip switch will need to be modified, and you’ll also need to push buttons on the device, so the power must be on.
Step 2: Remove The Front Panel
Remove the front panel of the Rinnai tankless heater as the first step in changing the preset maximum temperature.
On either side of the water heater, there are two sliding plastic trim pieces.
The screw heads become visible when the trim pieces have been taken off.
An electric drill or screwdriver may be used to remove the four screws.
Remove the front panel with care.
Step 3: Select the Priority Button
The priority button must be shining green.
Press the priority button if not.
Step 4: Flip Switch #6 in Dip Switch SW1
Look at the little switches that are linked in series to a circuit board inside the Rinnai tankless heater; these are the dip switches.
A Temperature Controller Is Used.
There is a specific switch to turn if your Rinnai tankless heater includes a temperature controller (up/down arrows to vary the temperature).
You must switch #6 in the dip switch SW1 to the “on” position in order to change the maximum temperature from 120F to 140F.
The row of tan switches within the heater is the dip switch SW1.
You must press switch number six.
No Temperature Controller Present
There are only two temperature settings available on a Rinnai tankless heater without a temperature controller: the maximum 140F and the default 120F.
You must turn switch #5 (rather than #6) in the SW1 dip switch to raise the temperature setting to 140F (tan-colored switches).
Step 5: Verify The Temperature Change
If your device has a temperature controller, all you need to do is press the up arrow to check if you can raise the temperature and make sure the dip switch functioned.
Whether you don’t have a thermostat, you may try opening a faucet to check if the temperature rises.
Step 6: Install The Front Panel
You may now reinstall the front panel after changing the default temperature setting and making sure the change was made.
Put the four screws back in place, then slid the two plastic trim pieces to the side.
Issues With Safety When Max Temperature Is Increased
When changing the hot water temperature in your home, particularly if you have young children, you should always use caution.
When the water is 140 degrees Fahrenheit, scaling may happen in only three seconds.
The CDC advises maintaining your Rinnai tankless water heater at 120 degrees Fahrenheit or below if it lacks a temperature controller and you have young children.
If you have a temperature controller, after setting the default, you may modify it anywhere between 120F and above, but below the maximum temperature of 140F.
Insufficient Hot Water
Additionally, if you aren’t receiving enough hot water after increasing the default, you could try to reduce the temperature a little.
You won’t need to mix in as much cold water at the faucet and will get more hot water if you adjust the temperature to the level that you really use there.