In our van project, where do we put all of the electrical parts? We chose to make our own battery housing out of plywood since our van has two large AGM (absorbed glass mat) batteries.
A battery box is not necessary for sealed batteries like AGM or LiFePO4.
Battery boxes are essential with older wet cell lead acid batteries since sealed batteries should not leak or vent corrosive vapors if charged and discharged correctly.
These are two reasons why.
However, we still considered having a battery box for our batteries to be a good idea since it would:
- Make a container to isolate the batteries from everything else in our back storage space.
- Avoid shorting or allowing the battery connections to make contact with something they shouldn’t
- Keep dog hair, dirt, filth, and other contaminants away from the batteries.
- Give some protection in case the batteries or charging mechanism experience a catastrophic failure.
A battery box may not be required for AGM batteries, but we felt comfortable having one.
Additionally, none of the commercially available battery cases would suit our unusually sized cells.
Thus, we created our own.
This article explains how.
Is a Battery Box Even Necessary?
Sincerity speaking, probably not (unless you’re using outdated flooded lead acid batteries).
Nowadays, the majority of batteries you’ll really purchase are either lithium iron phosphate (LiFePO4 or LFP) batteries or maintenance-free AGM batteries, neither of which need to be contained.
While some kind of terminal protection is advised, a separate battery cabinet is obviously overboard.
Our Battery Box’s Design
Our two VMAX 155ah deep cycle batteries are housed in a battery box that we manufactured.
They measure around 13-12″ long, 6-34″ broad, and 11-12″ tall.
Our battery box’s inside needed to be around a 14″ x 14″ square since we chose to have them sit side by side.
Additionally, we need a lot of space above the battery connectors.
The parts we chopped are shown below:

The rear of the battery box is higher than the front.
For two reasons, we angled the top of the battery box upward:
- Once the battery box is put underneath our pull-out queen-sized bed frame, it will be a little bit simpler to lift the lid and reach the batteries.
- The elevated section offers the hydrogen gas someplace to ascend and vent out via the vent holes that we constructed if our batteries did leak hydrogen gas. When vented out to the bigger area of our vehicle, hydrogen is less harmful since it may be explosive when contained in a tiny space like a battery box.
Note: Gas venting from AGM batteries is quite unusual. All of this is preventative.
In order to assist contain battery acid in the (very rare) case of a leak, we additionally lined the inside of the battery box with plastic.
If you already have LiFePO4 batteries, skipping this step is not essential at all.
Putting the Battery Box Together
Materials We Used to Construct Our Battery Box
- ½” Birch Plywood
- 1×3 furring strips
- 6 Mil Plastic Sheeting
- 1-½” Angle Brackets
- 1” Pocket Hole Screws
- 1-¼” Pocket Hole Screws
- 1” GRK Cabinet Screws
- 1-¼” GRK Trim Head Screws
- 1-½” Spade Drill Bit or Hole Saw
- 3/4″ Self-tapping Screws
- 12” Piano Hinge
- Safety Hasp (Latch)
- Gorilla Tape
- 3M High Strength 90 Spray Adhesive
- Titebond II Wood Glue
- Tie Down Straps
- Light Duty D-Ring Anchor Points
- Kreg Jig Pocket Hole Kit
- Cordless Drill
- Carpenter’s Square
- Jigsaw
Step 1: Measure And Cut The Pieces Of Plywood
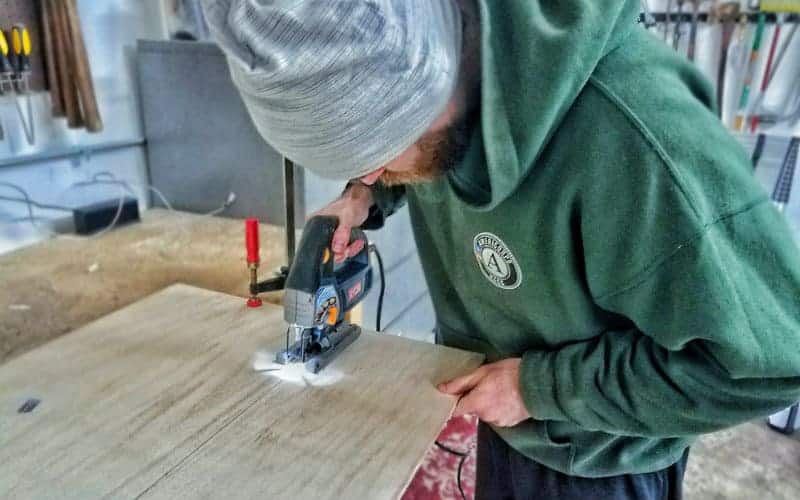
We started by using our reliable jigsaw to cut off each piece of plywood.
We initially used a carpenter’s square to mark the dimensions on the plywood for the angled sections.
Step 2: Drill Pocket Holes
Using pocket holes, we joined the box’s sides together.
If you aren’t acquainted with pocket hole joinery, it is a game-changer for woodworking projects.
See our article on how to use pocket holes in a van construction.
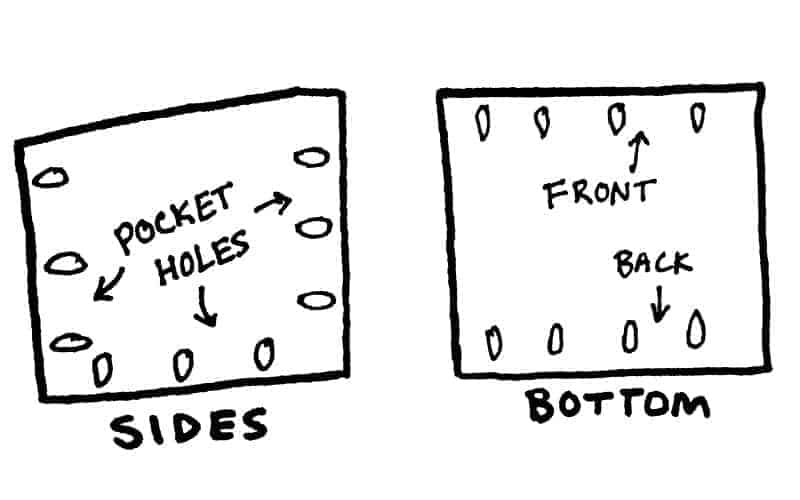
Every side of the angled side pieces, save the top, has a pocket hole.
On the sides facing the front and rear of the box, the bottom portion was given pocket openings.
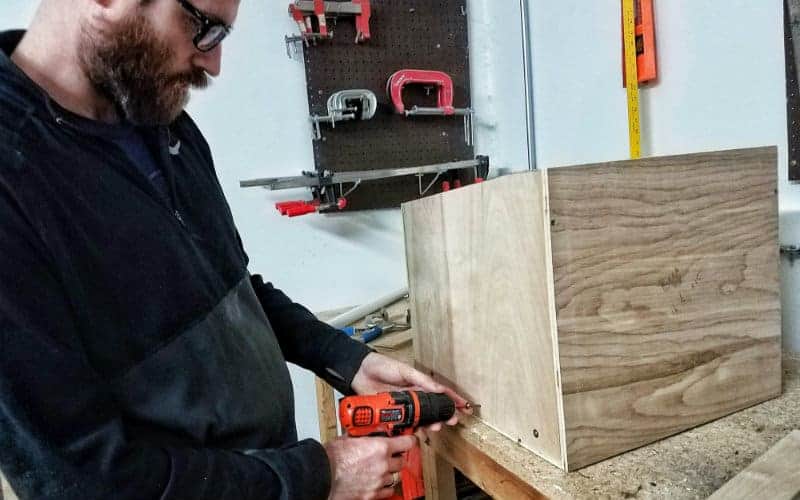
Step 3: Screw The Box Together.

We assembled the box using 1″ pocket hole screws after drilling the pocket holes.
While we inserted the screws, our Kreg right-angle clamp really helped keep everything in alignment and in position.
Step 4: Cut 1×3’s for Spacer
We needed a mechanism to secure the batteries within the battery box since we built the box with some wiggle area to allow for ventilation.
As a result, we used pocket holes and 1-14″ pocket hole screws to join 13 furring strips into a square to create a spacer.
Our battery box’s bottom accommodates the spacer perfectly.
Step 5: Install a Spacer
We firmly fastened the spacer with 1″ GRK cabinet screws pushed in from the outside after positioning it inside the battery box.
Step 6: Verify the Batteries Fit
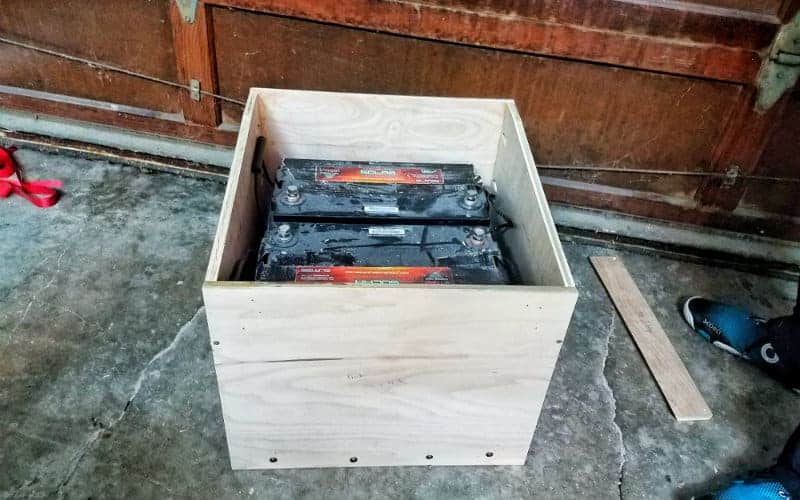
We didn’t make any mistakes with our measurements, as shown by the dry-fitting of the batteries!
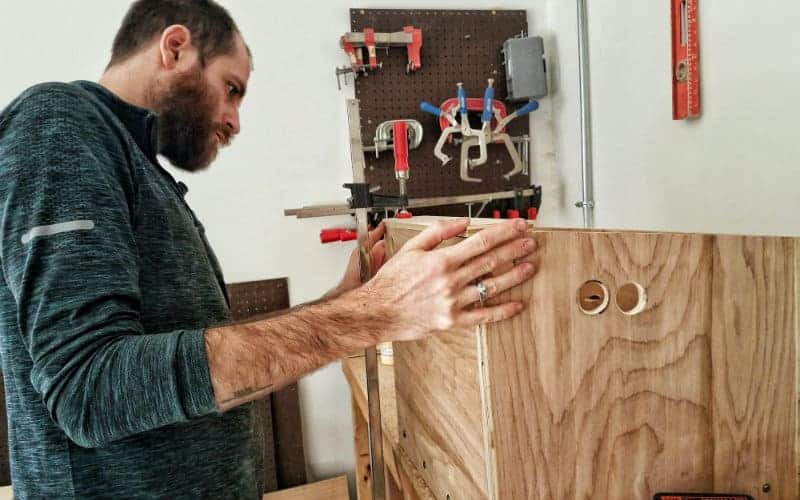
Step 7: Drill Vent and Wiring Hole Holes
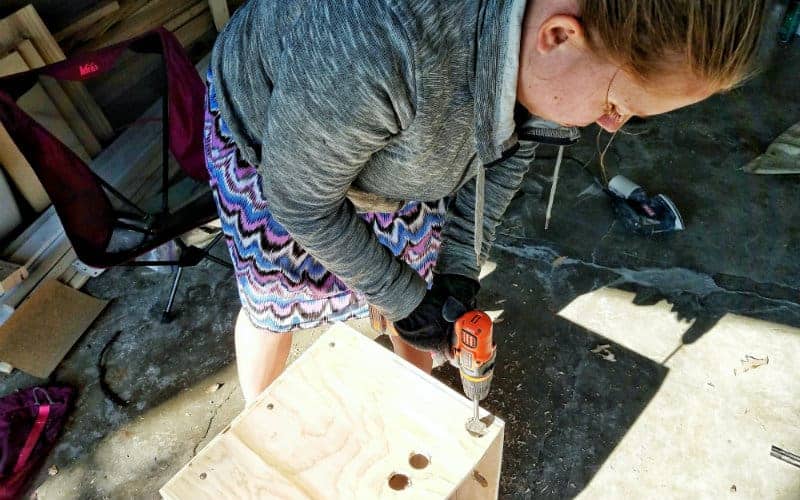
We used a 1-12″ spade drill bit to make a number of holes in the front, sides, and rear of the battery box for ventilation (a hole saw would work too).
Four holes were drilled onto the front of the battery box a few inches below to let fresh air in.
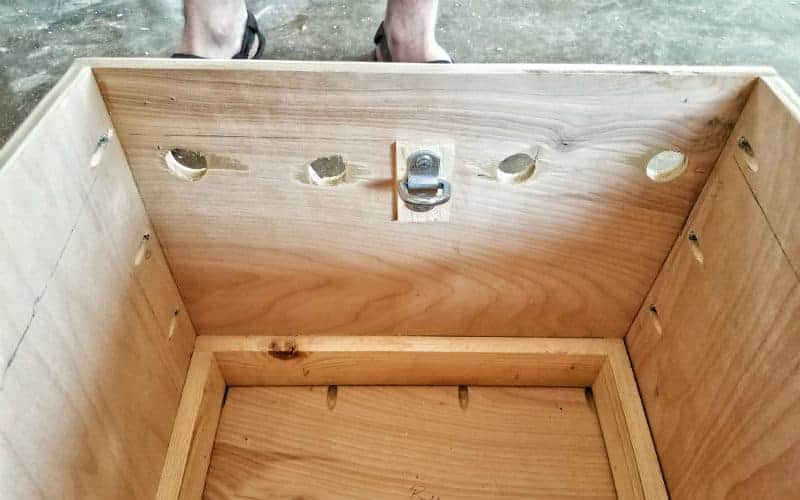
To allow any released hydrogen to rise up and escape, we drilled holes directly at the top of the angled side pieces and three more holes along the top of the rear piece (this is very unlikely with AGM batteries).
On the left side, which is the side closest to the remaining electrical components, we also bored holes halfway down for our wire.
Step 8: Install the Anchor Points for the Ratchet Straps
We may secure our batteries using the two D-ring anchor points within the battery box (one on the front and one on the rear).
We installed them using 3″ self-tapping screws, Titebond II wood adhesive, and a piece of 1″ plywood as a spacer.
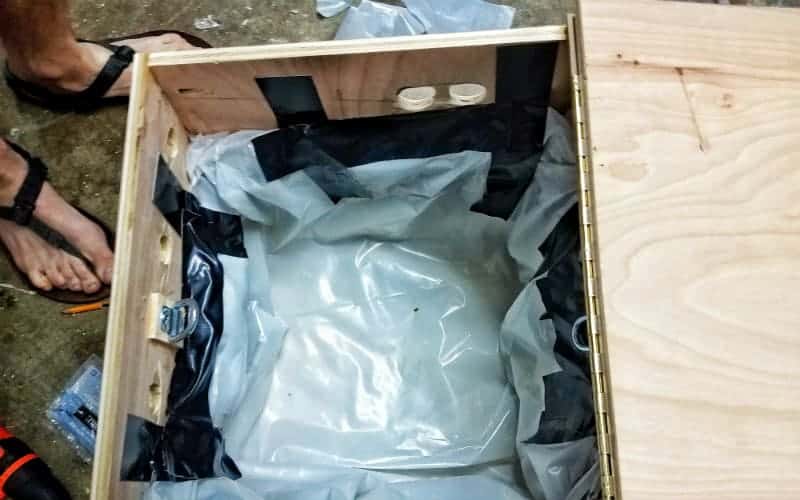
Step 9: Layer Plastic Sheeting Inside The Box (Optional For AGM Or LiFePO4 Batteries)

Just in case anything goes horribly wrong and there is an acid leak, we lined the interior of the battery box with plastic (again, very unlikely with AGM batteries).
Wood will be destroyed by battery acid, but plastic will stop it.
Using 3M High Strength 90 spray adhesive, we purchased a roll of 6-mil plastic sheeting and adhered four layers, going approximately halfway up the inside of the battery box.
To prevent the top from collapsing in, we also utilized Gorilla tape.
You may also coat the inside of a hardwood battery box with epoxy and fiberglass if you want something that looks cleaner and don’t mind getting your hands a little more filthy.
It was simpler, we reasoned, to line it with plastic.
Note: With AGM or LiFePO4 batteries, this step is not necessarily essential.
Step 10: Install The Lid, Hinges, And Latch
First, we used 1-14″ GRK trim head screws and Titebond II wood adhesive to attach a nailer strip to the flat portion of the battery box’s top.
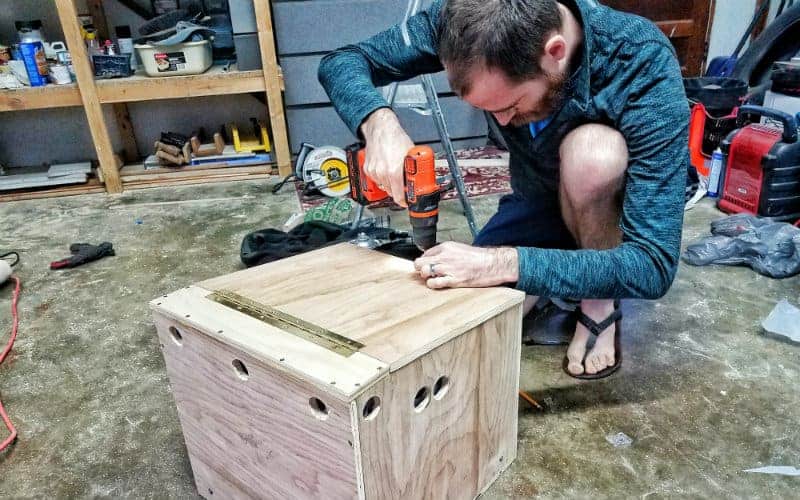
The lid was then placed, and the piano hinge and safety hasp latch were added.
A Report from the Road
Once the battery box was installed beneath our bed, it proved to be a little challenging to completely lift the top.
We divided the lid in half and added an additional hinge to remedy this problem so that it requires less space above the container to completely open.
Step 11: Take A Look At The Completed Battery Box
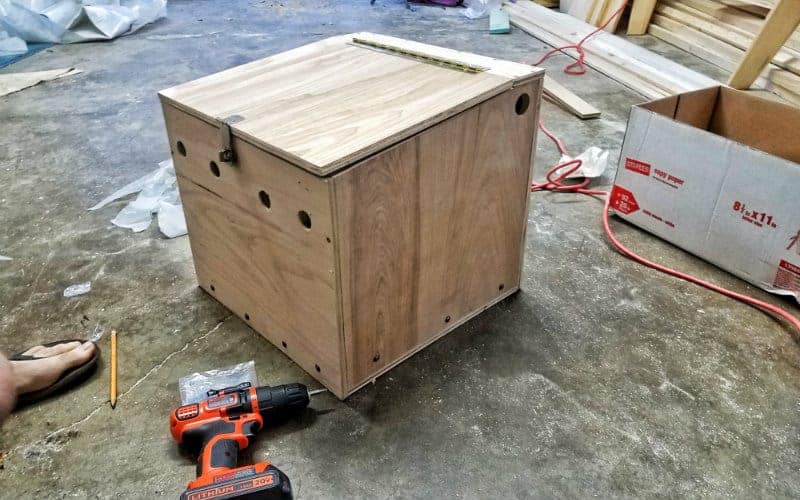
Reflecting on your development is something you should do often.
Step 12: Install Battery Box Inside Van

After positioning the battery box where we wanted it, we used a ton of 1-12″ angle brackets and 34″ self-tapping screws to attach it directly to the laminate flooring and bed frame.
There’s no moving this thing!
Step 13: Tie Down Straps Are Used To Secure Batteries.
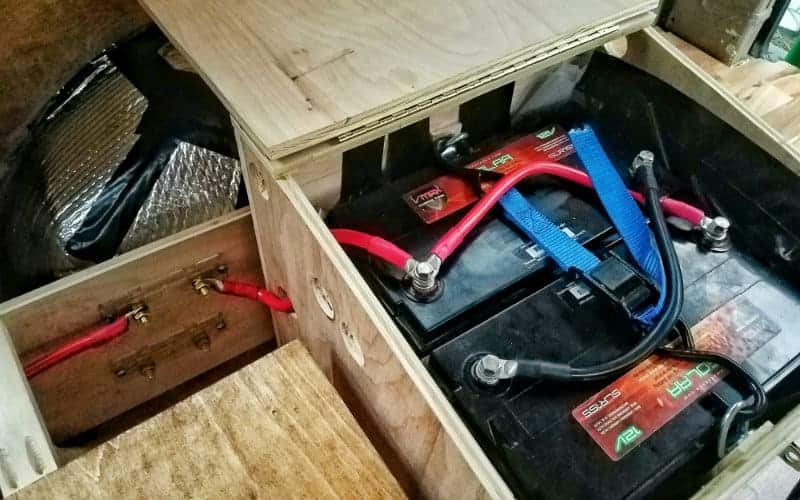
We then tied them down and inserted the batteries.
The exciting phase will now be connecting our electrical system!
And that is the fast and easy way to construct a plywood battery box.
This box is far more durable than many commercially available plastic battery boxes, accomplishes the function we need it to do, and is specifically sized for our vehicle and batteries.
With sealed batteries, a battery box may not be necessary, but we still believe it’s a terrific addition to our vehicle.