It’s time for a filter replacement whenever you notice a sudden change in the flavor of your water or an increase in the TDS level.
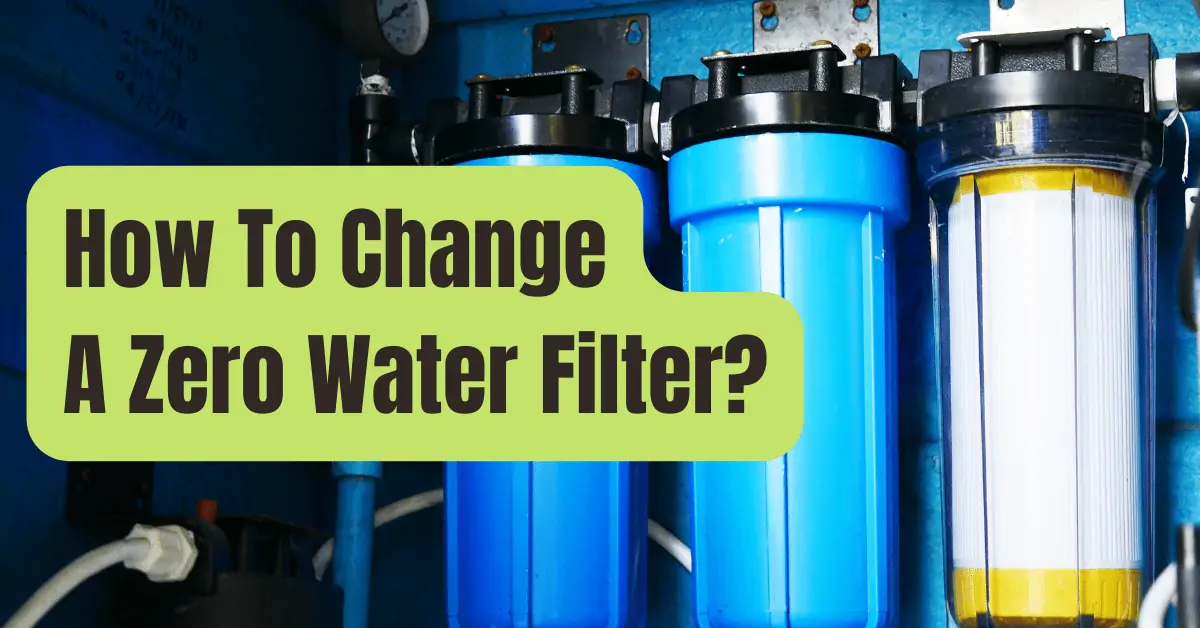
There is no longer a cause to fear replacing your ZeroWater filter.
As frictionless as a replacement process is capable of becoming.
Remove the package and blue cap from the new filter, install it by twisting it clockwise from its base until there is a full seal, and then reassemble the filtration system to replace your ZeroWater filter in any filtration system.
There are many filtration systems available from ZeroWater, including pitcher, dispenser, shower head water filter cartridge, and faucet filters.
Learn how to clean your ZeroWater filter, how frequently to replace it, and how to change the ZeroWater filter in each system in this post.
Additionally, you’ll learn how the ZeroWater system works and why some gold beads may be present in ZeroWater pitchers or dispensers.
How To Replace The Filters In A Zerowater Dispenser Or Pitcher
For ZeroWater pitchers and dispensers, this filter replacement technique works.
- Remove your pitcher’s cover and water reservoir to disassemble it.
- Turn the old filter counterclockwise until it comes out of the reservoir’s bottom, then throw it away. Through ZeroWater’s recycling form, which is a printable document, you may recycle the old filter and save some cash on replacements in the future.
- To ensure a good seal, clamp your new filter tightly starting at the bottom of the reservoir in a clockwise motion. The filter is not screwed in firmly if there is water seeping between the silicone ring and the reservoir.
- Put the pitcher back together with the reservoir inside and add cold water.
- Put the cover back on and wait for the filter to generate clean, sparkling water for you to drink.
Note that after the package material and the blue cap on top have been removed, the ZeroWater filter for pitchers and dispensers is prepared for use.
Additionally, avoid attempting to install your ZeroWater filter from the reservoir’s top.
How To Replace The Filter In The Faucet Mount For Extremelife Zerowater
In the faucet mounts, you don’t use a pitcher or dispenser; instead, you receive filtered water from your faucet directly.
In these setups, to replace the filter:
- By rotating the swivel collar counterclockwise, first remove the filter housing.
- Turning the housing counterclockwise will allow you to remove the old filter.
- Turn the housing clockwise to insert the new filter.
- Then, after tightening the collar to the faucet threads in a counterclockwise manner, reinstall the filter housing on the faucet.
- Pull the valve stem, turn on the water, and flush the new filter for five minutes.
- To get to filtered water, turn the valve stem.
How To Replace A Shower Filter Cartridge In A Zerowater System
- Turn the shower head counterclockwise to remove it.
- Removing it from the shower pipe
- Remove the old cartridge by counterclockwise-clockwise unscrewing the filter from the head.
- The top half of the shower filter should be screwed to the bottom half once the replacement cartridge has been inserted (it drops in easily).
- To avoid leaks, make sure everything is well sealed.
If you have any problems changing any of these filters, go to the manufacturer’s instructions for further information.
The Operation Of The Zerowater Filter
Five-stage patented filtering is used in the ZeroWater system.
Different kinds of pollutants are removed from your water throughout each step of filtration.
- Dust, filth, and rust are removed in the first step.
- More suspended particles are taken out of the water during the second filtering step.
- Mercury, herbicides, and other organic water contaminants are handled by the ZeroWater filter’s third stage.
- The fourth process eliminates inorganic impurities like metallic ions and swaps them out for helpful ions.
- The fifth step secures the resin and eliminates any remaining floating particles.
Filter screen, foam distributor, activated carbon and oxidation alloy, ion exchange resin, ultra-fine screen, and non-woven membrane technology are all used in conjunction throughout these phases.
These filters do a lot of work, so eventually they will wear out and need to be changed.
For your family to have access to refreshing and wholesome water, that is a little fee to pay.
Learn more about how the ZeroWater filter eliminates viruses and germs from your water by reading our article.
How Often Should A Zerowater Filter Be Changed?
There are instructions included with your ZeroWater filtration system that outline how often and when to replace the filter.
Typically, this lasts for between two and six months.
Your household’s water use, the sort of contaminants in your water, and the kind of system you’re using all affect the filter’s lifespan.
These typically determine the ZeroWater filter’s operating pressure and wear rate.
You may need to replace your ZeroWater filter more often than is advised.
Some warning indicators of a defective ZeroWater filtration system include solids in the filtered water, an acidic taste, a fishy odor, and a TDS measurement exceeding 006.
With ZeroWater pitchers and dispensers, a TDS meter is often included so you may take frequent measurements.
No matter how long you’ve been using the filter, as soon as you detect these irregularities, you know it has to be changed.
What Transpires If Your Zerowater Filter Isn’t Changed
Impurities are anticipated to build up in the ZeroWater filter over time.
A buildup of muck in your filtration system is unavoidable if you don’t replace it as advised.
It will get blocked, reducing the flow rate of the water and, sometimes, increasing the acidity and unpleasant odor of the water.
The longer you eat or use such contaminated water, the more toxins and potential health risks you will be exposed to.
When advised to do so, or as soon as you observe any unexpected characteristics in the filtered water, replace your ZeroWater filter.
Do Zerowater Filters Need Rinsing?
Contrary to other filtration systems, ZeroWater pitcher and dispenser filters don’t need pre-rinsing, pre-soaking, or pre-flushing.
It should be your pitcher or dispenser if you’re washing or rinsing anything before putting the new filter in.
You must flush the new filter for around five minutes after replacement for the ExtremeLife faucet mount filter (linked to ZeroWater website).
Cleansing A Zerowater Filter
When you wish to replace the filter, it is a good idea to clean your filtration system or device, such as the pitcher or dispenser.
Keep in mind that you are changing the existing filter, not cleaning it.
- Wash the gadget with a gentle sponge, warm water, and liquid soap after dismantling it.
- Rinse well until the pitcher or dispenser shows no evidence of soap.
- After air drying or using a paper towel to dry, install your new filter as previously mentioned.
You may have heard that in order to check for blockage, you should remove your ZeroWater filter.
Then, you should use tweezers or needles to make tiny holes in the filter so that water may travel through.
Other false information includes suggestions to clean the ZeroWater filter with a basic cleaning agent or to clear chemical clogs with a combination of baking soda and lemon juice.
Because putting a wrench, needles, or tweezers on the filter might harm the ZeroWater filter mechanism and make it utterly worthless, these techniques are not advised.
Additionally, even if you successfully replace the filter, putting chemical cleaners like soap or soda on it might ruin the flavor of your water.
In any case, carrying out any of these will reduce your ZeroWater filter’s ability to filter water.
It is typical for ZeroWater filters to lose some of their effectiveness over time.
After all, they are attempting to purge your water of various degrees of contaminants.
Replace the old filter with a new one to manage the change in efficiency in the best and safest manner possible.
What Do My Zerowater’s Gold Beads Represent?
As previously mentioned, the ZeroWater filter creates clean water using activated carbon and ion exchange resin technology.
In the ZeroWater filter, the ion exchange resins are often present as gold, amber, orange, or yellow beads.
They are in charge of purging your water of inorganic impurities.
It indicates that the carbon in the filter is dehydrated or that a high pressure stream of water is hitting the top of the filter if you see resin beads rising to the top of your pitcher.
Conclusion
Your ZeroWater filter has to be replaced after some time since it becomes clogged.
This is because it has cleaned your household’s water so thoroughly that it is pure and wholesome.
Filter replacement is a simple technique that needs no technical expertise.
We trust that you have all the knowledge you need to change your ZeroWater filter after reading this page.

