RV Battery Charging: 5 Different Methods
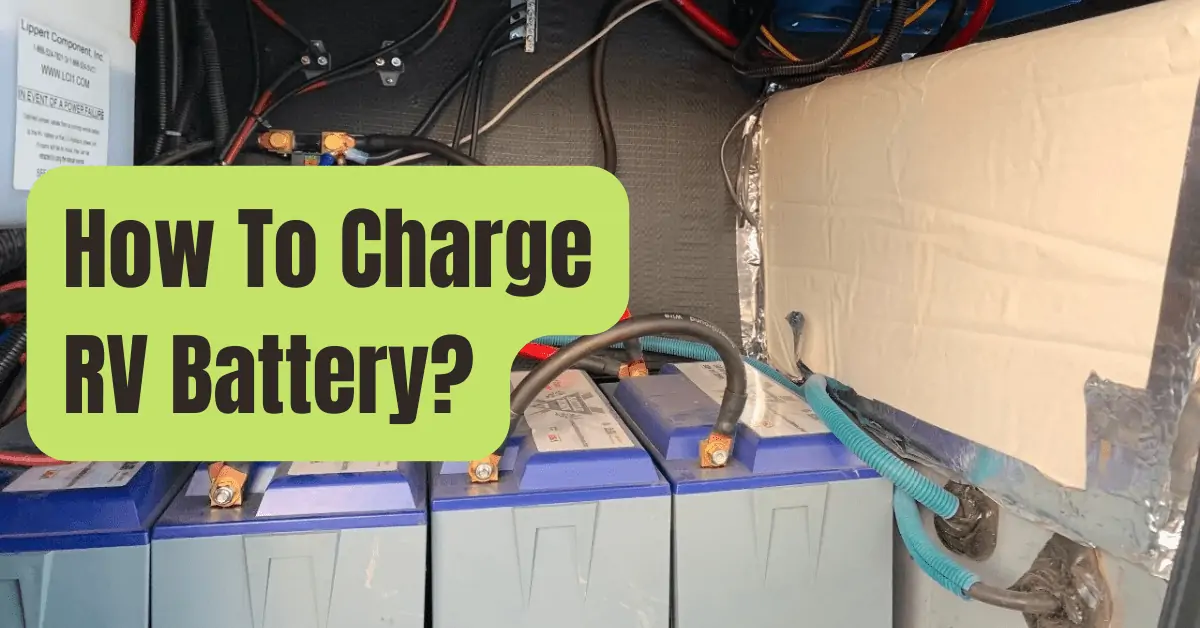
The first thing you’ll need to know is what kind of batteries your RV has before you can figure out how to charge them. In general, there are three distinct typical kinds of RV batteries.
RV Battery Varieties
- Lead acid: Most flooded lead acid batteries have little caps that must be removed to replenish with distilled water (to minimize adding impurities).
- AGM: This stands for “Absorbent Glass Mat,” which relates to how the battery is built. These are spill-proof, sealed, and need no maintenance. (They may also include a gel-based material.)
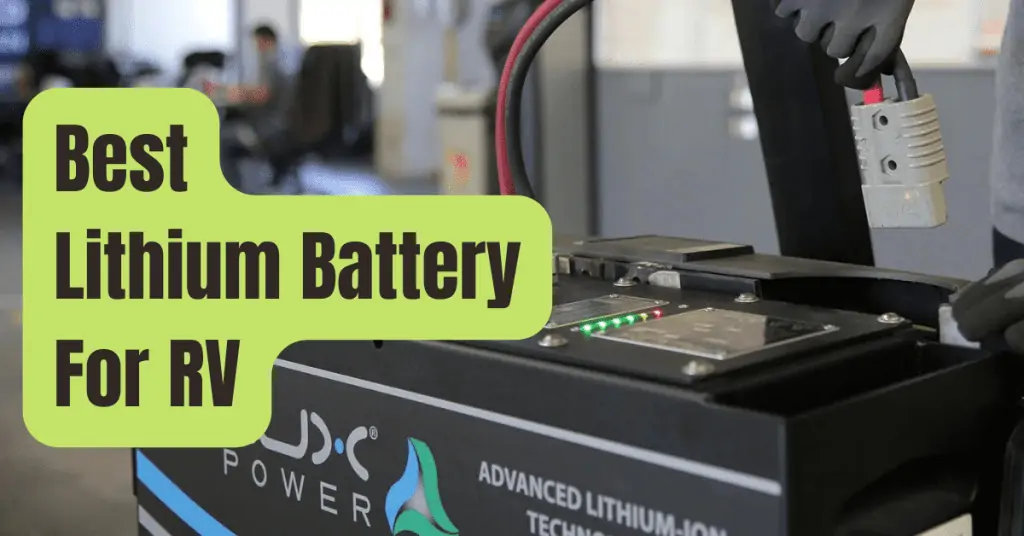
- Lithium: These batteries are often referred to as lithium iron phosphate, or LiFePO4. Despite often being the best option, they are not without drawbacks.
Almost all RVs are 12V systems by design, thus whether the batteries are connected in series or parallel, the combined output will be 12V.
However, there are several exceptions.
The major benefit of lithium batteries is that they may nearly totally drain without suffering any harm.
When they are depleted by 50% or more, AGM and lead acid batteries begin to suffer harm.
Additionally, lithium batteries retain a steady 14 volt output nearly to 5 percent left, while AGM/LA batteries provide a decreased voltage as they deplete.
(Model and manufacturer might affect this.)
The major drawback of lithium batteries is that they shouldn’t be utilized in very cold conditions.
Internal BMS (battery management systems) often forbid charging in extremely cold temperatures to prevent device damage.
However, each of these battery kinds has to be recharged after a discharge in order to replace the power that was previously stored for your usage.
Battery systems are all direct current systems (DC).
Electrical connectors and shore power use alternating current (AC).
It will often be 12 volts DC, but it might also be 24 volts or even 48 volts depending on how your battery bank is set up.
Understanding how your bank is organized is crucial.
In this post, we’ll refer to a 12V battery bank as an example.
How To Charge Batteries In An RV
Step 1: Shore Power And A Converter
The majority of RVs on the market now come with converters.
This gadget transforms the AC from a shore power connection into DC, which may be used to recharge a battery.
The converters are often hidden from view in a storage area or the underneath of the vehicle, however they are typically adjacent to the battery bank.
Depending on the gadget, a converter could also be an inverter sometimes.
To provide AC power to your plug-in gadgets, inverters convert DC electricity.
Have a licensed electrician check this equipment for correct operation if your batteries aren’t charging from your shore power connection.
Additionally, they could be connected to a breaker in your electrical panel.
Make sure the breaker hasn’t tripped, and if it has and you reset it, get the converter tested and/or replaced.
Step 2: Generators for Camping
Many RVers enjoy boondocking on public lands or other appropriate spots to escape the crowds.
There won’t be any shore power available under these circumstances.
Some recreational vehicles (RVs) come equipped with generators, and your seller may elect to add one.
Portable generators are a must for those smaller setups.
There are also “contractor grade” generators available.
These are often noisier and bigger.
We wouldn’t advise using one, and your neighbors won’t like it if you do.
Some of the most effective generators incorporate “inverter” outputs that may power AC appliances directly in addition to generating DC power for your batteries’ recharging.
Batteries may be charged directly from a generator if it has the right connectors and cabling.
If not, connect your shore power line to the AC outlet on the generator to charge your RV’s batteries.
(To protect today’s delicate electronics, always make sure any inverter generator is a “pure sine” (not “modified sine”) version.)
Although these generators normally run on gasoline, propane may sometimes be added as a fuel source.
Larger RVs’ onboard generators may run only on propane.
The propane source for your heater, stove, and other propane-powered appliances will usually always be the same as this one.
Be aware of your levels!
Step 3: Solar Energy
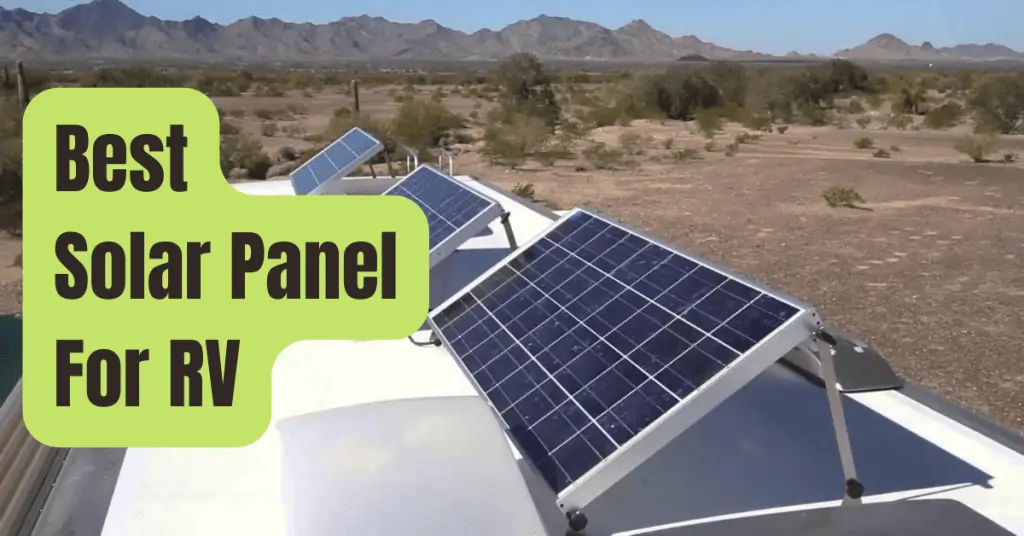
The RV sector is witnessing many more solar power implementations than it did only a decade ago due to the ongoing price decreases in solar panels and solar kits.
Other, more recent vehicles could even come with solar panels already placed on top.
Some manufacturers will install “solar ready” kits designed for transportable solar panels.
The fact that utilizing the sun is really free after solar recharging is installed is its finest perk.
Many RVers start out with a smaller, lower-output panel and gradually expand the number or output size as their requirements and finances change.
You must have a solid grasp of electricity and how it works in order to install solar.
For instance, you can’t simply connect your batteries and a solar panel straight! The output of solar panels may vary from very little to a lot of amperage.
A “controller” is part of a correctly constructed comprehensive solar power system and will monitor and regulate amperage for securely charging batteries.
PWM and MPPT are the two kinds of controllers employed in contemporary setups.
PWM is often less costly but less effective than MPPT.
However, both of them need to be properly sized for your battery bank and electrical system.
To be sure you obtain the best fit for your battery bank and your budget, speak with a certified solar installation.
What an RV’s roof may look like with several solar panels installed
Step 4: An RV’s Motor
The battery bank is incorporated charging from the vehicle’s motor in many bigger Class A and large Class C rigs, as well as some Class B rigs nowadays.
This implies that the engine that drives the truck when you move it from one location to another also serves as an on-board generator! This setup will keep your batteries charged as long as everything is operating as it should, regardless of whether the RV is fueled by gasoline or diesel.
Step 5: 12V Feed From Towed Vehicle
This also only applies to fifth wheels and travel trailers, as #4 above.
These RVs include wire connections to the trailer to make sure that when the tow vehicle operates the lights and turn signals, the trailer does too.
Larger trailers often feature a 7-prong connector.
An “auxiliary power” connection is sent by a single connection between the trailer chord connector and outlet.
This may provide a 12-volt power supply from your tow vehicle’s alternator—the same one that recharges your truck battery—and transmit extra power back to the RV if it is configured properly.
When everything is set up properly, your journey will be filling up the batteries so that you are prepared to switch on the lights and start the laptop when you get there.
Some tow trucks might even have an additional, special alternator fitted for this circuit.
The five most typical methods for recharging your RV batteries are listed above.
If you are aware of any further methods, please share them in the comments section below.
RVers have learnt to consult the professionals when seeking for useful how-to knowledge.
You may get all the knowledge you want to appreciate your RV on discussion boards like iRV2.com and blog sites like RV LIFE, Do It Yourself RV, and Camper Report.
Additional forums like Air Forums, Forest River Forums, and Jayco Owners Forum also have brand-specific information.

