This page includes affiliate links, just so you know.
At no additional cost to you, I could get a tiny compensation if you decide to buy anything after clicking on one.
I’ll demonstrate how to connect a solar panel to a charge controller in JUST 3 steps in this article.
I created a wiring schematic and step-by-step videos for your use.
If you follow the instructions, your charge controller will be correctly connected and configured in no time.
Let’s begin:
Step 1: Connect The Battery To The Charge Controller
This installation guide should not replace the manuals for your battery or charge controller.
Follow your handbook if it differs from these instructions.
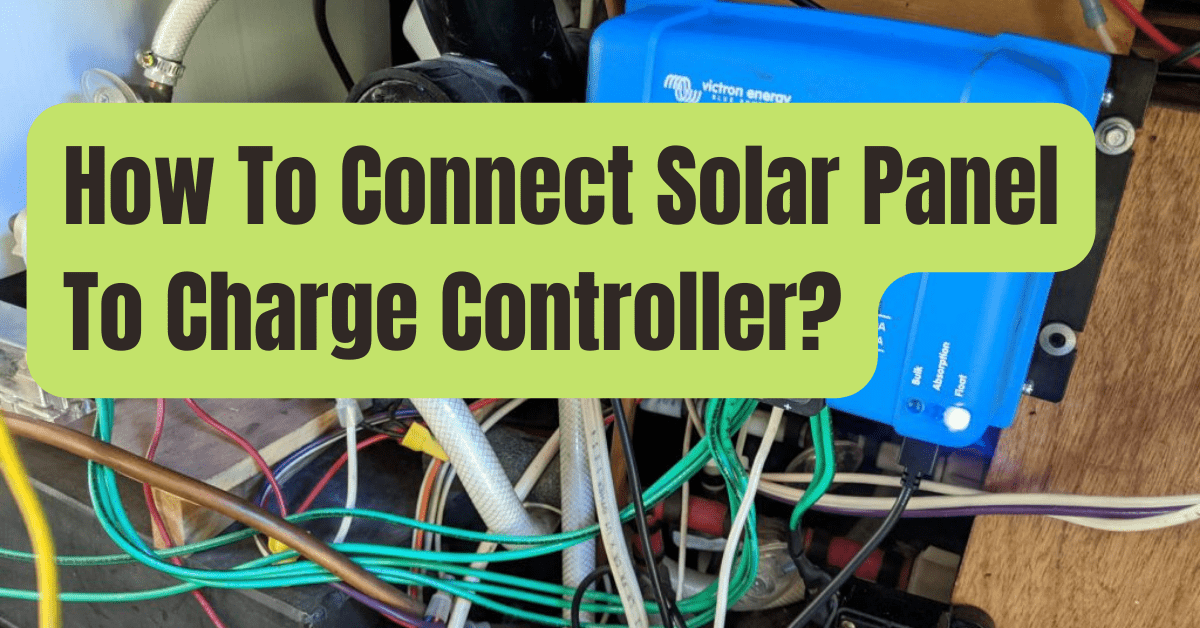
To connect a solar panel to a charge controller, look at the wiring diagram:
The crucial information is as follows:
FIRST, attach the battery to the charge controller.
The solar panel is then connected.
The charge controller may be harmed if the incorrect steps are taken.
And it would be absolutely no fun.
Ok! Connect this battery now.
Connect the negative battery cable to the “-” battery terminal on the charge controller.
Connect the positive battery cable to the “+” battery terminal.
The battery wires should now be connected to the battery terminals.
Positive must be connected after the negative.
Your charge controller ought to come on or illuminate.
For instance, when the battery is correctly attached, mine has a light with the designation “BATT” that illuminates.
Now that your battery is connected!
Step 2: Attach The Solar Panel’s MC4 Adapter Cables.
It just takes 20 seconds to complete this step.
Find the MC4 connections at the ends of the wires that connect to your solar panel.
There will be one for each gender.
They’ll appear as follows:
Connect the positive solar adapter cable and MC4 inline fuse to the positive solar panel cable.
Negative solar cable to negative solar adapter cable connection.
Keep the exposed wires apart!
I didn’t say it would take more than 20 seconds.
Now for the last action!
Step 3: Connect The Solar Panel To The Charge Controller
You have a working battery.
The wiring for your solar panel are ready to use.
It’s time to connect the solar panel to the charge controller, which is what you came here to accomplish.
Negative solar wire should be connected to charge controller’s “-” solar terminal.
The “+” solar terminal should receive the positive solar wire.
Note: The solar terminals on certain charge controllers are marked “PV.” The term “photovoltaic” refers to the process of generating electricity by employing solar panels.
The charge controller should flash up or otherwise signal that the solar panel is connected correctly, just like it did with the battery previously.
Check your charge controller’s handbook right now to determine whether any programming is required.
You may need to provide the voltage, battery type, or other information.
Fortunately for me, my controller’s default settings were compatible with the specifications of my system, so I didn’t need to make any changes.
That’s all, then!
You are now aware of how to attach a solar panel to a charge controller.
When disconnecting your solar panel, always do it in reverse order: unplug the panel first, then disconnect the battery.
Put your solar panel in the sun to use free solar energy to recharge your battery.
Consider your next DIY solar power project as you unwind.
Advice: Review my guide on building your first solar panel system if you’re looking for suggestions on how to expand this arrangement.
FAQs
What is the purpose of solar adapter cables?
Cables for your solar panel most likely have MC4 connections already connected.
For connecting two solar PV cables together, MC4 connectors work nicely.
They are unable to connect to a charging controller, however.
So, solar adapter cables are required.
Solar adapter cables are stripped at one end and feature an MC4 connection on the other.
The solar panel cable may then be connected to the MC4
connection and the stripped end to the charge controller in this manner.
What happens if my solar panel lacks MC4 connectors?
Purchase some solar adaptor cables with connections that are the same as the ones on the wires of your solar panel.
Cut two pieces of solar PV wire, strip both ends, then crimp on matching connectors to create your own if you can’t locate any.
When I attach my solar panel, why doesn’t my charge controller light up or switch on?
Most likely all your panel needs is some sun!
Place it in full sunshine outdoors.
When the panel is connected correctly and the battery is charging, your charge controller should flash up or otherwise signal this.
If it doesn’t work, look up troubleshooting in the instructions for your charge controller.