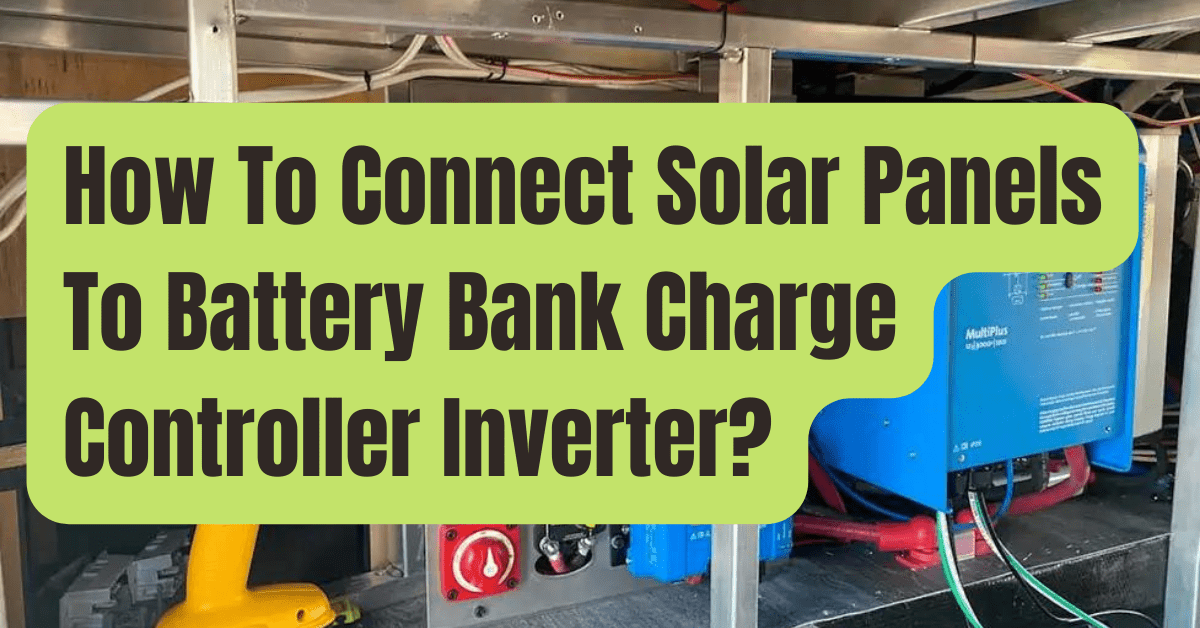
Here is the best place to learn how to connect solar panels to a battery bank, charge controller, or inverter.
As the top online provider for DIY solar panel systems for the last several years, Shop Solar Kits has gained a lot of experience building them.
In order to create an off-grid DIY renewable energy system, we will show you how simple it is to connect solar panels to a battery bank, charge controller, and inverter in this post.
Along the way, we’ll also provide some useful connections to further resources and compilations of our finest solar energy items.
But First Steps to Take Before a Solar Installation
The right components and pieces are very essential to guarantee a safe and dependable renewable energy system before you connect your solar panels to the rest of your system.
We advise you to keep in mind the following 5 Ps: Poor performance is avoided through careful planning.
How do you know your solar panels will operate effectively then? One of our solar energy kits is really one of the simplest methods to be certain.
Our solar energy kits are created for an easy, plug-and-play connection with all of the required instructions and customer assistance to help you accomplish your power.
They include purposefully selected solar panels, wiring, batteries, charge controllers, and inverters.
Solar Panel Components For A Homemade System
Your solar energy system will, of course, be built around your solar panels, which will provide emission-free power wherever the sun shines.
The charge controller, in addition to the panels, aids in controlling the electrical flow to the battery, which, with the assistance of the inverter, produces AC power.
It is necessary to acquire components with the appropriate connection parts and wire gauges for one another in order to transmit energy effectively between all of the key system components.
As I said before, our solar kits are offered with everything geared toward simple hookup.
When a solar generator is used, the method is even simpler.
Battery, charge controller, and inverter storage is conveniently combined with other interesting features in solar generators.
To start charging and utilizing the generator’s battery power in this manner, all that is required is to connect the solar panels directly to it.
What You’ll Need to Start
When starting a permanently fixed installation, you will also need a few other components in addition to the solar panels, battery bank, charge controller, inverter, and wiring.
Solar panels for houses, RVs, and off-grid situations may need the following gear, depending on your installation:
- Mounting hardware
- Screws, as well as mounting supplies
- The mechanical lugs
- Cable 2 AWG
- Screwdriver
- Cutter cables
- Drill
- Electrical tape in red
- Curved wrench
You may also wish to invest in an EMP Shield device and/or a transfer switch if you intend for your solar panel system to act as a backup power source for your house in the case of a blackout.
A transfer switch may be used to smoothly power a home with a solar battery backup when the power goes out, and an EMP shield will guard your house from lightning strikes and EMPs.

How to Connect a Charge Controller to Solar Panels
Ready to get technical now? Below are the instructions for connecting solar panels to a charge controller if you’re constructing your own DIY solar energy system.
Charge controllers should be rated to handle the necessary amount of watts, voltage, and amperage of the system’s solar input.
Solar panels may be linked in series or parallel.
Step 1: Confirm All Parts Will Work Together
The first piece of advise is to not skimp on a charge controller when making your purchase.
It never hurts to have a little extra space, so we advise purchasing a regulator that is rated to handle your maximum solar input and more.
Step 2: Determine the Pros and Cons
We’re not discussing your day’s events here.
Find your charge controller’s positive and negative terminals as well as the equivalent sockets on your solar panel instead.
Pay special attention to the +s and -s since incorrect connections might seriously harm your charge controller.
Step 3: Connect The Wires
Finally, use an MC4 cable or unique adapter to connect the positive terminals on the charge controllers and solar panels to one another.
Connect the negative terminals of the two components in a similar manner.
The simplest method to do this is via MC4 cables, and most non-MC4 solar components can be connected easily with an adaptor.
How to Join Solar Panels to a Bank of Batteries
Each watt-hour of power generated by an off-grid DIY system is transmitted from the solar panels and via the charge controller to a solar battery bank.
Even though certain items could already have the charge controller mounted, the battery bank is really linked to the charge controller and not the solar panels.

Step 1: Verify The Components And Area Are Secure
Move your solar panels out of the way or, better yet, unplug them before connecting your battery bank to make sure that no energy will be passing through your system.
Check your batteries to make sure the terminals are free of corrosion or damage.
Step 2: Disconnect the Wires and Remove the Ring Terminal
By removing the rings from the positive and negative terminals of your battery, you may get it ready to connect to a charge controller.
The positive and negative inputs of your charge controller should be connected to the appropriate battery terminals.
To maintain safety, it could be important to cover any exposed wires in this situation.
Step 3. Screw the Battery Rings on.
In order to safely and securely create a strong connection between the battery bank and the charge controller, screw the battery rings back on.
Instructions for Connecting Solar Panels to an Inverter
An off-grid system connects the solar power inverter and solar battery at the end.
Large inverters or even tiny microinverters may be connected right after the charge controllers for solar panels that are linked to the grid, eliminating the need for an on-site storage battery.
A solar converter is absolutely unnecessary if you have no plans to consume any AC power.

Step 1: Remove The Battery Rings Once Again
In the same location where the charge controller is installed, your inverter will be linked to the positive and negative terminals of your battery.
To prepare your inverter connection, safely remove the battery rings when the system is not generating energy.
Step 2: Compare The Positives And The Negatives
Here, like in all of our previous stages, you must locate the positive and negative terminals of the inverter and properly connect the wires to the battery.
Reposition the battery rings so that they are above the connections once again.
Cover any exposed wires that might sustain harm.
Step 3: Evaluate Your System
You are now prepared to generate and use sustainable solar energy thanks to the connection of the solar panels, battery bank, charge controller, and inverter.
Simply expose your solar panels to the sun, connect an electrical or appliance to the inverter, and see the magic take place.
Conclusion
We hope that this article has made it easier to understand how to connect a solar panel system by breaking it down into a few basic stages.
We strongly advise looking over all of our particularly created solar energy kits for easy connection and effective power production for the simplest installation possible.