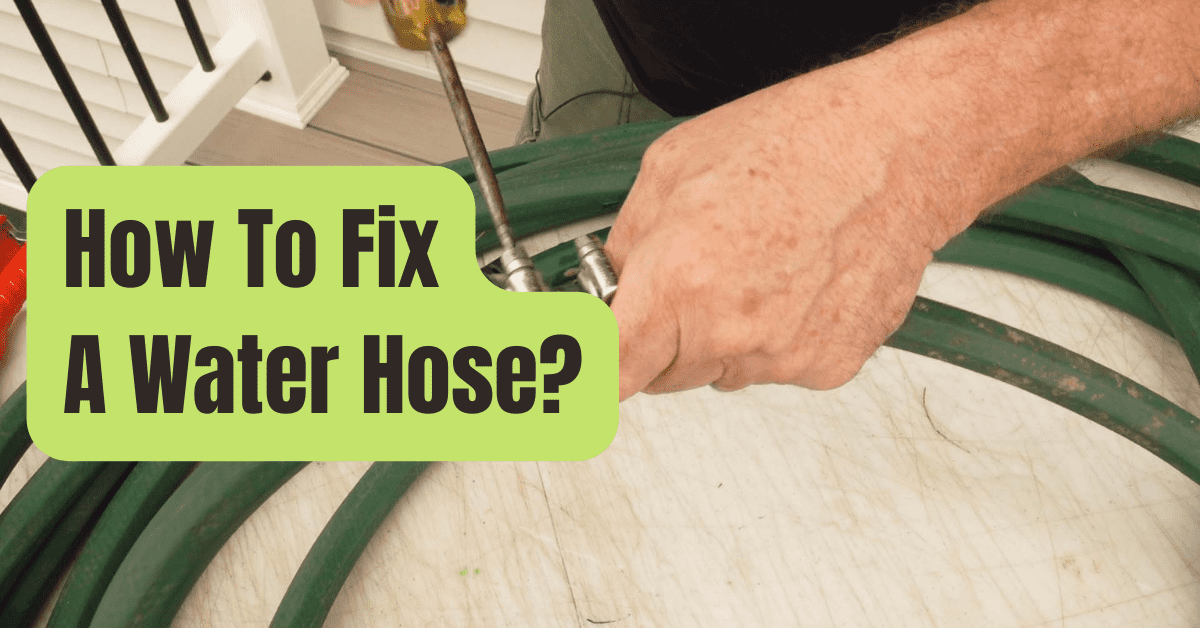
Garden Hose Leaks May Be Easily And Affordably Fixed.
Even though we independently choose every editorial product, we could be paid or earn an affiliate fee if you purchase anything after clicking one of our links.
As of the publishing date, ratings and pricing are correct, and the goods are in stock.
Introduction
A leaking garden hose is the most annoying thing ever.
In contrast to watering your yard, half of the water you use ends up in storm drains or on your shoes.
It’s not necessary to be that way.
Continue reading to discover several fast, low-cost, and simple garden hose solutions.
Tools Necessary
- The Phillips screwdriver
- Pliers
- Useful knife
Materials Necessary
Garden hose couplings for repairs
Project Progression
Step 1
The Leak Is Where?
- The solution may be as easy as changing the rubber washers in the female end of the hose and/or spray attachment if water is dripping from either end of the hose, such as at the faucet or spray attachment.
- Cut the hose end off and replace the connection if there is a leak within a foot of the male or female connectors.
- Cut off the damaged area of the hose and reattach it using a repair coupling if the leak is in the center of the line.

Step 2
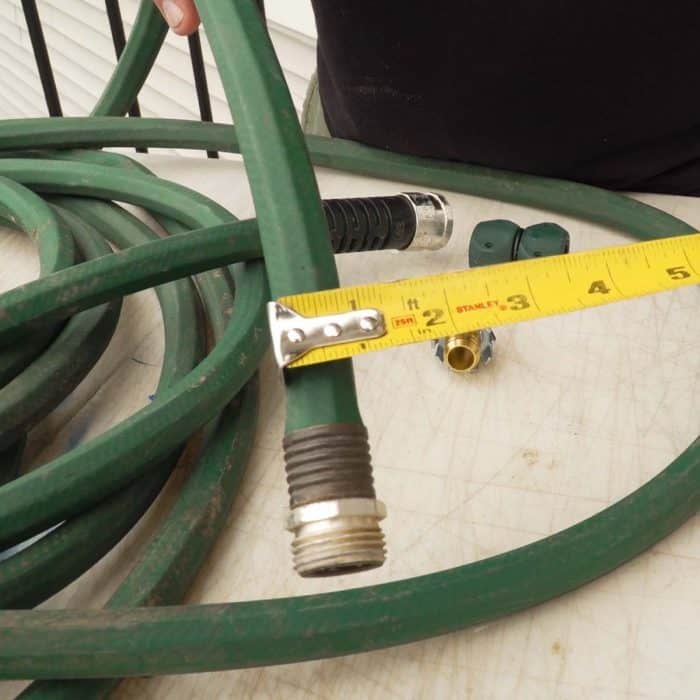
Measure
- Measure the size of your garden hose before going to the hardware shop for repair components. Garden hoses typically come in three sizes: 1/2-, 5/8-, and 3/4-inch. That is the hose’s ID (inner diameter).
- Normally, the OD (outside diameter) is 1/8 inch bigger than the ID. A 5/8-inch hose has a 3/4-inch OD, thus.
Step 3
Taking The Hose Off
- Using a utility knife or pruning shears, cut the damaged end or portion of the hose. For this, a Pex tubing cutting tool also works well.

Step 4
Four Quick Fixes
#1. Clamp Hose Repairers
- Clinch hose menders may be used to repair a hose’s ends or splice the center. Put the barbed end of the repair fitting into the damaged piece of the hose after cutting it off. By bending the tangs into the hose and equally compressing them using a set of pliers, channel locks, or vice grips, you may achieve this.


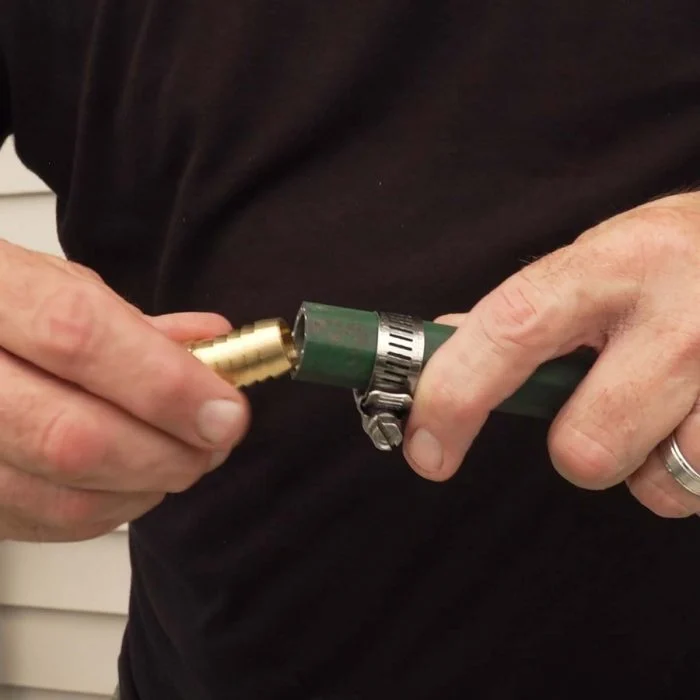
#2. Coupler Clamps
- Another simple hose repair involves using clamp couplers for ends and splicing hoses.
- Remove the coupler’s lid and screws.
- Enter the hose with the barbed end.
- Tighten the screws and replace the lid.


#3. Hooks for Hose
- For a splice repair, hose clamps and a three-inch section of 1/2-inch copper tubing work nicely.
- The cut end of the hose should be covered with a hose clamp.
- 1 1/2 inches of the copper tubing should protrude when you insert it into the hose. With a screwdriver, tighten the hose clamp at this point.
- The opposite end of the severed hose is covered by another hose clamp. Insert the 1/2-inch piece of copper tubing, then use a screwdriver to tighten the clamp.

#4. Mender for Compression
- The simplest garden hose repair is usually a compression mender.
- Remove the collar’s screws and detach it from the repair fitting.
- Put the collar on top of the hose.
- Before screwing and tightening the collar to the repair fitting, push the repair fitting onto the hose.

Step 5
Examine for Leaks
- After attaching the hose to the faucet, turn it on and look for leaks.
- Try tightening the screws or the collar on the fitting if a repair leaks.