We can put you in touch with a dependable and affordable expert in your region if you need to repair or replace your heating or air conditioning system.
Find a supplier!
Even tankless water heaters don’t need much maintenance; a yearly cleaning will increase their longevity and lessen the likelihood of corrosion.
In actuality, the water just passes through a tankless water heater, therefore it has no chance to have an impact on the water heater.
But there is always a chance for accumulation, particularly if you live somewhere with hard water.
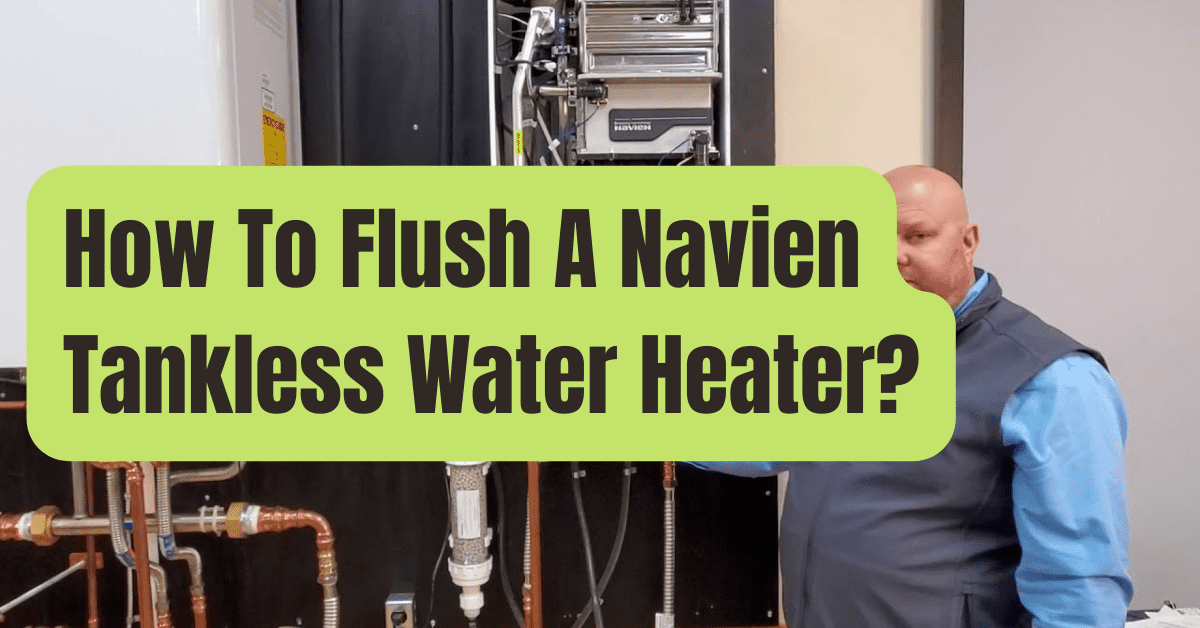
How Are Navien Tankless Water Heaters To Be Cleaned Properly?
You need to maintain your Navien tankless water heater sometimes if you want it to last for a long period.
Keep in mind that maintenance is heavily influenced by your location, the installation, the amount of usage, and the overall functioning of your unit.
It’s crucial to adhere to the instructions for a smooth and efficient cleaning operation.
1. Check the Gas Line
Inspect the gas line and switch off your heater after following it all the way to the rear.
The gas line often begins at the front and extends all the way to the back.
Examine the manifold, taking the handle and ensuring that it crosses the pipe.
2. Switch the device off electrically
Observe the bottom of your water heater for a red button.
To turn off the water heater, press and hold it for a few seconds.
3. Continue turning off the water.
The water shutoff valve for your Navien water heater is usually located just below it.
4. Remove the lid.
The cold air filter has to be removed, which requires you to remove your unit’s cover.
The majority of the time, four screws are required to be removed: two are located at the top of the water heater, and the other two are located at the bottom.
Grab the lid, take it off, and set it aside.
5. Disconnect your Navien water heater’s power cord.
6. You must pull the cold air intake filter out and clean it.
Cleaning the cold air intake filter is also crucial.
It may be where trash, insects, and bugs gather.
A screw need to be located at the front left of the intake housing.
Just a little amount of loosening will do.
Remove the additional screw at the front of the filter, then pull the screen out.
For cleaning the filter, get a dry toothbrush.
When it’s clean, put it back where it belongs.
Use a dry toothbrush instead of a wet one since this will just help the particles adhere to the filter.
7. Put the filter back into its slot and reinstall it.
In order for the screw holes to line up and match, slide it back into position.
Incorporate the filter once again.
8. Draining the water heater should now be done by turning a few valves.
Here’s how to go do it properly:
Both the hot water and the cold water valves should be shut off.
They must temporarily turn off the water heater after isolating it.
Observe the tiny pipes (a red and a blue one).
The lids must be taken off of these “service valves.”
Connect the hoses to the service valves and turn them open to allow water from the water heater to drain into a pail.
You may securely open the valves after the hoses are attached.
Allow them to drain until no more water comes out, about two minutes.
9. Scrub the Navien unit’s base.
The cold water filter has to be removed (right to the cold water isolation valve).
With a bucket below it, slowly open it.
Sometimes water may leak out.
You could see some debris and dark discoloration on the filter in addition to residue.
Gently scrub it with the toothbrush.
10. Put the filter back in place.
Manually tightening it and using your tool to add 1/8th of a turn are also options.
11. Control the ‘Dirt-Trap’
Locate a pin beneath your water heater and completely take it off.
straight down with the traps (it should have an O ring on it).
On the top layer need to go the o-ring.
Probably some dirt will be present inside.
You should use some water this time to wash it.
Put the holding pin and ring back on.
12. Water Heater Descalement
The scaling inside of your water heater has to be removed by running white vinegar through the system.
- Put two gallons of white vinegar into a bucket that holds five gallons.
- The cold service pipe should be connected to a sump pump, which you should purchase.
- After placing it in the bucket, plug the pump in. In order for the return side to point into the bucket, it must.
- White vinegar should be pumped into the cold side, via the water heater, and out the hot side.
- In contrast to the service valves, which should be in the “on” position, the big valves should be in the “off” position.
- For 45 minutes, let the vinegar run through the cool side.
13. Delete the Database.
To begin, shut off the service valves and unplug the hoses.
- A standard garden hose may be connected to the hot side service valve. You could put it moist in a bathtub and run hot water through the isolation side of it.
- To force water through the system, open the isolation valve on the cold side and the service port on the host side. It must emerge through the hot water port.
- Your water heaters should be cleaned of the vinegar.
14. Disconnect the hot side service valve by removing it.
15. Remove the service hose and seal the hot/cold side service openings.
Leave the service ports in the “off” position.
16. Turn on the water heater in your home.
17. Turn on the hot water.
18. Reinstall the cover
19. Reconnect the gas.
20. Push the power button.
You’re done now, everyone!
To repair, replace, or maintain your heating and air conditioning systems, we can undoubtedly put you in touch with a reliable service in your neighborhood.
Why not allow us to identify a specialist for you?