The inverter in an RV must be properly grounded in order to reduce the danger of electrocution for the occupants.
Both off-grid and grid-tied RV systems include the potential for lethal electrocution, so it’s vital to realize that both possibilities are not without danger.
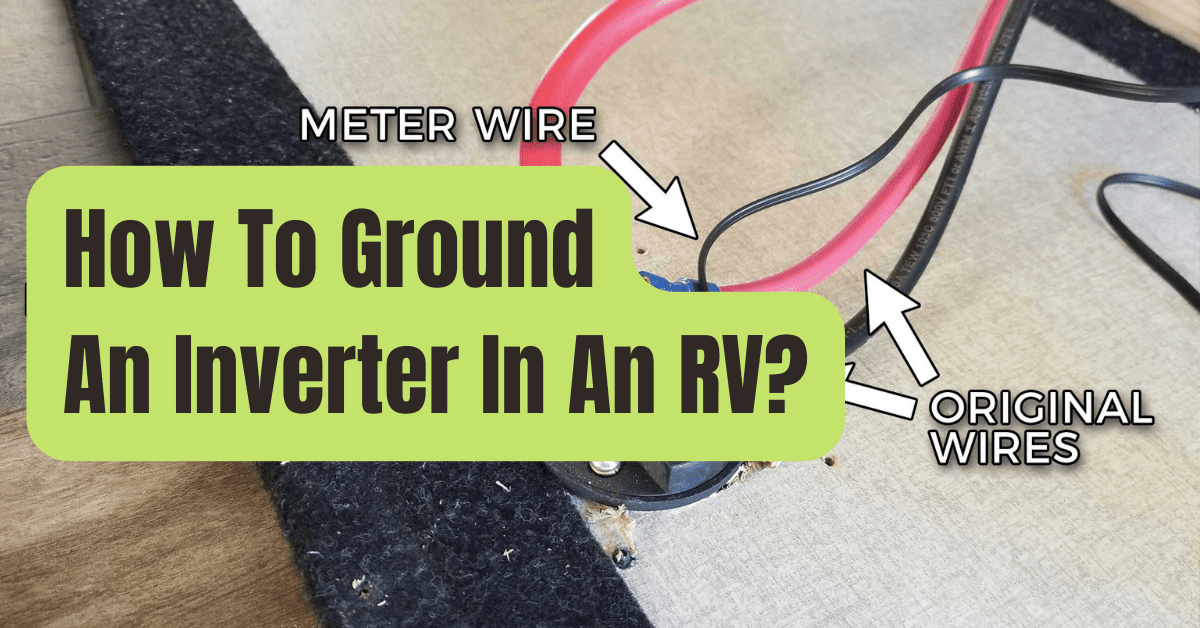
The battery wire and the inverter grounding wire must be of the same gauge or greater thickness.
A bolt-on connection must be used to firmly fasten the grounding wire to the RV’s chassis.
Always adhere to the manufacturer’s instructions while grounding an inverter.
For the following reasons, RV inverters need to be properly and firmly grounded to the chassis:
- Preventing electrical spikes from damaging the RV’s equipment;
- Grounding reduces the possibility of reverse current, which sends electricity to the AC appliances;
- The output voltage of an inverter is stabilized by grounding;
- Protects the RV’s occupants against harm, fire, or electrocution.
Let’s go through the electrical systems of an RV and talk about how to properly ground the inverter.
Should an RV be Grounded?
There is a requirement to ground an RV in some fashion.
Hot skin, a problem brought on by improper grounding of an RV, will result.
This implies that the metallic skin of the RV will charge up in the case of a short circuit.
The circuit from the skin of the RV through the person’s body to the ground will be completed if someone touches the RV.
A deadly shock may be produced by the current flowing.
An RV may be grounded in a number of ways.
It is already grounded within the socket you use for the electrical connection at campgrounds.
Use a multimeter to test the campsite’s given electrical connection point to make sure it is operational.
RV campers are notorious for being rough on the electrical outlets and often push their plugs into the electrical connection point, breaking off the ground pin and creating faulty protection.
A grounding cable connecting the inverter to the RV chassis must be fitted in off-grid power systems that use inverters.
Follow the inverter installation instructions precisely, and make sure the grounding wire is of a suitable gauge and is attached firmly.
Electrical Systems and Grounding for RVs
In order to power both the vehicle and the sleeping area inside the coach, an RV includes three separate electrical systems.
The starting motor, 12V lead-acid battery, and other vehicle-related DC loads are all powered by the vehicle’s 12V automotive system, which is also used to charge the battery.
The average RV coach features a 120V AC system to power the coach’s AC appliances and a 12V DC system to power any modest DC loads.
A power inverter may be used to supply the 120V AC by drawing DC from the home batteries and converting it to alternating current (AC) to power the appliances that need AC power.
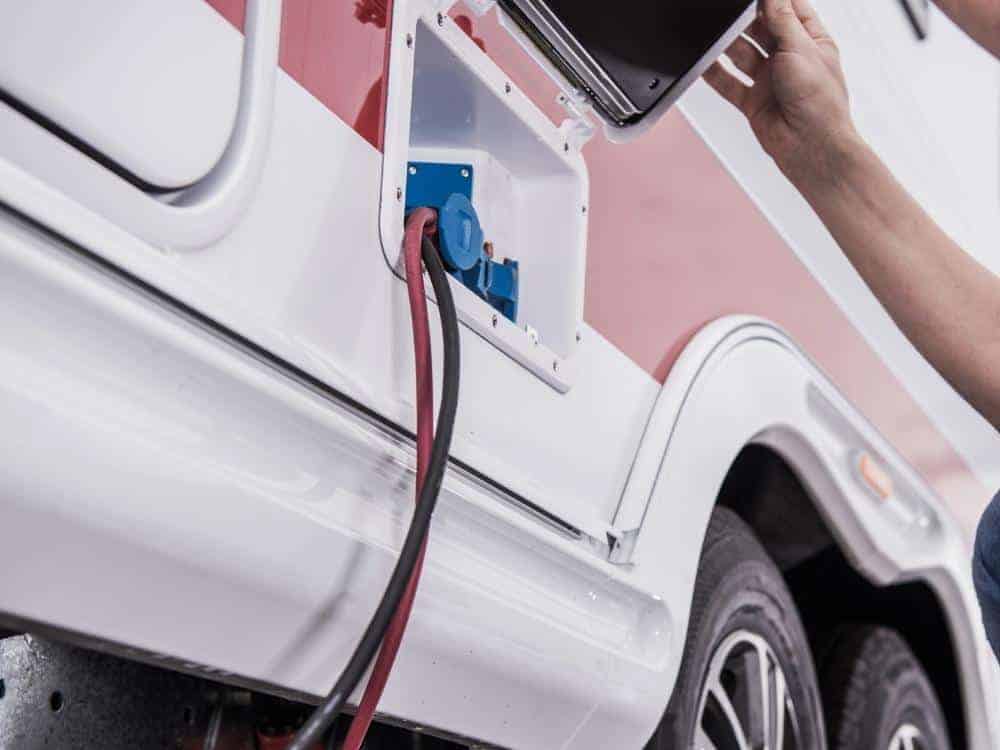
Connection to the Shore Power
In order to connect to the grid-powered connection outlets found at the majority of campgrounds and trailer parks, most RVs are also equipped with a shore power connection point.
The 30A or 50A systems used in RV air conditioning.
RVs that are marketed commercially are equipped with a circuit breaker connection to avoid overloading the electrical system and harming the RV’s appliances and parts.
Solar power production to charge the house bank batteries or a portable fuel-powered generator are options for real off-grid camping.
The coach electrical system has to be properly grounded whether you are connected to the grid or not due to the risk of electrical shocks and overloads.
How to Ground an Inverter to an RV in Steps
- The coach battery bank and the shore power connection point must be near to where the inverter is situated.
- The installation location must be dry, cold, and have enough airflow to support adequate inverter cooling.
- The inverter must also have a visible display within the coach that shows the battery’s level of charge, the inverter’s power usage, as well as any fault messages or warning lights. The inverter must also be accessible for monitoring or servicing.
- To prevent the inverter from slipping during transit, it must be firmly attached. Make sure your technique of fastening has some redundancy. Another bolt should hold if the first one breaks.
- In order to easily handle the current taken from the batteries to the inverter, the wire gauge of the battery connection cables must be thick enough.
- The inverter’s positive terminal must be linked to the battery bank’s positive terminal, and its negative terminal must be connected to the battery’s negative terminal.
- The RV chassis must be bolted firmly to a grounding wire that has the same wire gauge as the battery hookup wires.
- The inverter grounding connection point and the grounding wire need to be firmly linked.
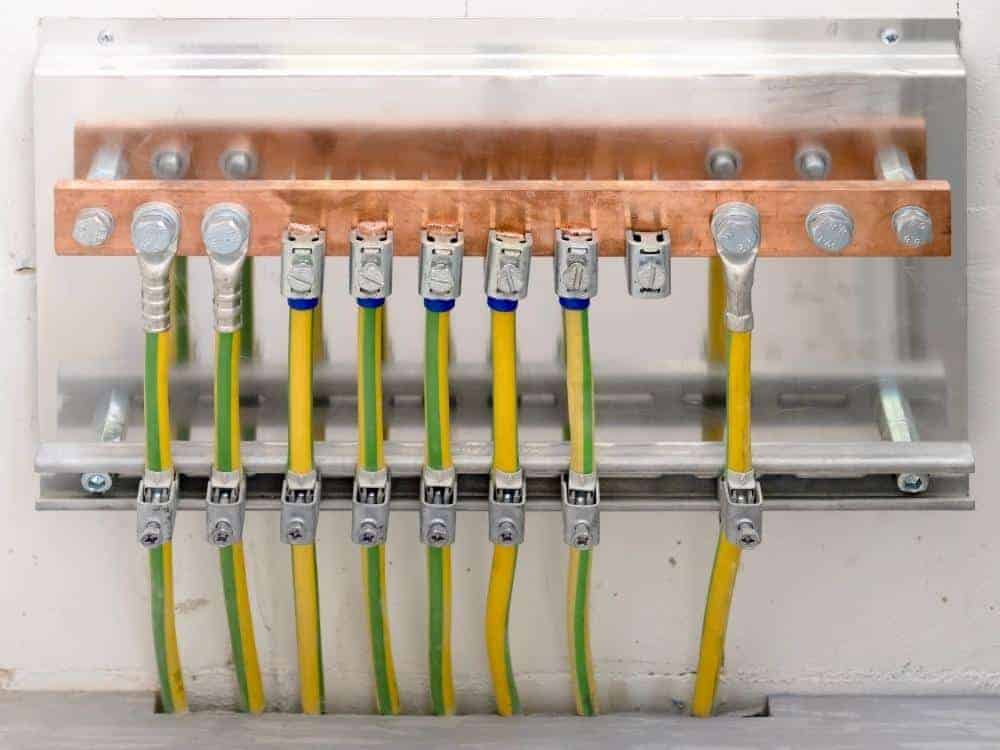
There must be a single common grounding point on the RV chassis for all the parts of your power system.
This single grounding point must be linked to by the solar panel, battery bank, and inverter.
Make sure the battery cable connections and the grounding wire connections are tight and won’t come undone during transit.
Advice on Installing an RV Inverter
A competent electrical specialist can assist you with the installation if you lack electrical skills.
Components and wiring that have been placed improperly may result in expensive failures and pose a serious danger of fire or electrocution.
In order to determine the size of the inverter and battery bank as well as where to place it, watch a few installation tutorials on YouTube.
Before making any hardware purchases, get advice from other RV owners or electrical system professionals.
Read the inverter manufacturer’s installation manual thoroughly if you feel competent to complete the inverter installation and wiring to the RV coach electrical distribution panel yourself.
Plan Your Ground Connections, Inverter, and Battery.
To connect the batteries to the inverter and ground the inverter to the RV’s metal chassis, draw up your wiring diagram and choose the appropriate size and diameter of copper wire.
It would be awful to connect your RV such that the inverter and shore power are both supplying the AC power outlets at the same time.
Avoid using your inverter and DC to DC converter concurrently as this can quickly deplete the battery bank.
Your RV’s shore power connection will be connected to connect to the electrical pylon grounding at the park.
You shouldn’t take the electrical system at the campsite for granted.
Before connecting your RV shore power line, use a multimeter to check the voltage at the tower.