A source of drinkable water that has a high concentration of dissolved minerals—primarily calcium and magnesium—is referred described as having “hard water.” Extremely hard water may harm plumbing fixtures and appliances, interfere with bathing and laundry, and alter the flavor of drinking and cooking water.
When dealing with significantly hard water, installing a water softener is the most comprehensive and widely used option.
Mildly hard water is often not an issue that needs a solution.
When Is Hard Water Necessarily Softened?
At one time, most households were persuaded by water softener firms that they need water softeners.
In recent years, this tendency has altered, and state health officials now advise against the use of water softeners until testing reveal that the mineral concentration of the water surpasses 7 grains per gallon.
A water softener may make your water taste better, lessen water spots on dishes, stop pipe scale building, and enhance the cleaning power of soap if your water is very hard.
However, you should be aware that water softening may not always be beneficial.
Softened water sometimes causes pipes to erode, which raises the lead and copper levels in drinking water.
The automated recharge cycle of a water softener causes salt to be released into the environment through the sewage system, and a water softener may also lead to higher sodium levels in drinking water.
And a significant volume of water is lost during the regeneration process of water softeners.
Verify that you really need a water softener before installing one, and consider any potential drawbacks.
If the results of your water test indicate a hardness level of 7 grains per gallon or less, there is generally no need to think about installing a water softener.
Steps In The Process
Test the hardness of your potable water source before installing a water softener.
You may choose the best water softening system for you by choosing the appropriate parameters for the softener if you know how hard the water will be in advance.
Your community’s water utility agency, which should have accurate measurements of the mineral hardness of the water supply, may already have information on water hardness.
Some regions, particularly those that get their water from lakes and rivers, may have supplies that are so soft that no households need water softeners.
Other areas may have water that is so hard that all residences will benefit from softened water, particularly those who use wells for their water supply.
Additionally, DIY test kits that are similar to those used to test swimming pool water are readily accessible.
These water quality tests are available for purchase online, at any home center, or hardware shop.
You must decide where to put the device before starting the installation.
The water softener must be installed in such a way that it can only condition the pipes leading to indoor potable water connections.
You should install the water softener so that unconditioned water may still flow to outdoor spigots and lawn irrigation systems since softened water can harm or kill live plants.
The approved applications for the softened water are listed in the unit’s instructions.
Locate a level area that is accessible from all sides where you may install the water softener.
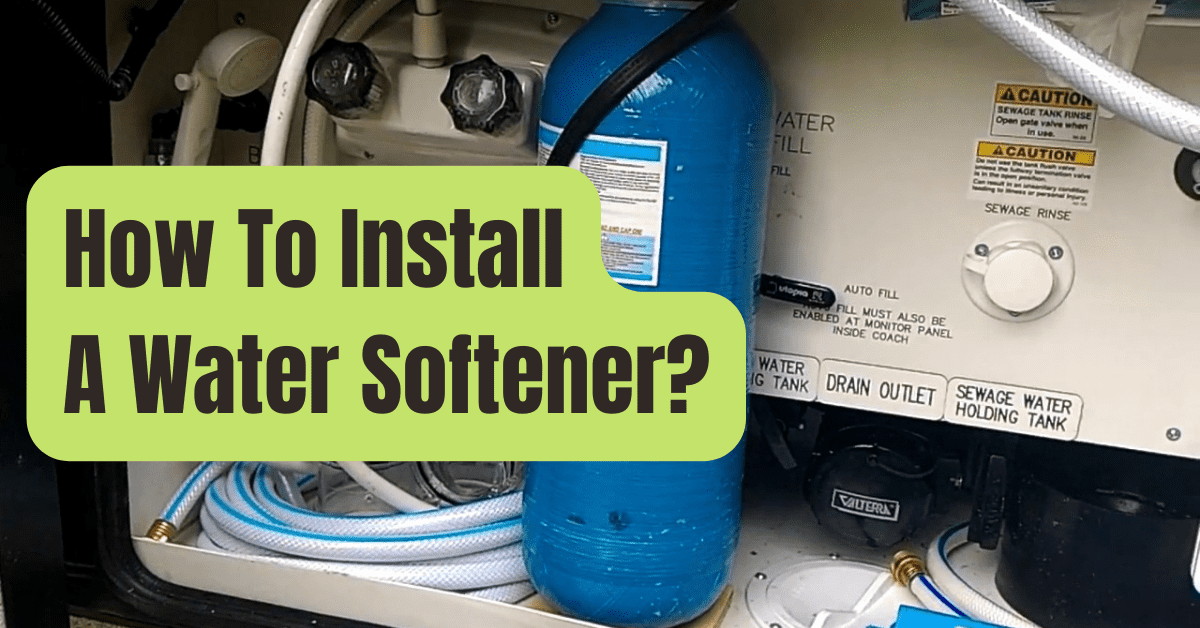
All water softeners use two tanks: a brine tank with salt or potassium chloride solution that periodically pumps water through the mineral tank to wash and regenerate the plastic resin beads, and a mineral tank (also referred to as a resin tank) that contains plastic resin beads that capture hard minerals through an ion-attraction process.
In other designs, both tanks are included into a single practical unit.
Make sure the area you choose has access to a drain for water removal and an electrical outlet for electricity.
Setting Up A Water Softener
It’s easy to believe that installing a water softener is extremely tough since the chemical process by which a water softener eliminates minerals from water might be a bit challenging to grasp.
If you have the plumbing knowledge necessary to make the different water supply connections, the installation is really pretty simple.
Because of this, it is recognized as an advanced-level project.
To install the water softener into the water supply system, you’ll probably need to cut through plumbing pipes, and you may need to use a propane torch to solder copper pipes and fittings.
It is preferable to have the water softener installed by a plumber or water softener business that specializes in this task if you lack the necessary skills.
If you know exactly how a water softener works, installing one will be simpler.
It would be wise to do some study on the various kinds of water softeners and how they work.
An ion-exchange system that employs a brine tank with salt or potassium pellets to produce the backwash solution is the most common form of water softener, and how to install one is illustrated in this project.
The project description provides a general overview of the work; for more specific instructions on how to install your specific water softener, go to the manufacturer’s instructions.
Warning
Basic DIY skills aren’t enough for this project.
The ideal course of action is often to assign the job to a specialist when it necessitates this type of cost.
What You’ll Need
Resources / Tools
- A flexible wrench
- Tools for channel-locking
- Hacksaw (if needed)
- Gasoline torch (if needed)
- Screwdriver
Materials
- Utilizing a bypass valve, a water softener
- Fittings for plumbing pipes (as needed)
- Elastic supply tubes
- Flux and solder (if needed)
- Flexible drain tube with a diameter of 1/2 inch
- Hose clamps
- Fit with an air gap (if needed)
Instructions

Step 1: Place The Bypass Valve In Place.
You may add a bypass valve to the water softener unit if you’d like.
In the event that repairs or a temporary shutoff are required, a bypass valve on certain water softeners enables you to stop the water from passing through the softener.
On the rear of the device, push the bypass valve into position.
Using the supplied clips, secure the valve.

Step 2: Become A Part Of The Water Supply
A water softener may be hooked in using flexible supply tubes, much like how water heaters are often attached, or it can be hard-piped into the water supply system.
The preferable option is often to use flexible supply tubes since they make it simple to remove or bypass the system in the future.
Turn off the water supply to your house and empty the pipes before connecting the flexible supply tubes to the water heater.
To accommodate the flex tube fittings, a piece of the water supply line must be cut out and adapters installed.
The kind of water supply pipes used in your property will determine the kind of adapters you need.
The adapter fittings on conventional copper water pipes are often soldered on, although push-fit fittings are also an option and don’t need soldering.
As instructed by the manufacturer, attach the flex lines to the water supply pipes and then into the water softener unit’s rear.
Make sure the house side pipe is connected to the outlet port and the supply side pipe to the water softener’s input port.
Using a channel-lock pliers or an adjustable wrench, tighten the fittings.

Step 3: Tube Connections Between Tanks
Connect the mineral tank and brine tank using the tubing that came with the water softener if your water softener has two separate tanks that stand apart.
The tubes on the majority of water softeners are held in place by hose clamps.

Step 4: Tie The Drain Tubes Together
Two drain tubes are usually needed for water softeners.
In order to drain the backwash water during the regeneration cycle, one of the drain tubes is connected to the control valve.
The other drain tube functions as an overflow drain and is connected to the brine tank.
The two lines should not be joined together since they go to the house drain separately.
To fulfill the criteria for the drain, there are many choices.
Although drain lines are often routed to floor drains, they may also be extended into standpipes that also drain washing machines, utility sinks, or sump pits.
The water softener drain cannot be connected to the house drain system without an air gap in the majority of localities.
The drain line requires an air gap fitting, similar to what is needed for dishwashers, to stop polluted drain water from flowing back into the water softener.
The water softener’s outflow tubes may be directly connected to a drainpipe or standpipe using specific air gap fittings.
In our illustration, the owner erected a special drain pipe with a trap and ran the two drain tubes for the water softener into it.
The necessary air gap is created by a small space between the drain tubes and the drain pipe.
Use hose clamps to secure a length of flexible tubing with an internal diameter of 1/2 inch to the drain elbows on the control valve and brine tank, then route the tubes to the desired drain position.
If you are utilizing an air gap fitting, attach them to it, or firmly fasten them to a utility sink or floor drain.

Step 5: Launch the System
Open the main cutoff valve to start the water supply system for the house.
Slowly filling the water supply system is necessary since abrupt pressure might harm fittings.
To let air out while you replenish the pipes, turn on a cold water faucet someplace in the home.
Then, proceed with the water softener’s startup instructions, which involve connecting it in, setting the time of day, and adjusting the water hardness level.
The system must be started after adding salt (or potassium chloride).
Seek advice from the manufacturer on the kind and dosage of salt or potassium chloride to use.

Step 6: Start the Backwash Cycle.
Run the water softener’s backwash (regeneration) cycle according to the manufacturer’s recommendations.
To make sure the system will function properly, this procedure removes air from the system and loosens the plastic resin beads in the mineral tank.
While the backwash cycle is running, look for leaks.
When it’s finished, check the brine tank’s water level and make any modifications the manufacturer suggests.