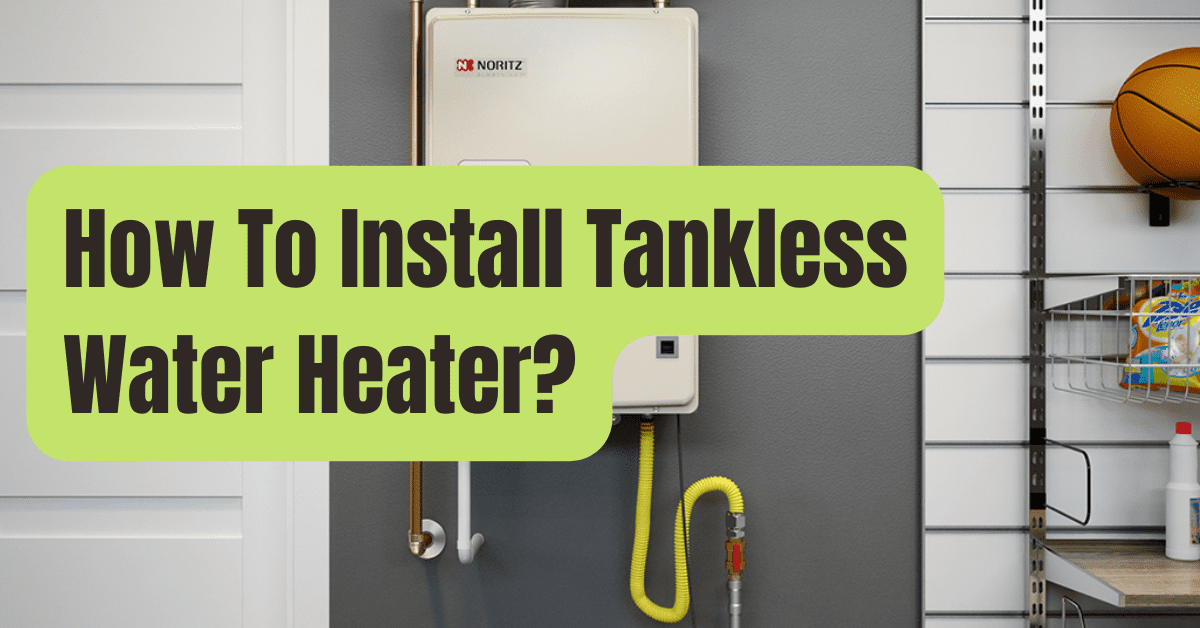
Advice from DIY experts on how to prepare for a new tankless water heater, install the tankless water heater, and remove an old water heater tank.
Because it doesn’t keep a lot of hot water on hand, a tankless water heater, also known as an on-demand water heater, is more affordable.
It provides hot water on demand so you won’t have to worry about the shower being ice cold out of the blue.

But there is a catch: A tankless water heater can only heat a certain volume of water at once since it warms the water in real-time as it passes through the appliance.
As a consequence, it may not function in a home where many showers could be running simultaneously.
The unit’s heating capacity determines how many hot-water fixtures it can provide at once.

This job demands for solid plumbing knowledge, and depending on local requirements, a licensed plumber may be required to complete the work.
If you can and decide to do the work yourself, you should be familiar with how to turn off the water supply to your home (see How to Turn Off the Water to Fixtures) and how to access your supply lines to attach new fittings and pipes (if you have copper pipes, see Cutting & Joining Copper Pipe).
There are a few straightforward choices:
- A tankless gas water heater installed inside has to be vented to the outside. In addition, a connection to a 120-volt circuit and a gas line are needed. It may be hooked directly to a service panel or plugged into an outlet.
- There is no need for venting an indoor electric tankless water heater outdoors. It does need 240-volt electricity. It may be hooked directly to a service panel or plugged into a 240-volt outlet.
Preparing a Tankless Water Heater
Make careful to complete all the preparations before disconnecting and removing your old water heater; the last thing you want is to be without hot water for a couple of weeks while you wait for the required plumbing, electrical, or vent work.
Check to determine whether your gas meter has to be updated if you are installing a new gas appliance.
Due to the unit’s high BTU use, your meter’s capacity may not be sufficient to feed it and the other gas-using appliances in your home.
You may have the gas provider look into this for you, and they often update the meter for little to no expense.
Ask the gas provider to confirm that your new unit is receiving the proper amount of manifold pressure.
A 1-inch gas line from the meter to the water heater is often needed for tankless water heaters.
It is better to contact a qualified plumber to install a new gas line if you need to.
Just before the device is installed, you may wish to have another gas shutdown valve installed.
Ventilation is also necessary for an interior gas appliance.
You must utilize category II stainless-steel exhaust pipe with well sealed silicon joints since a tankless water heater generates a lot of moisture and expels air with a fan, as seen in the second video below.
You may be able to utilize plastic piping while installing a high-efficiency tankless water heater, as seen in the video below from This Old House.
It’s a good idea to add a damper if you live in a cold region to stop cold air from seeping back in.
You might alternatively install a condensate drain, which uses plastic tubing to drain water from condensation, depending on the brand and type of the heater.
This ought to be directed to a utility sink or a floor drain.
For information on all plumbing and venting requirements, see the manufacturer’s documentation.
A gas appliance also requires 120 volts of electricity.
Plan to connect it straight to a junction box or plug it into a nearby outlet.
You can get a great summary of the many stages involved in installing a tankless water heater in this extremely wonderful video from This Old House.
This in-depth Ron Hazelton video discusses how a malfunctioning conventional water heater may introduce debris into your water supply that clogs shower heads, faucet aerators, and other water-using appliances.
He chooses to remove his outdated water heater and swap it out with a tankless water heater, and he guides us through the procedure.
If you’re installing a 240-volt electric water heater, hire an electrician to run the wiring to it unless you are confident in your ability.
Codes demand that a subpanel be built adjacent to the unit (which may be included with the unit).
Because this subpanel has its own circuit breakers, you may rapidly turn off the unit’s electricity if necessary.
Connect wire to the subpanel, then run it to the unit.
Make sure the circuit for the water heater is always unplugged while the repair is being done.
Taking Out the Previous Water Heater
A storage water heater will often be replaced with a new tankless one.
Ron Hazelton refers to our website for the guidelines on How to Flush or Drain a Water Heater in the video above.
Close the valves on the two water lines (one output and one intake) supplying the old water heater before removing it.
To loosen and detach the lines from the water heater, use channel-type pliers or a pipe wrench.

Drain the tank by releasing the bottom drain valve.

Close the gas line valve and unplug the gas line on a gas appliance.
A few sections of the vent pipe should be disconnected and taken out.
Since 240-volt electricity might pose a risk of electrocution, you can decide to contact an electrician to disconnect the cabling if the appliance is electric.
If you decide to perform it yourself, ensure sure the power is turned off by cutting the circuit at the service panel.
Remove the old water heater and unplug the wiring from the appliance.
Dial a local water heater expert if you need assistance with this job.
A Tankless Water Heater Installation
A new tankless unit may be put into the wall, between studs, or fitted flush—against the drywall or plaster.
Use a stud finder to identify studs so you can cut a hole between them if you wish to mount the unit to the wall.
In accordance with the manufacturer’s instructions, mount the device to the wall.
A water heater’s water supply pipes should be routed.
A pipe from the water utility should be linked to the inlet, and a pipe connecting to the home should be connected to the outlet.
Near the unit, install shutdown valves on both lines.
Additionally, a pressure-relief valve can be required.
The last connections to the inlet and outlet should be made using union fittings.
Open the water valves but leave the gas and electric off.
Open the house’s faucets and let the water flow through the appliance for about a minute.
The water valves should be closed.
Clean away any dirt in the inline filter, which is often positioned close to the intake.
Open the water valves, fix the electricity, replace the filter, and start the gas.
Test the device one last time to ensure correct operation.

