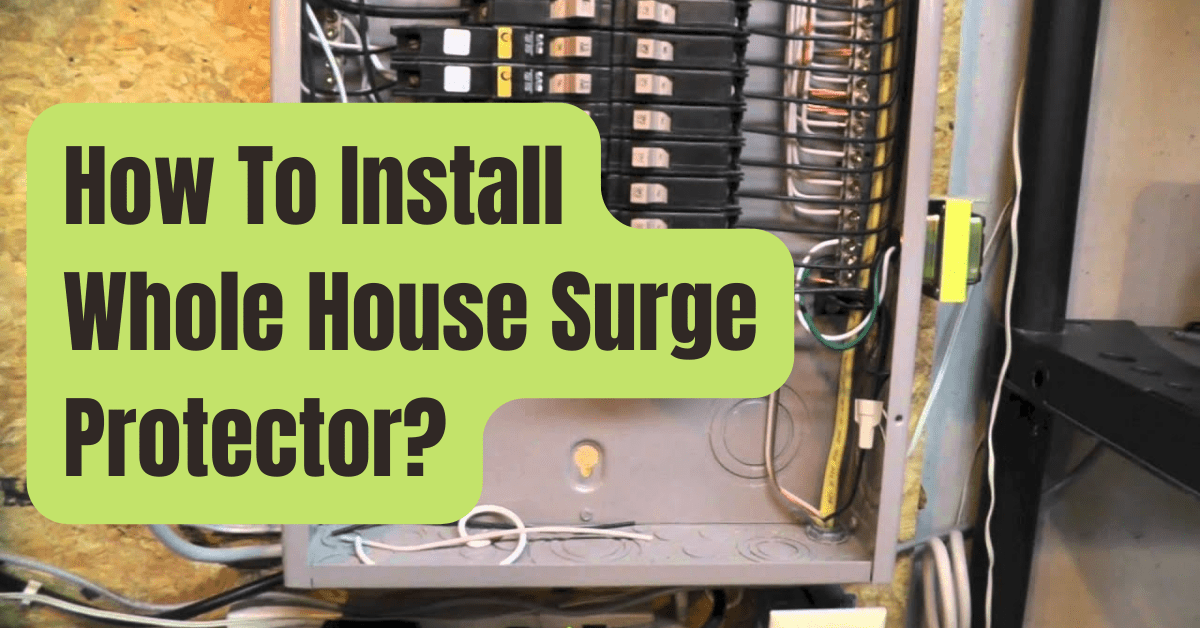
Overview of Whole-House Surge Protection Installation
Tools & Materials: Safety gear, a screwdriver or drill, a cable clamp, a double-pole circuit breaker, wire strippers, a hammer, and a nail punch.
Step 1: Turn off the power.
Step 2: Prepare the panel
Step 3: Mount a surge protector in step three.
Step 4: Attach the cables
Step 5: Reassemble the electrical panel
Numerous factors may cause electrical surges, which are big, transient spikes of power that affect the electrical circuits in your house.
Different appliances and electrical equipment in your home could be destroyed by them.
These destructive surges, which might cause thousands of dollars in damage, can be brought on by lightning strikes, fallen power lines, increased electrical demand from nearby industrial facilities, and even brief surges in large home equipment like air conditioners.
You may install a whole-house surge protection system to prevent this from happening (SPD).
The main electrical panel in your house is always being watched by these devices, which safely disperse any major electrical surges into the earth.
Read on to find out how to install whole-house surge protection yourself if you’re interested in keeping your home safe from dangerous electrical surges.
Is it Possible for Me to Install a Whole-House Surge Protector?
Surge protection devices come in two varieties: Type 1 (meter-based surge protectors), which are put externally on the electrical meter for your house, and Type 2 (panel-based surge protectors), which are installed inside on the main electrical panel for your home.
The installation of Type 1 devices involves far higher risks and should only be performed by professionals, even if a knowledgeable homeowner can install a Type 2 surge protector following the methods in this tutorial.
If you’re not cautious, working in an electrical service panel poses a considerable danger of electrocution, even while installing Type 2 equipment.
There are still high-voltage, live wires coming into the top of the panel that could seriously hurt or even kill if an exposed portion was accidentally touched, even though you’ll be turning off the main breaker to de-energize each of the breakers in the panel.
It’s advisable to leave this task to a certified electrician if you don’t know how to locate and operate around these lines.
That being said, installing an SPD yourself can be a fairly easy and secure task if you have the required knowledge and experience to work safely around these wires and are outfitted with the appropriate personal protective equipment.
Instructions in Steps
You’ll Need These Tools and Materials
- Insulated work boots, electrical safety gloves, and eye protection are examples of personal protective equipment.
- Voltage tester without contact
- Circuit breaker with two poles that is rated for your SPD
- Cord clamp
- Power drill or a screwdriver
- Wire cutters
- Pliers, a hammer, and a nail punch
Step 1: Turn Off The Power.
The main breaker switch is at the top of the main electrical service panel, so open the door and turn it off.
This will reduce the risk of electrocution by deactivating all of the breakers inside the panel.
Remove the screws holding the panel cover in place with a screwdriver or power drill.
Although the quantity and placement of these screws varies from panel to panel, there is typically at least one screw on each of the four corners of the panel.
Carefully remove the panel cover and set it aside after removing all the screws.
To make sure there is no electricity flowing to any of the circuit breakers in the panel, use a non-contact voltage tester.
Simply place the black “live” wires leading to each breaker in contact with the voltage tester.
You shouldn’t move forward until the power has been successfully turned off if the voltage tester illuminates, indicating that the circuit is receiving power.
Contact a certified electrician for help if you’re having trouble turning off the power to your panel.
Make a cardboard cutout and place it in front of the live wires coming into the top of the panel as an additional safety precaution to reduce the risk of contact.
The live wires at the electricity meter outside your home can also be de-energized by an electrician; do not attempt to do this yourself.
Step 2: Prepare The Panel
The specialized double-pole breaker, which has two wire terminals, occupies two breaker slots, is mounted next to the main breaker in the panel and must be linked to the SPD in order for it to function.
The two breaker slots right behind the primary breaker are where you’ll often find this.
If there are breakers already installed in certain slots, they should be moved to other slots in the panel that are open.
You may need to engage an electrician to build a separate sub-panel if your panel is entirely filled and there are no open slots.
The next step is to remove one of the “knockouts” closest to the location where the breaker will be put.
Knockouts are tiny, circular indentations that are meant to be removed so that wires may be fed into the panel.
A nail punch, hammer, and pliers are needed to remove the knockout.
Next, place a cable clamp in the hole that is the right size.
Utilize the manufacturer’s instructions to secure it in place.
Step 3: Mount A Surge Protector In Step Three.
The surge protector will have four colored wires: one green (ground), one white (neutral), and two black (hot).
Use a wire stripper to remove approximately 1/2-inch (about 1 centimeter) of the insulation from the end of each wire if the ends of these wires don’t already have a tiny amount of insulation removed from them.
The wires should be fully inserted into the knockout and cable clamp before tightening the clamp.
Mount the surge protector on the wall close to the knockout where the wires were put using the screws that came with it.
Step 4: Attach The Cables
The ground and neutral wires may both link to a single “bus bar” in your electrical panel, which is a vertical metal strip with holes bored horizontally and screws on top.
Two bus bars may also be included, one for the neutral wires and the other for the ground wires.
In either scenario, one of the open horizontal holes will be inserted with the stripped end of the ground and neutral wires.
By tightening the top screw, you can keep them in place.
To ensure the wire is properly inserted once it has been tightened, give it a little pull.
The double-pole breaker that is properly rated for the electrical needs in your panel will then be attached to the two black wires.
For advice on choosing the right breaker, see the manufacturer’s instructions.
The wires will be placed into the double-pole breaker’s two terminals.
The set screw on top of each terminal must be released before inserting the wire and then tightened again once the wire is installed.
Install the breaker into the open slots you made in the second step after connecting the live wires.
On the majority of panels, the breaker will simply snap into position after being moderately pressed into the slot.
Step 5: Reassemble The Electrical Panel
Reinstall the panel cover’s screws after placing it back onto the panel.
If the SPD’s breaker isn’t already on, turn it on as well as the main breaker.
You may utilize the indicator light or digital display on your SPD to make sure the device is completely functional.
If so, your house ought to be totally shielded against electrical surges at this point.
If you’d prefer extra security and peace of mind, you may also connect delicate equipment, such as PCs, tablets, and TVs, to a surge protection strip.