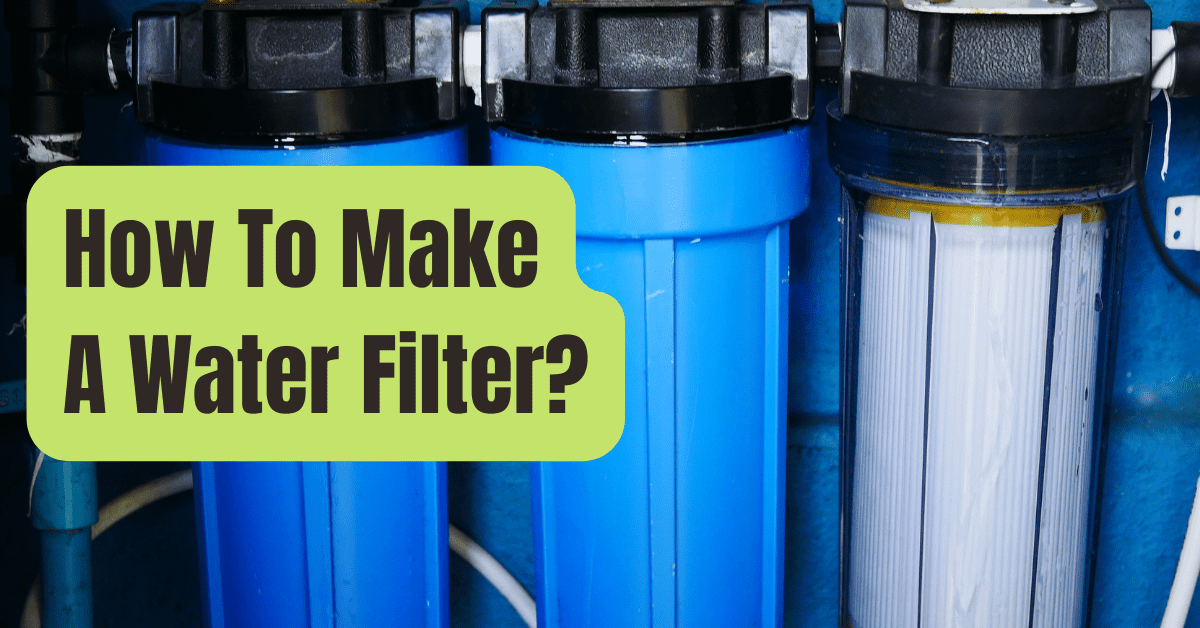
Making a Temporary/Emergency Water Filter
A group of survivors from the well-known post-apocalyptic television series “The Walking Dead” find themselves without access to clean water in a strange location during an episode from Season 5.
After removing the bottom of an empty plastic bottle, the persona Rosita starts to fill it with pebbles and sand.
She then starts to carefully pour murky water through it from a nearby creek.
The necessary step of sterilizing the water after filtering—whether through boiling, chemical disinfection with bleach, or UV exposure to sunlight—was not shown in the episode, but it is an important one that can keep you healthy if clean potable water or a commercial water filter system are not available.
It is crucial to look for the purest water possible; under no circumstances should you attempt to filter sewage runoff or radioactive water.
Resources Required
Materials required:
- Bottle made of plastic or any similar food-safe container
- Additional clean water container
- Cheesecloth or clean cotton
- A porous fabric or coffee filter
- Charcoal
- Sand (fine and coarse)
- Pebbles or gravel
Step 1: Remove the Bottom
Cut off the bottom of the bottle that will hold the filter material using scissors or a knife.
Step 2: Cut A Drain Hole
Make a tiny hole in the cap using a pair of scissors or a knife.
If there is no cap, cut off the top of the bottle rather than the bottom as in the previous step, and then pierce it with multiple tiny holes.
Step 3: 1st Layer: Straining Fabric
Fill the bottle’s bottom with a fine cloth or paper fabric, such as cotton stuffing, cheesecloth, or a coffee filter.
This first phase might also include the usage of grass and sand.
To filter out bigger particles and assist give water a clean flavor from chlorophyll present in the grass, fill the bottom of the container with approximately 3 inches of grass clippings.
Then add three to four inches of very fine sand.
When gathering grass clippings, take care not to utilize weeds that are dangerous or are not recognized.
Use of Highway Department sand is not recommended since it may include chemicals and road salt.
Step 4: Break Up The Charcoal
Use a hammer or rock to crush the charcoal into the tiniest pieces possible.
Do not use match or quick light charcoal since it is drenched in chemicals.
Step 5: Pulverized Charcoal For Layer 2
3 inches or so of ground charcoal should be added to the bottle.
To stop the charcoal from being too much displaced while filtering, cover with another coffee filter, if one is available.
Step 6: 3rd Layer: Fine Sand
The finest sand you can obtain should be layered for 2 to 3 inches.
You will add other layers after this one to filter out any remaining impurities in the water.
Use of Highway Department sand is not recommended since it may include chemicals and road salt.
Step 7: 4th Layer: Coarse Sand
Add a layer of coarse sand or very tiny stones that is 2-3 inches thick.
Step 8: 5th Layer: Fine Sand
Add another layer of fine sand, about 2-3 inches thick.
Most of the water’s impurities are captured by many filter stages with differing filtration rates, such as those found in a reverse osmosis system.
Step 9: Gravel (6th Layer)
To stop the sand from being moved by the water being put in, add a 2-3 inch layer of gravel or tiny pebbles.
Step 10: Top Strainer
With a piece of porous material, such a bandana or cheesecloth, cover the top of the filter.
This extra step prevents the pouring from moving the sand within the filter and helps strain out any big particles from the water.
Step 11: Pouring and Gathering
While holding the filter over the second container, gently pour water into it.
Don’t forget to clean or wipe off the collecting container.
Pouring carefully will prevent the overflow of the filter container and the potential spillage of unfiltered water into the collecting container.
Step 12: Sterilize Water
The water still has to be disinfected even after being filtered through several layers since microorganisms might still be present there.
The simplest method is to just boil the water in a saucepan or kettle.
Water may also be sterilized using sunshine.
Fill a clean, transparent plastic or glass bottle with filtered water until it is 3/4 full, then screw on the lid.
Shake for 30 seconds to increase the water’s oxygen content.
Place in full sunshine on a light- or reflective-surface.
The quantity of exposure required depends on the weather.
A clear day needs 6 hours of exposure, whereas a day with 50% or greater cloud coverage needs 2 days.