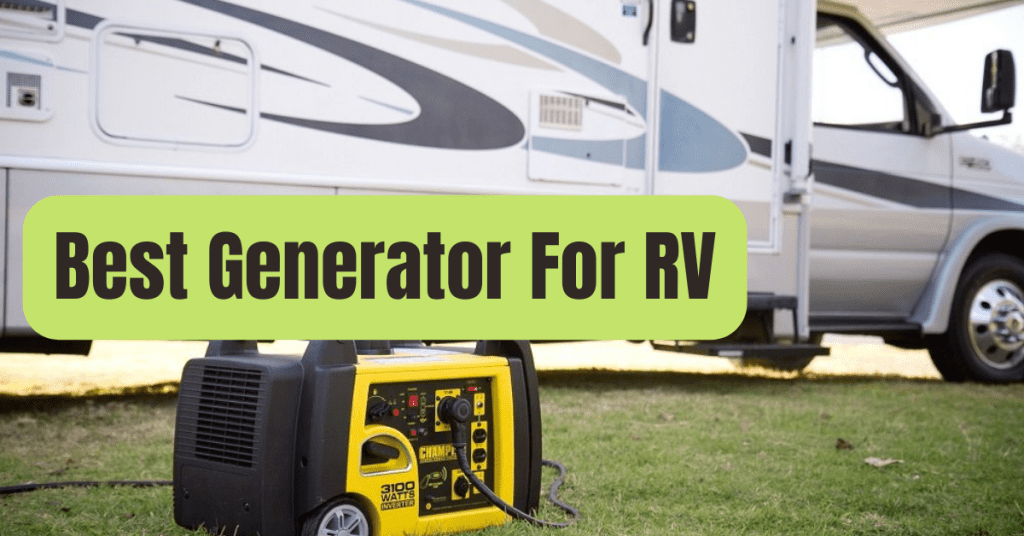
When a storm hits and your electricity goes out, you’ll need to get your portable generator up and running as soon as possible.
You may have purchased your generator some years ago and have forgotten how to start it.
When a blackout strikes, though, you simply want your electricity restored as fast as possible.
Keep these instructions on hand as a reference so you’ll know how to start your generator when you need it most.
Step 1: Preparation
1. Look over your owner’s handbook.
We all despise reading user manuals.
Every product, however, has its own peculiarities and operating processes.
As a result, double-check your instructions to ensure that you’ve assembled the generator correctly and know how to start it.
Here’s an example of a quick-start guide from one company.
2. Look for any signs of damage or a gas leak.
It’s a good idea to inspect your building for damage if it was hit by a storm.
Most significantly, if you’ve had a natural gas leak, you shouldn’t utilize a gasoline-powered generator.
3. Take your generator outdoors and away from your home.
We can’t emphasize enough how important it is to operate your generator outdoors, at least 15 feet away from your home.
Never use a generator inside, in your garage, or in your shed.
Carbon monoxide poisoning may kill you in minutes if you operate a generator inside your garage.
4. Never use an unprotected generator during a storm.
Electrical shock and engine damage may be caused by heavy rain.
If you need to operate a generator when it’s raining, though, you may get a generator tent to protect your equipment from the weather.
5. Check the oil and gas levels.
A portable generator is powered by gas.
Always use FRESH gasoline when filling up your generator.
Over time, the ethanol in the gas will absorb water.
Stale fuel not only makes starting difficult or impossible, but it may also harm the engine.
Check the oil level in your generator as well to ensure that the engine is properly lubricated.
Fill the oil to the generator’s prescribed line.
6. Unplug any wires that are connected to the generator.
Disconnect all cables before starting the generator.
Before connecting your generator to your house, you should turn it on.
During startup, you don’t want any load connected.
Step 2: Then It’s Time To Start Your Generator.
1. Open the fuel valve.
Turn on the gasoline valve.
Fuel goes to the carburetor when the fuel valve is released, assisting the generator in starting.
2. Activate the choke
The choke rod should be moved from right to left.
The engine will start up faster as a result of this.
3. Start the engine (or turn on the ignition).
To turn the engine on, many generators need you to flick a switch.
Before you pull the recoil cord, this is effectively an engine switch that will turn on.
If your generator has an electric start button, you may use that instead of the recoil cord approach described below to start it.
Your battery may be dead if the electric starter does not operate.
You may overcome this issue by using a trickle charger to charge the battery.
4. Retract the recoil cord
You are really starting the engine when you pull the recoil rope.
Pull the recoil cord until you feel some resistance, then release it.
Pull the cable again if the engine does not start.
PRO TIP: Move the choke to “half run” and pull the recoil cord again if the engine won’t start.
5. Set the engine choke to “run” after the engine has started.
You may return the choke to the “run” position after the engine has been running for a few seconds.
Step 3: Getting Your Generator Connected to Your House
Before plugging in any wires, let the generator run for a few minutes.
Also, double-check that your circuit breakers are switched on.
You may start connecting it to the home after it has ran for 3-5 minutes.
There are a few options for regaining your power:
1. The use of extension cables
When using an extension cord, it’s critical that it’s the right gauge.
Extension cords with a higher number gauge are meant for light-duty appliances, while extension cables with a lower number gauge are suited for heavy-duty appliances.
A light-duty, 16-gauge extension cable would do if you’re powering anything like Christmas lights or a lamp.
However, most items that would be plugged into a generator would be a fire danger with these low duty connections.
For most products, you’ll need a 12-gauge extension cable or an extra-heavy-duty 10-gauge extension cord at the very least.
A 10-gauge extension chord, for example, would be excellent for your refrigerator.
2. Cords for convenience
A basic convenience cable, which enables you to plug in many objects at once, is another alternative.
Instead of connecting individual appliances to the generator, you connect this cable, stretch it to the location where the majority of your appliances are located, and plug in several appliances from there.
3. A kit that goes through the wall
You can power your indoor appliances without having to run wires outdoors with a through-the-wall kit for your portable generator.
To connect an indoor power panel to an outside power input box, just drill through the wall.
Then, using a power cable, connect your generator to the outside power input box.
Finally, you may connect your interior appliances to the indoor power panel, which will be powered by the generator.
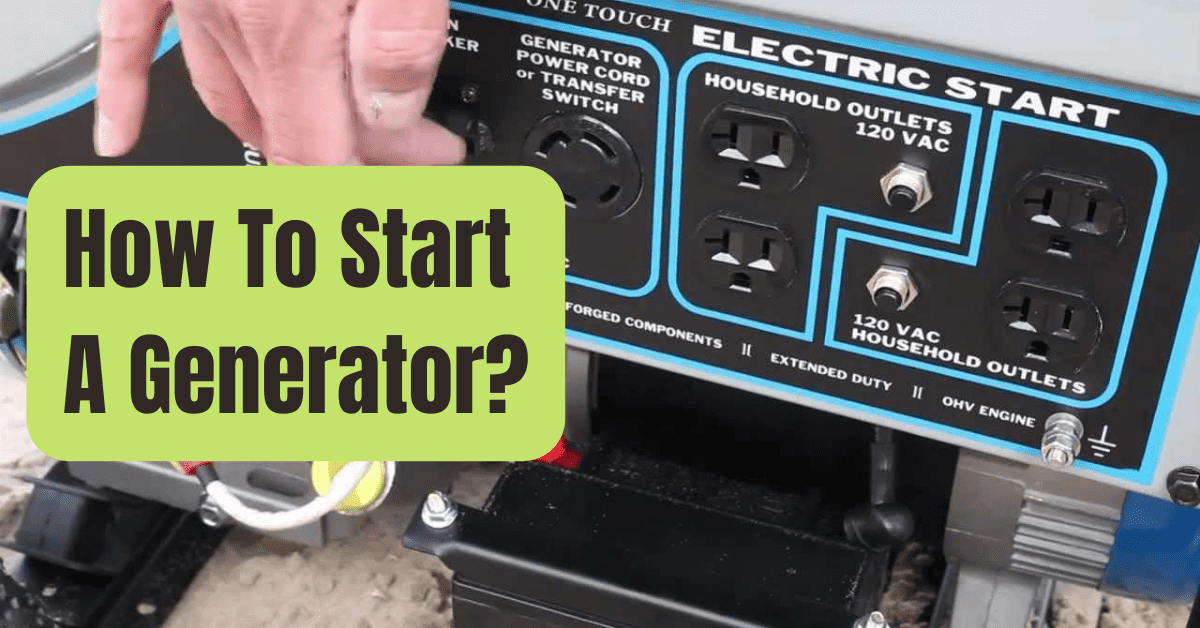
4. Transfer Switch & Power Cord
Finally, using a generator power cable, you may utilize a manual transfer switch.
This alternative may take a little longer to set up at first, and it may cost more up front.
However, in the long term, it makes running your generator a lot simpler and quicker.
Instead of utilizing extension cables to power individual appliances, a transfer switch in your home’s circuit panel may supply crucial loads.
As a consequence, you may utilize generator electricity to operate home hard-wired products like a ceiling fan.
As a result, a generator power cable is a practical and long-term option.
Power cables come in a variety of amperage ratings, including 20-Amp, 30-Amp, and 50-Amp.
Choose a generator power cable that is compatible with your generator’s most powerful outlet.
So, if your outlet is 50 amps, you’ll need a 50 amp wire.
You’ll note that the two ends of the rope have distinct arrangements when you look at it.
A straight-bladed plug protrudes from the “male” end.
That end of the wire will be plugged into the generator.
The “female” end is a connection that goes into your house’s electricity input box.
IMPORTANT: NEVER immediately connect your generator into an electrical socket or outlet inside your house to backfeed it.
It has the potential to hurt employees who are attempting to restore electricity.
Step 4: Refueling
Unplug the wires from your generator and let it run for a few minutes to stabilize before refueling.
Then, before adding additional fuel, turn it off and let it cool.
To re-start the generator, follow the procedure outlined above.
Step 5: Generators on Standby
When using a portable generator, there are several processes and precautions to follow, as seen above.
A backup generator for your house makes life simpler.
Your generator will operate automatically after the backup generator and automated transfer switch are installed.
The majority of these procedures will no longer be required.
That could be enough to convince you to invest in a backup generator.