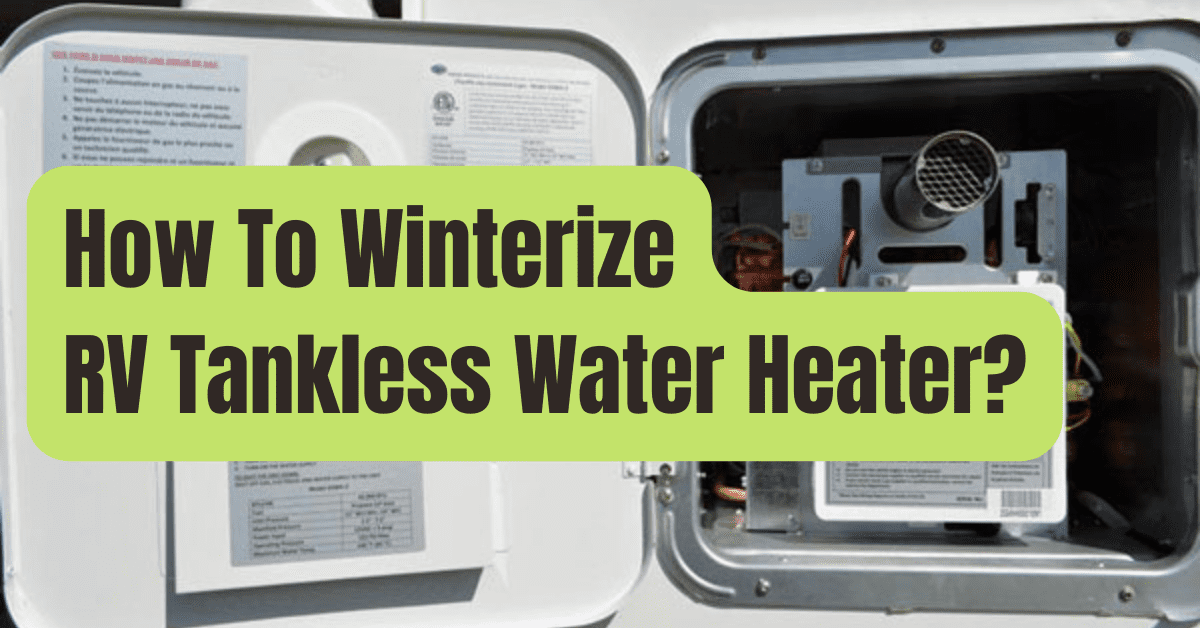
Did you realize that a tankless RV water heater still has to be winterized? A tankless RV water heater requires protection for its internal piping even if they don’t store water.
Or, come spring, you could decide to invest in a brand-new tankless water heater for your RV.
It is real.
You can protect your tankless RV water heater from harm caused by cold conditions by properly winterizing it.
The pipes in your RV may dry up while it is in storage throughout the winter and crack.
This may be avoided by winterizing your tankless RV water heater.
How to winterize your tankless RV water heater is covered in this post.
Direct guidelines from some of the most well-known tankless RV water heater manufacturers are presented below.
In case your tankless RV water heater is not from one of the manufacturers mentioned above, we’ve also provided basic instructions.
How Do Tankless Water Heaters Work and What Are They?
A tankless water heater, often known as a “instant” or “on-demand” water heater, is a kind of water heater that heats and stores water without using a tank.
RV water heaters without tanks don’t spend fuel or energy attempting to heat a full tank of water.
They only heat water when you really need it, thus the term “on-demand.”
RV tankless water heaters may be fueled by LP gas or electricity.
Upgrading is simple since the majority of tankless water heaters for RVs are the same size and form as conventional water heaters.

Do Tankless RV Water Heaters Need to be Winterized?
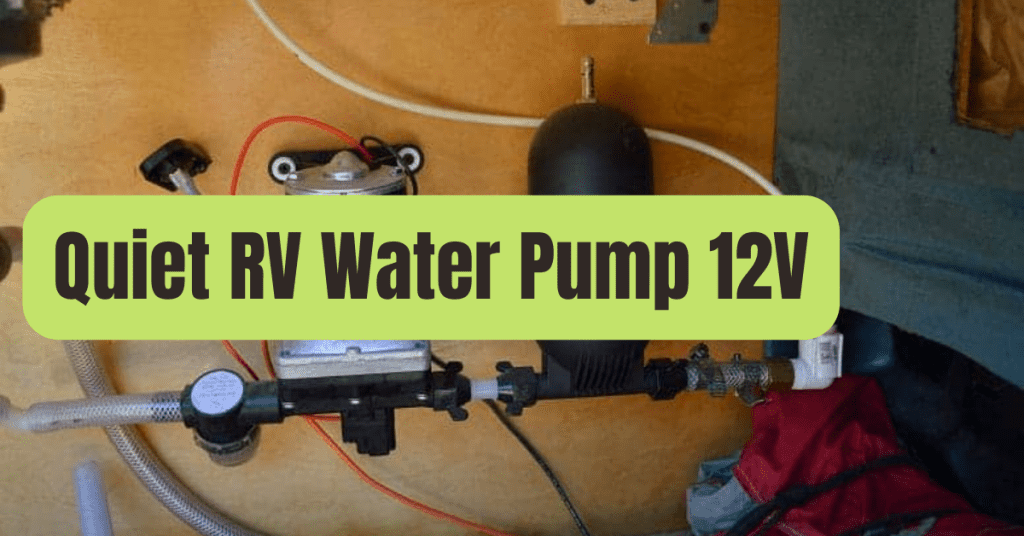
On-demand water heaters don’t have a water tank, but tankless RV water heaters still need to be winterized.
RV water heaters without tanks may still store up to 1 liter of water.
Additionally, the water pipes going to and coming from the tankless water heater have water inside of them that, if not properly winterized, might freeze and burst.
It’s crucial to remember that any water left in your RV’s plumbing system during below-freezing conditions may have terrible effects.
The cost of a tankless water heater is not quite low.
Therefore, it’s crucial to thoroughly winterize it so you won’t need to buy a new one for the next camping season.

The Four Most Often Used Brands And Instructions For Winterizing A Tankless RV Water Heater
Depending on the type you have, there may be subtle differences in how to winterize a tankless RV water heater from the four most well-known companies.
There are some similarities, however we advise reading the owner’s handbook thoroughly so you can identify the minor variations.
Here are some of the popular brands’ winterizing instructions.
#1. Girard Tankless Water Heater Winterization
The instructions for winterizing Girard tankless water heaters advises you to drain the tankless water heater of all water before storing it.
For winter protection, Girard advises passing RV antifreeze through your water heater.
- Make sure your water heater has no electricity and is not linked to the municipal water system before starting.
- Use compressed air to completely drain the water from your RV’s plumbing system (including the water heater) before winterizing your Girard tankless water heater.
- Next, follow the manufacturer’s directions for running RV antifreeze through the pipes of your motorhome or travel trailer.
- Your tankless water heater does not need to be turned off throughout the procedure. Verify the appropriate drainage of your Girard water heater.
- As you prepare your RV for the winter, seal the drains and pour antifreeze through them.
#2. Putting A Furrion Tankless Water Heater In The Winter
As with the Girard tankless water heater, winterizing your Furrion tankless water heater is extremely comparable.
Furrion advises blocking all drains in your RV except the tankless water heater throughout the procedure to isolate it and guarantee all the water is gone.
- Start by turning off the electricity and municipal water. Drain your fresh water system, including the water heater, after allowing all the water to cool.
- Blow the water out of your water system using compressed air at a pressure of no more than 30 PSI.
#3. Putting A CampLux Tankless Water Heater In The Winter
It is necessary to approach winterizing the CampLux tankless water heater from a different angle.
Popular tankless heaters for RVs and several do-it-yourself campervan conversions are the portable types.
To winterize this tankless RV water heater, follow these steps:
- Power and/or propane should be shut off and disconnected.
- Drain all faucets and the water heater after turning off the incoming water valve.
- To remove air from your water system, including the water heater, you may use compressed air.
No information is provided by CampLux on the safety of using RV antifreeze inside a portable tankless water heater.
Making sure all water has been drained from the system is the most crucial step in winterizing this water heater.
#4. Winterizing An Instantaneous Water Heater For An RV
Truma Instant RV water heaters may be easily winterized.
There are various tankless RV water heaters made by the well-known RV equipment maker Truma.
Here is how to winterize your Truma water heater:
- Turn off the municipal water and gas first. The heating cartridge and water input filter should be removed, according to Truma.
- Give the water in the appliance time to drain entirely.
- If the appliance is not being used during the winter, Truma advises against installing the heating cartridge or water intake filter.
- The appliance is prepared for winter after the water has been entirely drained.
- Additionally, Truma offers guidelines on how to utilize antifreeze.
- The antifreeze instructions change for each unique Truma heater. For information about your individual model and the schematics, see this handbook.
Instructions for Winterizing a Tankless Water Heater in General
The main guidelines for winterizing tankless water heaters are same.
The majority of tankless RV water heater models follow the same procedures, regardless of the kind you have in your coach.
The fundamental procedures you may anticipate doing while winterizing your tankless water heater are listed below, however you should always consult to your owner’s handbook for information unique to your model.
#1. Turn Off The Electricity, Gas, And Water, And Let The Water Cool.
Turning off the municipal water, electricity, or gas to your water heater is the first step.
After that, let the water cool.
The water heater won’t try to reheat the water or, worse, heat up the antifreeze if the electricity or LP gas are turned off.
#2. Drain And Blow Out The Water System And Water Heater In Your RV.
Next, empty the plumbing system of your RV of all water.
Flush the toilets, turn on all the faucets, and let the low point drains run.
You should use an air compressor to blast out any leftover air in the pipes after the bulk of the water has been drained.
Your owner’s manual should be consulted for PSI specifications.
One tap at a time, both hot and cold, as well as the drains on your water heater, must be opened in order to blow out the air in your RV’s plumbing.
#3. Incorporate Antifreeze Into The System
When the plumbing in your RV has been completely dried up, it’s time to apply the antifreeze.
Running RV antifreeze through all of your pipes and faucets is a part of winterizing your RV.
Most modern RVs feature a technology that makes it simple to rapidly winterize your vehicle.
Can Antifreeze Be Used in Tankless Water Heaters?
Yes, you may use RV antifreeze in your tankless RV water heater for the majority of manufacturers.
Check your owners’ manual for information relevant to your brand, however.
Propylene glycol is one of the key components of the finest antifreeze for RVs.
In order to preserve taste and moisture in prepared food, propylene glycol is utilized.
It keeps the pipes in your tankless water heater and RV from drying out and is non-toxic.
What Should We Make of Some Tankless RV Water Heaters’ “Anti Freeze” Feature?
Many tankless RV water heaters include an automated ambient temperature detection function to avoid freezing.
The term “antifreeze” is often used to describe this capability.
The antifreeze function, which helps keep the water within the appliance from freezing, is often an electric feature.
For an RVer who travels full- or mostly-time, this function is fantastic.
When you leave your RV in storage for the winter, though, you cannot rely on this function.
Electricity outages may occur whether or not your RV is connected to power while it is being stored.
The helpful “anti freeze” device won’t operate if the power goes off when it is below freezing.
You shouldn’t depend on the anti-freezing function to preserve your water heater if your RV will be stored.
Keep in mind that you must winterize the whole RV, so pay close attention to your tankless water heater.
De-Winterizing Guidelines
The de-winterizing procedures for your RV (and tankless RV water heater) are a rather simple procedure when camping season comes around.
Even though RV antifreeze is non-toxic, you shouldn’t drink it.
Avoid unintentionally heating it in your water heater in particular!
De-winterizing your RV is flushing clean water through each faucet until all traces of RV antifreeze are gone.
You’ll need to run the hot water faucets for a longer period of time to remove the antifreeze from your RV tankless water heater.
Just make sure your electric or gas heating element doesn’t start up while you’re doing this.
Wait until you are certain that all antifreeze has been removed from the appliance before connecting your RV (or tankless water heater) to electricity or gas.

Winterization Of Tankless Water Heater Conclusion
In conclusion, regardless of type, the tankless water heater winterization procedure is rather consistent.
Almost all tankless RV water heaters may be safely used with RV antifreeze, but first be sure to read your owner’s handbook.
A tankless heater is often simpler to winterize than a traditional one.
When winterizing, it’s important to keep in mind:
- By cutting off the electricity or LP gas, turn off the heating element.
- Remove all of the water.
- The lines with the appropriate PSI of pressure
- Adding antifreeze
With a little amount of time and plenty of fresh water, de-winterizing the unit is easy and can be done simultaneously with de-winterizing the rest of your RV.