We’ll show you an intriguing hack in this post.
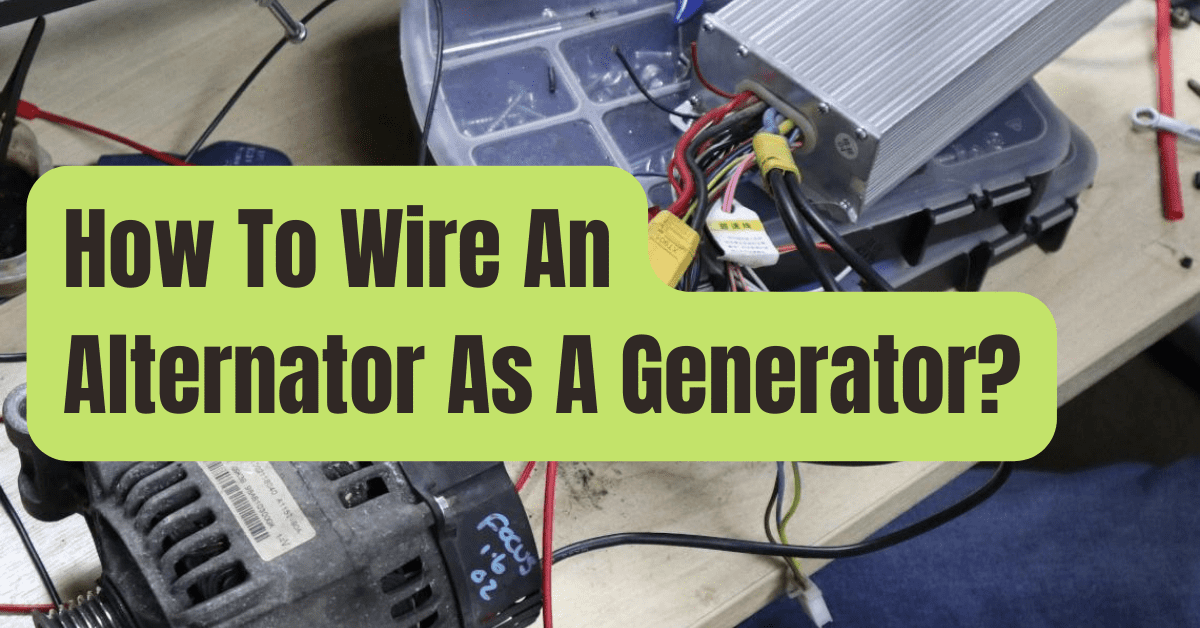
To create a generator, you’ll learn how to wire an alternator.
Doesn’t it seem impossible? The alternator in your vehicle’s best-kept secret is that it can also function as an electricity-producing engine capable of powering whole dwellings.
It’s difficult to locate information on how to connect an alternator for a generator on the internet.
There is either insufficient teaching or too complicated, difficult-to-understand explanations.
We’ll cover all you need to know about wiring an alternator to construct a generator right here.
And we’ll do it in plain English.
What Is The Purpose Of An Alternator?
An alternator’s principal function is to convert mechanical energy into electrical power.
That energy is used to replenish your car’s battery and other electrical components.
That same power will keep your home-built generator running.

Is Wiring An Alternator To Make A Generator Difficult?
It’s not difficult to convert your alternator into a generator.
And there are several methods for doing so.
But, before you do anything, go through a few schematics to be sure you’re doing it correctly.
Making the incorrect connections might lead to major problems.
It will be easy sailing as long as you know how to perform what you are meant to do properly.
This is the first step you should take.
Identify the Alternator’s Positive and Negative Terminals
You must know which terminal is positive and which is negative on an alternator and battery.
Before you connect any cabling or turn the system on, be sure you understand the arrangement of these components.
Remember that an alternator is a device that produces electricity.
Connecting the wrong leads to the wrong terminals might cause one or all of the following problems.
- The alternator is damaged
- The whole system is fried
- Cause significant harm as a result of the shock
Learn about the alternator to prevent any of these problems.
It shouldn’t be difficult since the alternator’s casting will have identification imprinted into it.
Place the alternator on its side.
Face the side with the pulley in your direction.
The section that spins is the side with the pulley.
The top bracket will point straight up when you do this.
On this side of the alternator, no wire connections are required.
Instead, you’ll wrap your V-belt around the pulley when the time comes.
Stretch the V-belt to meet the pulley on your system’s engine.
Make sure the pulley is taut enough not to fall off once the system is turned on.
The alternator’s pulley will be rotated by the engine’s power.
The rotor inside the alternator will be turned as the pulley spins.
Electric currents will be generated by the spinning alternator, which will be harnessed by magnets.
The power will be absorbed by the coils in the stator.
The coils will transfer the electricity to the wires that connect your system’s alternator and battery.
The generated electricity will be stored in the battery, which you can then use to power your devices.
But only if your wire connections are correct will this happen.
I recommend having an alternator on hand while reading this so you can see what we’re talking about.
- The Positive Terminal’s Location
Turn the alternator around once you’ve found the pulley.
The nut and threaded stud side will now be facing you.
These bolts are located towards the top of the alternator.
Your alternator’s output or positive terminals are located here.
You will link with all of the positive leads in your system here.
Keep in mind that alternators of various manufacturers and models may have somewhat different designs.
So keep an eye out for a sign that reads Pos, B, or Bat.
They will assist you in locating this location.
- Where Can I Find A Voltage Regulator?
On the right side of the alternator, there is a voltage regulator socket.
This socket accepts the regulator connection plugs.
- Determine the Negative Terminal’s location.
On the right side of the alternator, you’ll also notice another nut and threaded stud.
These might be found at the bottom.
The ground or negative terminal is located here.
To be sure, look for the letters F, Field, or Neg.
This function is not available on all alternators.
Some of them have a connection to the vehicle’s engine.
We’ll use an alternator that has a ground to make things easier.
It comes to reason that if your alternator has no ground, the grounding will be in your generator’s engine.
We will explain you how to ground these alternators using your engine, albeit we will not go into all the intricacies.
However, it will be discussed later in the essay.
Now that you know how to wire an alternator to build a generator, let’s look at how to wire an alternator.
How Do You Make A Generator With An Alternator?
To create a generator, you’ll need to wire an alternator.
There may be minor differences in this procedure depending on the application.
However, the basic premise stays the same.
Positive terminals are connected to positive terminals, while negative terminals are connected to negative terminals.
Let’s disassemble it and deal with the alternator’s terminals.

What Are the Terminals on an Alternator?
There are four terminals on an alternator.
- IG terminal – The Ignition switch is located here. The voltage regulator is turned on.
- L terminal – The L terminal turns off the indicator lamp’s circuit.
- B terminal – This is the terminal for the main/positive output. It attaches to the battery.
- F terminal –The Full-field is the regulator’s bypass. It’s also known as the ground or the negative.
This function is not available on all alternators.
However, in other portions of this essay, we shall go over this in more depth.
We’ll now look at how to link the wires using these terminals.
Putting the Wires Together
Three wires will go from the regulator plug on the alternator to your system.
- What Is The Best Place To Plug In A Wire One?
The first of the three wires is the thickest.
It’s also the shortest, since it doesn’t connect to anything else on your generator but the alternator.
It’s a remote voltage detecting wire that connects to the voltage regulator’s terminal two on the alternator.
The number 2 should be stamped into the casting of the alternator’s body if you look attentively.
The alternator’s main/battery positive output is connected to the opposite end of this cable.
Don’t get caught up in the details; just connect this wire to the battery.
Both ends of the alternator remain connected.
It connects the alternator’s regulator to the positive terminal on the alternator.
- The Second Wire Is Connected
The exciter wire is the second wire.
It activates the regulator.
The second wire, like the first, runs from terminal one on the voltage regulator connector to the positive terminal on your system’s power switch.
It is not connected to the alternator’s main/battery positive.
You may use a conventional light switch to connect to the alternator as the switch.
Once the motor is functioning, you may use it to switch the alternator on and off.
If you do need to shut down the system, you won’t have to do so.
- Making A Connection With The Third Wire
The third wire connects to the voltage regulator’s terminal two.
Its identification, number 2, should likewise be imprinted into the casting.
This cable connects to your system’s light indication.
The lamp indication is a light that indicates whether or not your system is powered up.
The light will turn on when the electricity travels through the system.
If the light remains off, you have an issue with your system.
The light indication wire does not terminate at the bulb.
It goes on to form a connection with the switch’s positive terminal.
The light will turn on when you press the on/off switch on your alternator.
The light will turn off when you turn it off.
After that, you’ll have two switched positive wires and one wire connecting to the alternator’s primary positive terminal.
Making The Battery Connections! How To Wire An Alternator To Make A Generator!
It’s also quite easy to run the wires from the alternator to the battery.
- The First Wire to Be Run
Locate the chassis negative or ground.
You’ll notice the letters F, Field, or Neg if your alternator has a negative terminal.
The same indicators should be on the battery.
Three wires are also required, and we will show you how to connect them.
One end of the first wire is connected to the alternator’s primary negative output.
The negative terminal of the battery is secured by the opposite end.
- The Second Wire Is Connected
The second wire connects to the alternator’s positive terminal.
Then connect the other end to the battery’s positive terminal.
And these are your primary links.
As I previously said, depending on what you want your generator to power, you may make these connections in a variety of ways.
However, this is the fundamentals of how to connect an alternator into a generator.
Your system’s functionality is ensured by these cable connections.

What Should You Do If Your Alternator Isn’t Equipped With A Negative Terminal?
It’s also easy to make a negative terminal for your alternator.
The alternator is grounded in your engine block in this situation.
The engine serves as the distribution system for the ground.
All you have to do now is attach your additional ground wire with a suitable bolt.
FAQs
We’ll address a couple more questions about how to wire an alternator here.
Is It Necessary To Install An Alternator Switch?
You don’t have any.
This is an example of a system modification you might make.
Connect the exciter wire to the positive terminal of the battery directly from the alternator’s terminal 1.
It will have no effect on the way your computer works.
What Is The Best Way To Check The Alternator’s Output?
A multimeter should be connected to your alternator’s positive output.
The power output of the system may be determined by turning the pulley.
How Can You Tell If Your Battery Is Working?
Monitoring the output of your system is simple, just like everything else in this project.
The positive connection of the battery should be connected to a voltmeter.
The output will be seen if the alternator is running.
The alternator’s and battery’s outputs should be similar.
It’s OK if your readers see a change.
It’s simple to learn how to make a generator by wiring an alternator.
It’s simple to figure out how to link an alternator into a generator.
Just the correct set of instructions is required.
The method will be considerably easy if you use a diagram or an alternator while reading up on what to do.
Your alternator may be wired in a number of different ways.
You have the option of using a switch or not.
To make the system more self-sufficient, you may add a jumper from the power coil.
The fundamental relationships, on the other hand, have not changed.
Positive terminals are linked to one another.
Negative terminals are linked to one another.
Your system should operate well after you figure out what and where these terminals are.
Create an alternator generator that is tailored to your specific needs.
It’s all about scale.
How much power your system creates, stores, and outputs is determined by the size of your engine or power generator and the battery.


