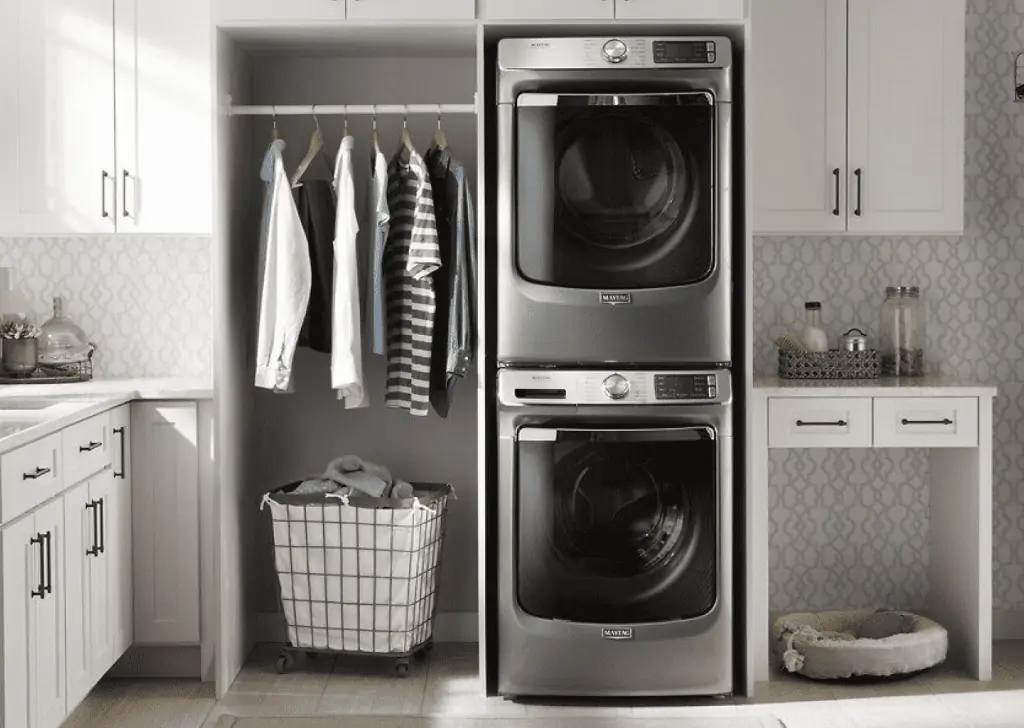
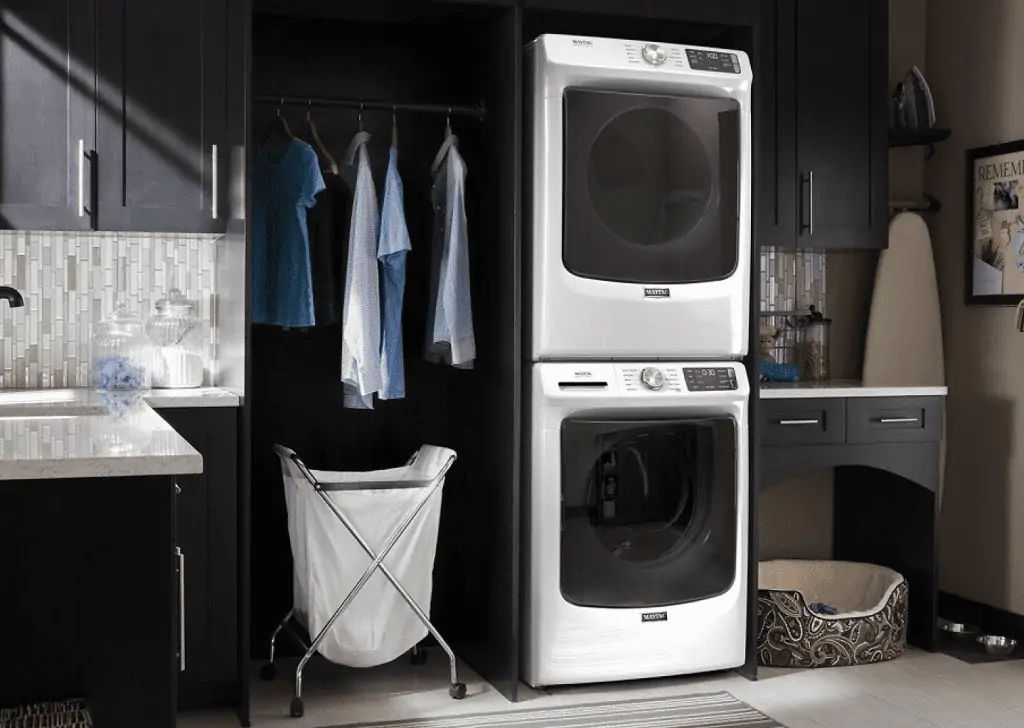
When you live in a small place, stacking your washer and dryer might help you save room.
To maximize your space, you can stack your washer and dryer with assistance, a few tools, and a stacking kit.
No matter how many square feet a house has, for many individuals there is never quite enough space.
You may sometimes need to be inventive with the space available, particularly with necessary equipment like washers and dryers.
Fortunately, stacking your laundry appliances may save you room and is a reasonably easy chore you can do with a buddy.
Washer and Dryer Stacking Instructions
There are a few things to think about before you begin your laundry stacking project to ensure everything goes according to plan.
Only front-load versions of washers and dryers can be stacked, so keep that in mind whether you buy new appliances or decide to stack the ones you already possess.
You should still check the owner’s handbook to be sure the appliances are compatible with stacking.
If you’re searching for a new pair of stackable washer and dryer, Maytag has a variety of models available that will suit your needs in terms of both design and price.
Additionally, check to see that the space you’ve designated for your washer and dryer is big enough.
You will need between 1 and 5 inches of space for ventilation in the back and on the sides, as well as at least 5 inches between the washer’s back and the wall and 1 inch between each of the washer’s sides and the wall.
Make sure your appliance doors can completely open and shut if you’re placing it in a closet, and closet doors should have about an inch of clearance between the bottom of the door and the floor to promote airflow.
The door must have top and bottom air apertures if a closet door or louvered door is fitted.
Tools Required
- Staple kit
- Tape measure
- Level
- A flexible wrench
- Screwdriver
- A pal
- Cardboard (optional)
- Sticky foam pads (optional)
- Lifting belts (optional)
Step 1: Review Your Owner’s Guide.
A washer and dryer should not be stacked unless they are able to be stacked.
Your appliances may not be stackable even though they were built by the same manufacturer.
For information and further directions, including the sort of stacking kit you’ll need to buy, see your owner’s handbook.
Step 2: Set Up The Area Where Your Stacked Washer And Dryer Will Go.
Measure the area you’ll be utilizing for your stacked units before moving or rearranging any of your appliances.
Make sure there is a few inches of room for wiring, ventilation, and the machine’s normal vibration.
To be ready to correctly set the leveling feet of your washer, you need also use a carpenter’s level to make sure your floor is level.
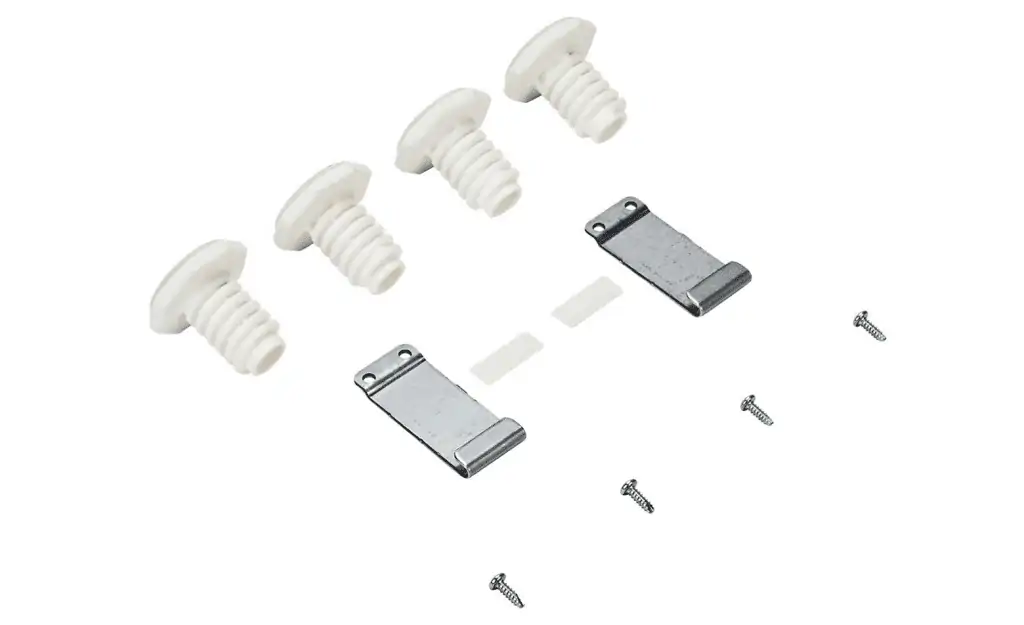
Step 3: Invest In The Right Stacking Kit.
Your washer and dryer’s model will determine the kind of stacking kit you need to secure your stacked washer and dryer.
Stacking kits are available from the appliance’s manufacturer or from the majority of home improvement retailers.
Use this stacking kit to guarantee a proper fit when stacking a Maytag® washer and dryer.

Step 4: Prepare Your Appliances For Stackinga
Always put your dryer on top of your washer when stacking your washer and dryer.
Place a piece of cardboard on the floor, lean your dryer onto the cardboard, protecting it from harm and making it simpler to transport.
The legs may be taken off by simply unscrewing them with an adjustable wrench.
Thread the stacking feet from your stacking kit onto the dryer if it comes with them.
If you later decide to unstack your washer and dryer, save the legs you removed in a secure location.
Step 5: Set Up Your Washing Machine And Dryer.
Move your washer to the location where it will be permanently installed, but allow a few extra inches so you have room to comfortably stack the clothes before installation.
To make sure the washer’s feet don’t need to be altered, level your washer.
Owners of Maytag washing machines may use this tutorial to learn how to level their washers.
Use the piece of cardboard to slide the dryer closer to the location where it will be installed before raising it back up to the upright position.
Step 6: Place Your Washer And Dryer In A Stack.
If using foam pads, place them on top of your washer as directed by the manufacturer.
A second person will be required to assist you in lifting the dryer.
If at all feasible, you may want to think about utilizing lifting straps to more evenly distribute the dryer’s weight as you raise.
Ensure that the dryer’s front and sides are flat with the washing machine and that its rear slightly overhangs the washer before setting it on top.
Step 7: Fasten The Brackets And Clips On The Stacking Kit
After correctly stacking your dryer atop your washer, you should attach the appliances to prevent any movement or wobbling while the dryer is in operation.
If your stacking kit included clips or brackets, connect them to the dryer’s bottom corners, opening any that need it with a screwdriver.
Move the dryer forward if required to align the hooked edges of the stacking kit brackets over the clip, and then firmly tighten the screws with a screwdriver.
Step 8: Reinstall The Washer And Dryer
Use your owner’s handbook to connect all the water, vent, and gas lines (if necessary) once the dryer has been fixed to the washing machine’s top.
After replacing everything firmly and tightly, move your stacked pieces back to their appropriate location.
Step 9: Run A Test Installation.
Start an empty cycle on your washer and dryer to test your stacked appliances.
During operation, pay careful attention to the washer and dryer to ensure sure there isn’t any excessive rocking or sudden movement.
While some vibration is totally acceptable, excessive movement might indicate that your machine isn’t level or that the stacking kit wasn’t put correctly.
Step 10: You’re Done!
After the test run, if everything seems to be in perfect condition, your task is finished! Utilize your appliances as usual and take advantage of the additional floor space.
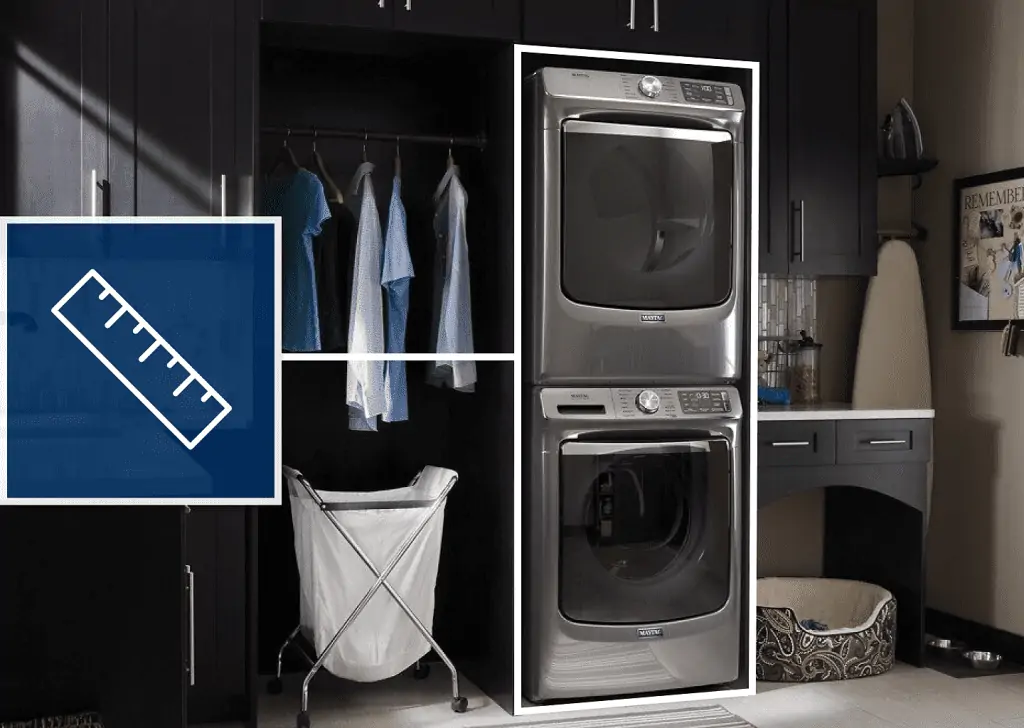
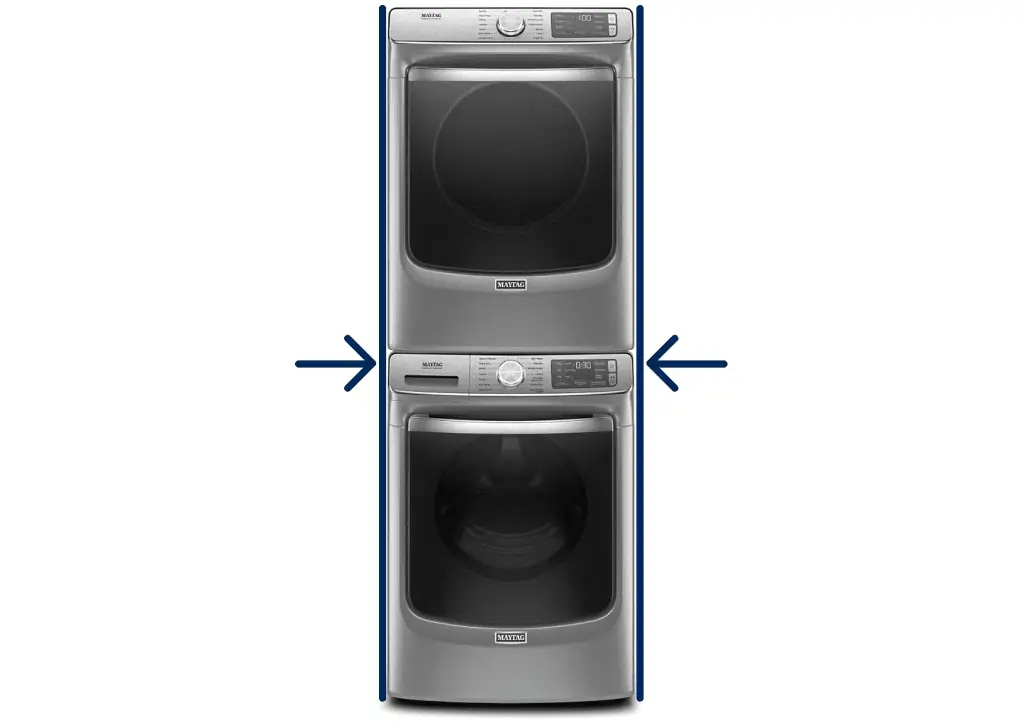
What Dimensions Are A Stacked Washer And Dryer?
The average height and width of stackable washers and dryers are 40 inches and 28 inches, respectively.
Your appliances will stand around 80 inches tall when stacked.
Additionally, this washer and dryer size chart might be useful if you are looking for a new washer and dryer and need to determine your space requirements.
Any Washer And Dryer May Be Stacked.
No, in a nutshell, is the response.
Your washer and dryer should, at the at least, be produced by the same company, but this does not ensure that your model is stackable.
It is recommended to check for models that clearly declare they have stacking capabilities when shopping for a new washer and dryer if you want to be able to stack them.