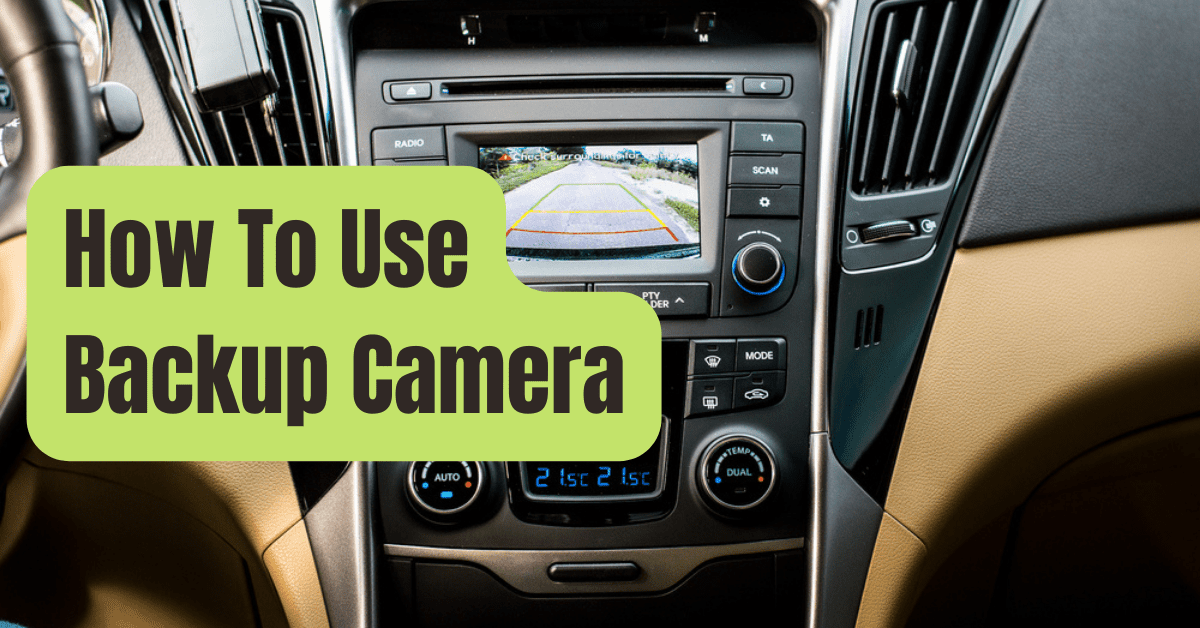
If you buy or lease a recent vehicle, you almost certainly have a backup camera.
Most people use these cameras to get a picture-perfect image of whatever’s behind them, but these powerful instruments can do much more than that.
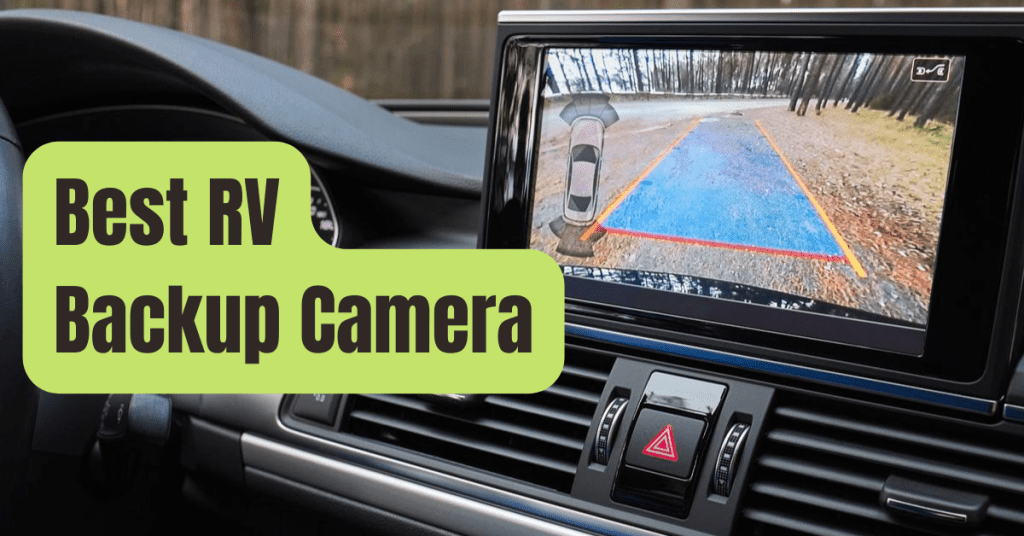
The lines on your backup camera may assist you in parallel parking, judging distance, and other tasks.
This tutorial will show you where to begin so you may have a better grasp of the tools available to you.
Step 1: Recognize the Lines
By design, most individuals instinctively understand how to utilize backup camera lines.
Many camera types use the traditional stoplight signaling system, with green denoting go, yellow indicating caution, and red denoting STOP.
It helps to know what all the lengths and scales look like when you’re utilizing your backup camera to maneuver a tight area or park in a tough circumstance.
To obtain a better sense of the size of the lines on your camera, see your vehicle’s handbook.
You’ll know how much wiggle space you have on each portion of the display this way, which is especially useful when you’re in the red.
Many backup cameras also include lines that shift dynamically to provide you parking tips.
It’s also a good idea to become used to how these lines move and how they might help you plan out your parking job.
A dividing line runs down the centre of certain cameras (particularly on vehicles equipped to install trailers) that matches to the ball on your trailer hitch.
This method may also be used to align your vehicle or automobile for towing a trailer.
Step 2: Find More About Further Features
Other features that operate in combination with your backup camera might help with your vision of your car while you backup.
Many automobiles, for example, feature proximity alarms that warn you when you’re backing up too near to another vehicle.
You may be able to turn off these alarms if they bother or scare you (see your car’s handbook for further information).
It also doesn’t hurt to go over the settings on your backup camera to see if there are any choices for those who are colorblind, or methods to make the display more practical or attractive to you.
Customization is always a good idea.
Improve your parallel parking skills.
The capacity of a good backup camera system to transform you into a next-level parallel parker is its strongest feature.
Here’s a short rundown of the procedures required for a successful parallel parking maneuver.
- Position your vehicle so that the front bumper of the vehicle you’ll be positioned behind is level with the rear bumper of the vehicle you’ll be parked behind. Check to see whether you have at least half of your vehicle’s length between you and the automobile in front of you (this is to ensure that you have enough room to park safely).
- Pull forward until your rear wheels (or, in certain situations, the rear bumper) of the vehicle you’ll be parking behind are even.
- Back up gently after turning your wheels abruptly in the direction of the curb.
- Turn your wheels forcefully away from the curb and back up till you’re positioned in the area once your front wheels are approximately aligned with the rear wheels of the automobile in front of you.
- Get your act together! You’ve completed the task.
Once you’ve learned to judge the correct distance using your backup camera lines, parallel parking with a backup camera may be a stress-free activity.
Keep an eye on that camera to make sure you don’t run into anything unexpected.
Step 3: The Configuration With Many Cameras
A multi-camera arrangement is a final application for a backup camera (and its lines) that may be quite advantageous.
This is useful for those who drive enormous tractor-trailers or anything else that requires several points to be aligned (for instance, a 5th wheel trailer).
Cameras may be put on each side of a trailer to check that it is backing up securely and to provide a broad field of vision to either side, making it much simpler to manage in tight spaces.
A multi-camera system may include many monitors; a wireless arrangement is best in this case, particularly when trailers are involved, but cable solutions are also available.
Step 4: Troubleshooting
If your backup camera lines aren’t working or aren’t showing correctly, it’s time to troubleshoot.
More ideas and methods may be found in our helpful guide, which is the best approach to figure out whether anything needs to be fixed.
Do You Need A High-Quality Camera?
If you want to install a high-quality backup camera to your car or replace an old one, we offer the components, equipment, and accessories you need.
Please contact us if you have any queries, and you may explore our many available alternatives here.