
The process of defrosting an RV refrigerator is surprisingly simple.
We’ve been using propane RV refrigerators for many years, and every few weeks or months, they constantly need to be defrosted.
The frost will accumulate over time if you live in a hot, humid climate or if the refrigerator side of your trailer or RV is exposed to the scorching summer sun all day.
However, being cautious about not leaving the refrigerator door open needlessly will assist.
To defrost an RV refrigerator, just do the following:
- A blow dryer
- A cooler bag with insulation
- A chamois towel that’s absorbent
We’ve experimented with a variety of defrosting ways over the years, and in the past, this was a labor-intensive task that, with certain procedures, might take well over an hour.
We’ve finally perfected a lightning-quick technique that makes this difficult task a breeze.
The previous time we performed it, I kept track of the time as we completed each step by looking at the clock.
It took 20 minutes from start to end.
The freezer’s contents should first be transferred into cooler bags or some other kind of cooler once the refrigerator has been turned off.
These items won’t thaw and the ice cream won’t melt since they will only be removed from the freezer for 20 minutes.
Covering the cooler bags with blankets for additional insulation will assist if your RV is hot inside.

Turn off the refrigerator at 9:17 a.m. and empty the freezer into cooler bags.
We used to completely empty the refrigerator and unload it, but that takes a lot of time and is unnecessary.
As long as the refrigerator door is left open to allow for defrosting, a surprising amount of the contents may tolerate a minor warmth.
Instead, just place the foodstuffs that are most susceptible to temperature changes, such as milk, yogurt, lunch meats, mayonnaise, etc., into a cooler or an insulated cooler bag.
The majority of the foods—fruits, vegetables, bread, cheese, sauces, etc. can stay put in the refrigerator for the 20 minutes it takes to defrost.
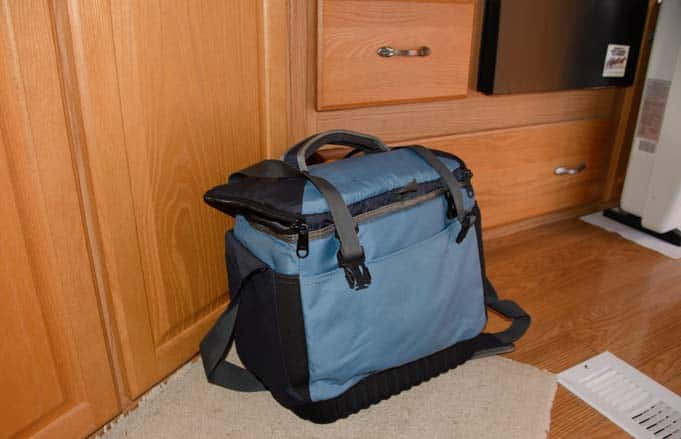
Set aside the cooler bags.
Putting blankets over them will keep things even colder.
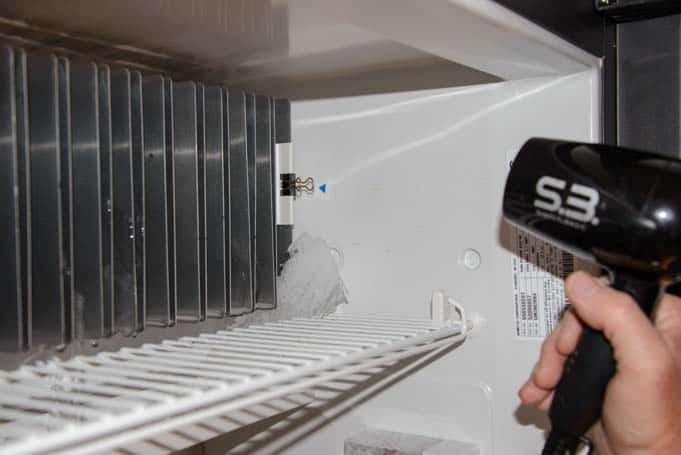
Then, use a hair dryer to defrost the freezer’s walls after placing an extremely absorbent chamois cloth in the bottom of the freezer compartment to catch any water from the melting ice.
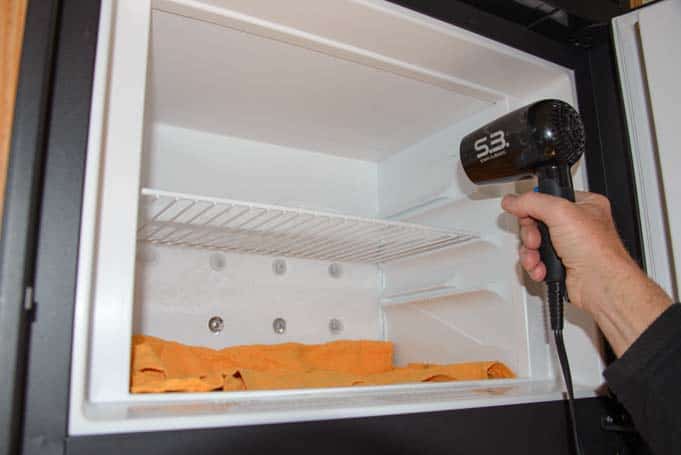
9:22 a.m. – Thaw the freezer with a hair dryer.
Our 2,000 watt pure sine wave inverter powers all of our AC equipment, including the hair dryer, and we are completely solar powered.
So, we have a mobile hair dryer that uses just 800 watts and is low-wattage (available here).
We set it to its highest setting and maintain an 8-inch clearance between the freezer’s walls and the hair dryer.
It could be necessary to use a hair dryer with a greater wattage on the low heat setting.
Check the temperature of the hair dryer by placing your palm approximately 8 inches from it.
To prevent the plastic walls from cracking from being cold and then being heated, make careful not to overheat them with the hair dryer.
Keep the hair dryer running while using your hands to feel the plastic walls’ temperature.
Move down to the cooling fins in the refrigerator section after slightly thawing the freezer’s walls.
Sweep the hair drier from side to side and back in a continuous motion.
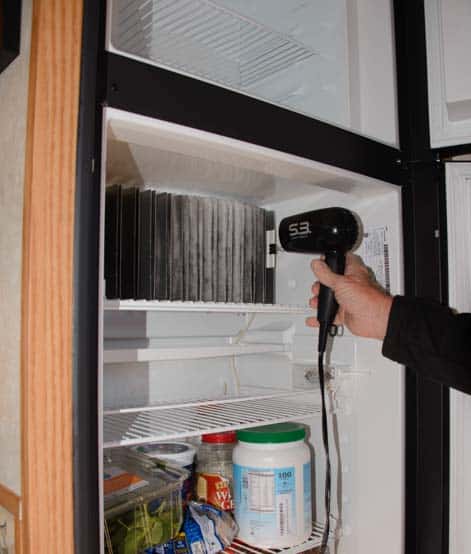
Waving the hair dryer slowly in front of the cooling fins will help.
Work on the refrigerator compartment and the freezer compartment in turn.

Alternate between the freezer compartment’s and the refrigerator’s cooling fins.
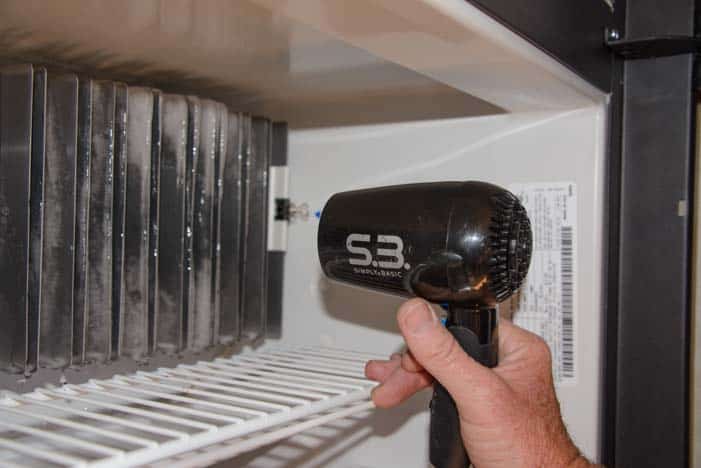
The hair dryer may be closer to the cooling fins at first, when they are covered with ice.
Small ice sheets will start to fall into the drip tray below from the cooling fins of the refrigerator.
Increase the space between the hair drier and the cooling fins as the thawing process progresses.
The hair dryer should be moved back a bit when the ice melts and the cooling fins defrost.
Never use a tool to chip the ice off the freezer walls or fins.
The refrigerant (ammonia) will seep out if you breach the metal base that is hidden under the freezer’s cooling fins or its walls.
We do not use any chiseling equipment.
We only use the hair dryer to speed up the thawing process.
You may see the ice shavings falling into the drip tray if you look below the cooling fins.
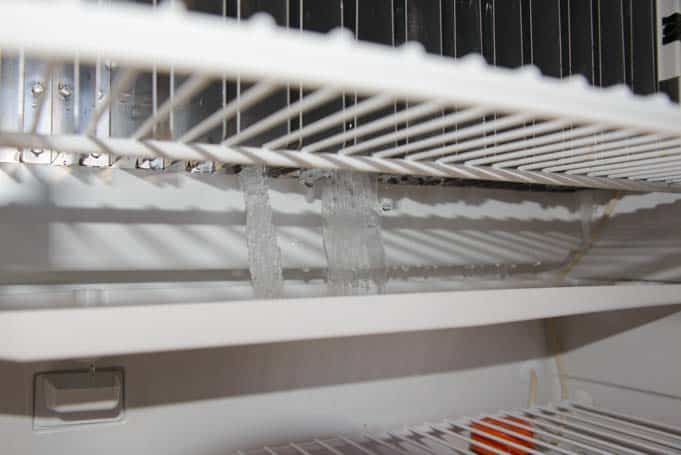
Look for pieces of ice that have fallen off underneath the cooling fins.
If you go outside, you’ll see water dripping from the refrigerator vent on the rear of the RV.
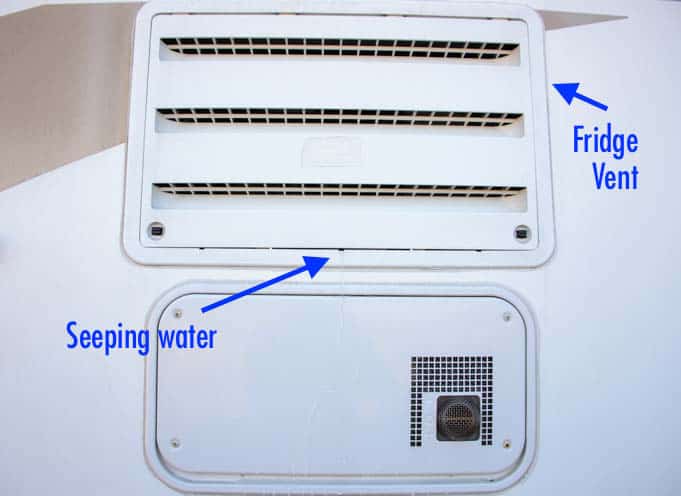
Water will be dripping from the refrigerator vent outside the trailer.
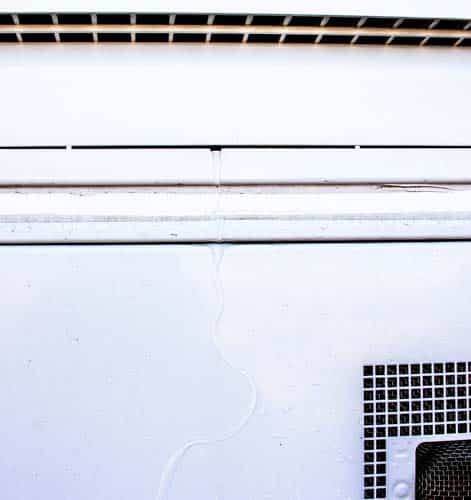
Water trickles down in a little amount.
Pull remove the drip tray and pour the ice into the sink after it has all fallen off the cooling fins.
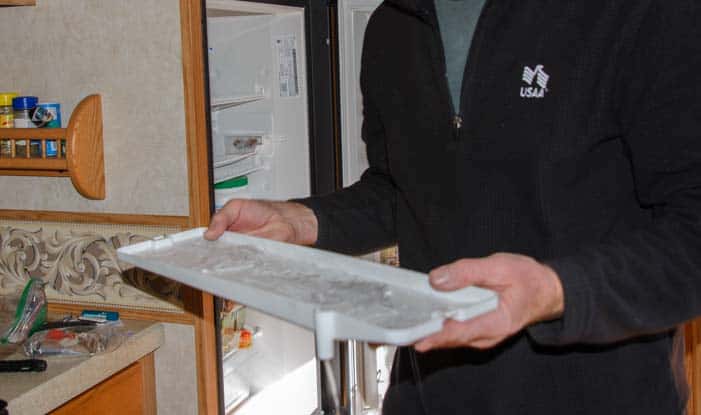
9:34 a.m. – Empty the tray of ice into the sink after all of it has fallen off the cooling fins.
The chamois cloth is now rather damp from the water that has dropped down from the walls up in the freezer section.
Use it to clean the fridge and freezer after ringing it out.

9:35 a.m. – The chamois towel is somewhat damp in the freezer.
Use it to clean the freezer and refrigerator.
Restock the refrigerator and freezer with the food from the cooler bags, and you’re done! For a few hours, put the fridge to its highest temperature to let it cool down, and then adjust it to your usual setting.

9:37 a.m. – Restart the refrigerator after you’ve refilled it with food.
Done!
Other Advice for RV Refrigerator
An RV refrigerator’s performance depends on how effectively the air circulates within.
This is tough for it since the fridge is overstuffed with food.
To keep the air moving, we have been using a little RV refrigerator airator fan.
This has yielded a variety of effects, and when it died, we didn’t replace it.
The stuff in our fridge is often crammed, so I don’t believe this would work well.
(The battles for territory between the beer and the vegetables can be severe.) On occasion, we can hear them fighting inside!).
We regularly wipe off the door seals as a maintenance task to keep them clean.
To keep an eye on the freezer and refrigerator’s temperatures, we utilize basic refrigerator thermometers.
We hang it from one of the rungs on the refrigerator’s top shelf since it has a built-in hook.
The frozen one is leaning against a wall.
We were shocked to discover that the typical lifetime of an RV refrigerator is between 8 and 10 years.
Yellow dust appearing in the refrigerator vent region behind the fridge is a typical symptom of approaching failure (go outside and take the vent cover off and look around with a flashlight).
To read the humorous account of our RV refrigerator replacement and to learn how an RV fridge replacement is carried out, click the following link.
Due to RV refrigerators’ reduced lifetime, greater cost, and reliance on gas, many (the majority) “full-time” level fifth wheels and motorhomes are now constructed with domestic refrigerators that solely utilize AC electricity (a dedicated inverter is installed so it can run from the batteries while in transit).
A domestic refrigerator will need a considerably larger battery bank and solar panel array than would normally be required for those who want to dry camp and boondock often in their RV life.
In our introduction to solar electricity, which is located at this link, we go into greater depth about that.
If using a hair dryer to defrost an RV freezer sounds unusual to you, be assured that we have tried a lot of different approaches.
We tried letting the fridge defrost on its own by opening the freezer and refrigerator doors.
In an effort to “assist it along,” we tried doing that and chipping the ice off with a little plastic scraper.
To get the refrigerator to warm up, we tried placing a basin of hot water inside.
Although each of these approaches was effective, it took time.
For a few years now, we have been utilizing our current technique with the little portable hair dryer and we really, really enjoy it.