Installing a dash cam can be a very useful way to keep track of what is happening while you are driving. There are many different types of dash cams available, so it can be hard to decide which one is the best for you. This guide will help you install a dash cam easily.
Installation of Advanced Dashcams
WARNING: Only a certified person or firm should undertake this sort of installation.
If you don’t know what you’re doing, working with your car’s power system may be harmful to both you and your vehicle! If you have any concerns, seek expert advice.
This particular car is a Honda CRV.
Because vehicle designs and fuse box placements may vary greatly, this installation instructions is only meant to be used as a suggestion.
The G1W-C dashcam is utilized in this how-to, but the instructions may be applied to just about any USB-powered dashcam on the market today.
Please visit our BlackVue and Power Magic Pro installation tutorial instead of this one to learn how to install a BlackVue dashcam.
Let’s get started with the installation! To see a bigger version of any of the images below, just click on it.
Related: 7 Best RV Dash Cams of 2026
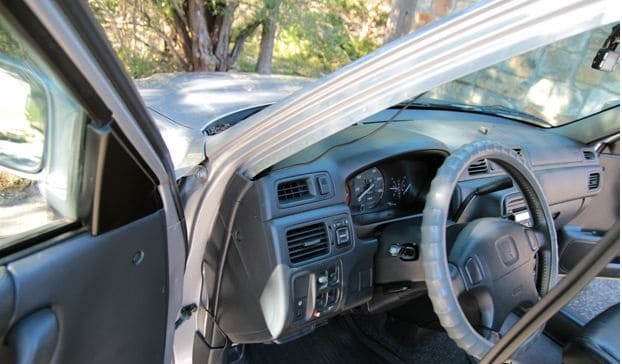
Step 1: Choose A Location For Your Dashcam.
You want to trial several positions for your dashcam while sitting in the driver’s seat of your car.
It’s a good idea to have the dashcam within arm’s reach of your seat, but avoid mounting it where it will obscure your view of the road ahead.
The client in this case has opted to mount their dashcam just under the rearview mirror.

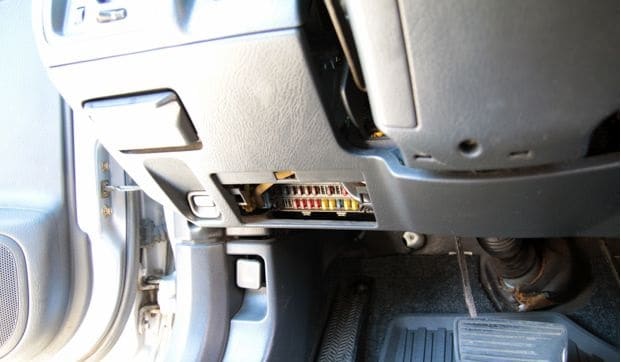
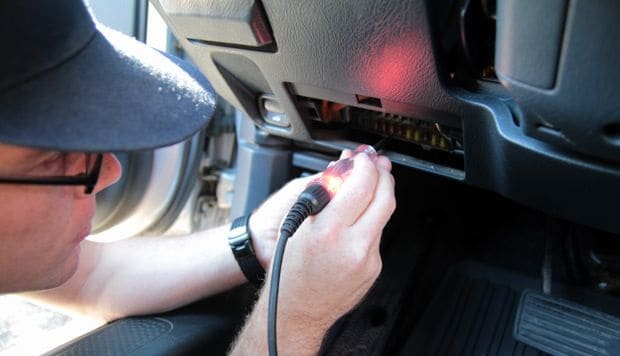
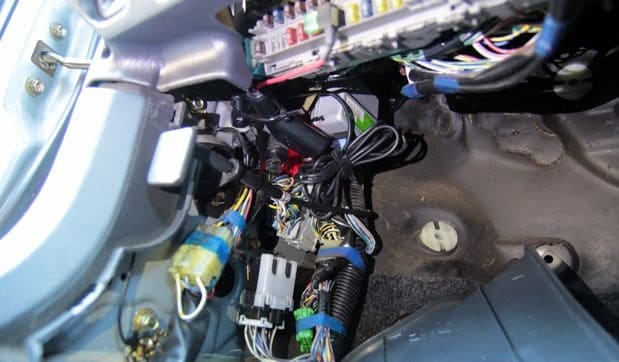
Step 2: Locate The Fusebox In Your Car.
We need to know where the fuse box is since we’ll be wiring a power line from the dashcam to it.
On the driver’s or passenger’s side of the dashboard, most automobiles include a fuse box.
The fusebox is conveniently accessible underneath the steering column in this scenario (behind a removable panel).
The location of the fuse box in your car may be found in your owner’s handbook.
Step 3: Start Routing The Power Cable
Begin by laying out the power wire where it will be concealed beneath the vehicle’s interior panels, starting with the dashcam.
This will help you determine where the wire should be routed and how much slack to provide on the way down to the fuse box.
Related: Where To Mount Dash Cam: The Ultimate Guide

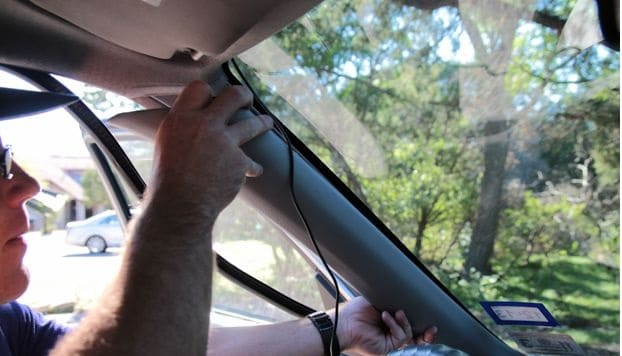
The power wire is tucked into the headliner first.

Pulling up the rubber trim along the A-pillar usually exposes a space through which the power wire may be extended from the headliner to the fuse box.
In certain circumstances, removing the A-pillar cover will provide total access to this region of the car, allowing the power line to be routed.
Many A-pillar coverings may easily be snapped off; if you’re not sure how to remove interior components, check your vehicle’s technical handbook or a specialist.
During this installation, we removed the A-pillar cover for demonstration reasons.
The A-pillar does not need to be removed in most circumstances.
In the A-pillar, tuck the power line in between the existing wires.
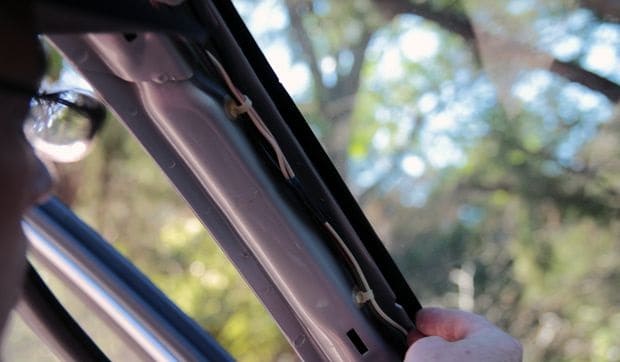
Connect the power line to the fuse box by going around the side and behind the rest of the interior panels.
Step 4: Look For A “Hot In Start” Fuse.
Vehicle fuses may be powered all of the time (always hot) or just while the vehicle is operating (hot in start).
We’ll connect our add-a-circuit kit to a “hot in start” fuse to have the dashcam turn on automatically while the car is running and switch off automatically when the driver shuts off the vehicle.
We use a basic circuit tester that glows when power is supplied to determine which fuses are hot at the beginning.
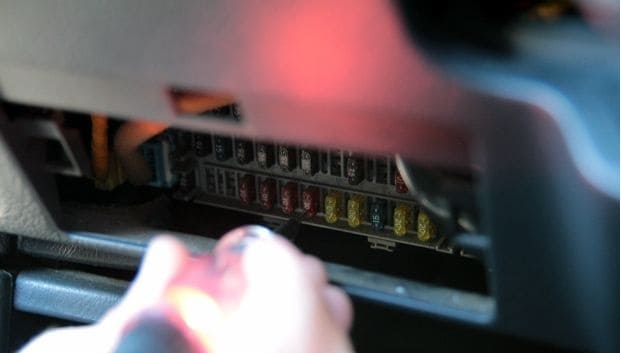
When the ignition key is turned off, you must use the circuit tester to check that there is no power at the fuse, and that power is only available when the ignition key is switched to the run position.
Related: How To Format SD Card For Dash Cam?
Step 5: Connect The Add-A-Circuit Power Wire To The Installation Kit.
Make sure the key is no longer in the ignition.
Remove the fuse you indicated in step 4 using a fuse puller or a pair of pliers.
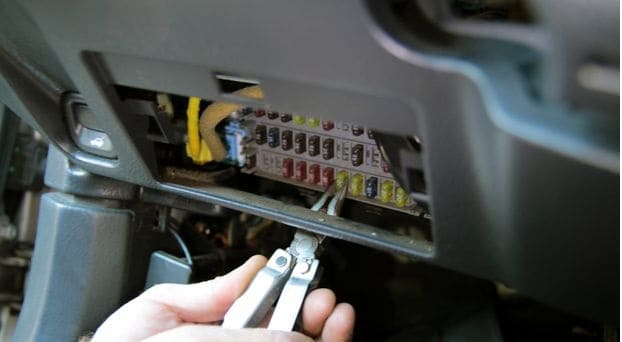
Replace the fuse you just removed in the add-a-fuse circuit included in the installation kit.
The add-a-circuit as received from The Dashcam StoreTM is shown in the first picture below.
The second picture shows the add-a-circuit with your car’s original fuse attached.
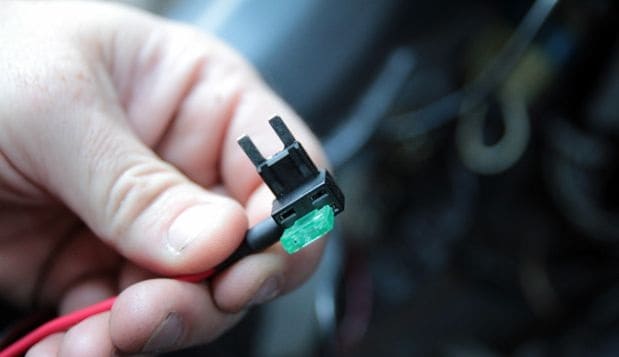
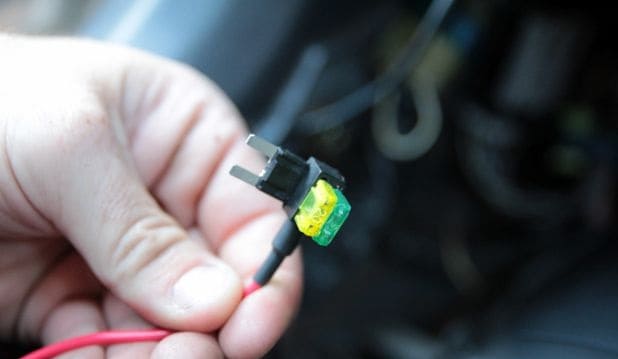
The add-a-circuit should be plugged into the vacant area where your “hot in start” fuse used to be.

Step 6: Find A Solid Footing.
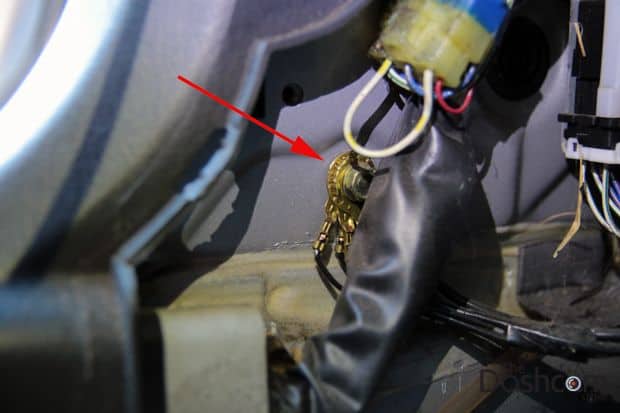
The installation wire kit’s other end must be grounded to your car.
As seen in the illustration below, most autos have at least one noticeable ground point near the fuse box.
To get access to this ground point, the lower kick panel has been removed.
Remove the bolt and replace it with the ground lug included in the installation kit (not shown).
Step 7: Complete Your Installation.
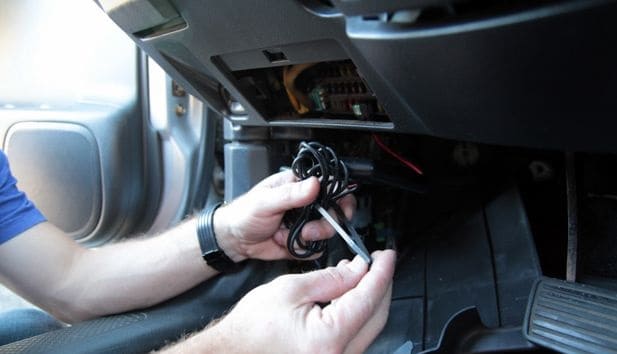
Bundle the extra power cord together using zip ties.
Then, using extra zip ties, connect the wire to a firm mounting point under the dashboard or behind the kick panel.
Step 8: Run A Test On Your Setup.
Turn the key to the run position and insert it into the ignition.
If everything was done successfully, your dashcam should switch on and start recording! At this stage, you may restore any interior panels that were removed to make the power wire run easier.
Related: What Is Loop Recording On A Dash Cam?