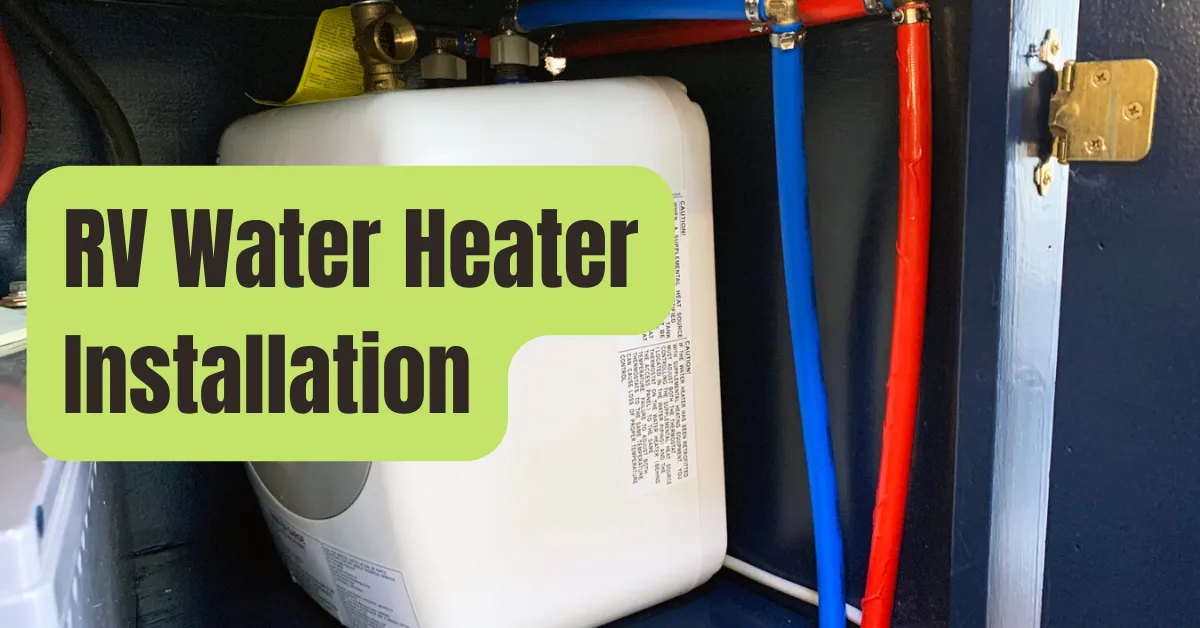
The installation of a tankless water heater to your mobile home may be very useful and efficient.
It implies that you’ll never run out of hot water as long as there is a source of water.
Your hot water supply won’t be impacted by running the dishwasher, flushing the toilet, or taking hour-long showers.
Additionally, this tankless version uses less space in your RV and costs less money.
It only burns fuel while you are using it, unlike a storage-tank water heater, which runs constantly to keep your water heated.
You’re probably prepared to install a tankless water heater in your RV right now after considering these advantages.
To learn more about putting one in your camper, though, keep reading.
What Is the Process of a Tankless Water Heater?
Electric hot water tanks with a heating element may be something you are already acquainted with.
The element’s task is to continuously reheat the tank’s remaining hot water.
It takes time to refill the tank storage once you’ve used it completely.
These conventional electric hot water tanks are not costly to install at first, but they are inefficient since they keep the water hot whether you need it or not.
A tankless water heater heats water with great efficiency.
Only when necessary does it heat the water using gas or electricity.
As a result, the tankless water heater begins heating as soon as you turn on a hot water faucet or turn on a device that utilizes hot water.
The tankless water heater waits until you request hot water before beginning to heat it, as opposed to storing and reheating hot water throughout the day and night “just in case” you need it.
A tankless water heater does not utilize a storage tank, as the name would imply.
Instead, cold water enters the device via a pipe when you turn on the hot water faucet.
Depending on whether you have a gas or electric water heater, the gas burner or electric element at this moment rapidly warms the water and sends it to your faucet.
How to Make a Tankless RV Water Heater
So you’ve made your choice and bought a tankless water heater for your RV! What’s next? Continue reading to find out how to install this wonderful technology in your RV.
Consider your level of comfort with a DIY installation vs a professional installation most critically.
Your safety and the safety of your family come first, so seek expert assistance if you feel the least bit uneasy doing the installation yourself.
If not, keep reading.
First, shut off your propane supply at the tank out of concern for safety.
In order to stop the flow of energy to your water heater, you need also turn off the power to your vehicle.
(Preventing shock.)
The water pump within your RV should then be turned off to prevent pressure from building up in the water pipes.
(Mess avoidance.)
Pour the water tank out now.
To empty the whole tank of water, first open the drain valve and then the pressure relief valve.
(Pro Tip: Back off!)
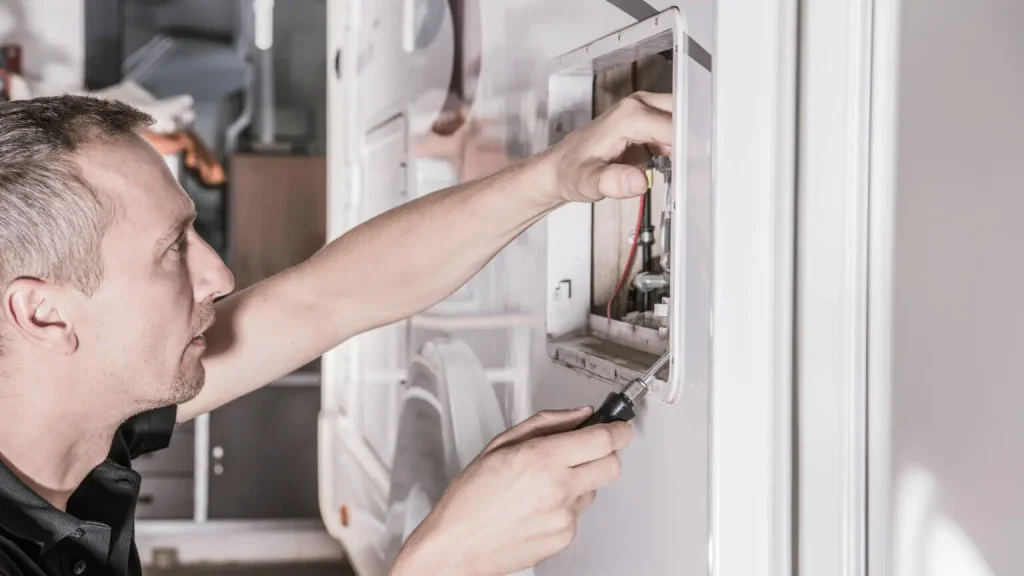
Next, cut the power and propane lines, as well as the lines that feed the hot and cold water.
(Advice: Before disconnecting, take a picture of the electrical cables.
After that, before shutting off your hot and cold water valves and removing the pipes from the old tank, take a picture of them.
If you need to restore the lines after installation, go to these.)
Remove all of the fasteners from the water heater cabinet’s outside side now, and use a putty knife to cut through any weatherproofing, butyl tape, or caulking.
Take note of any wire that could still be attached when you slowly remove the unit, and then disconnect it gently before yanking on the unit to remove it.
Use your putty knife and mineral spirits to remove any tape or caulking residue after you’ve removed the previous model from your RV.
Clean the water heater cabinet’s inside.
(Pro Tip: Before installing the new unit, tape the connectors for the water line using plumber’s tape or Teflon tape.
When the connections are simple to access before installation, this is significantly simpler to accomplish.)
The new water heater should slide into the cabinet.
(Advice: Verify that the freshly acquired door fits your new heater and cabinet by holding it up to the unit for a time.)
In order to prevent the new water heater from moving, if required, frame it tightly into the cabinet.
Lock down the cabinet’s frame and the water heater’s door.
To thoroughly waterproof the space surrounding the cabinet, use caulking and butyl tape.
Reconnect the water heater’s water supply lines.
(Note: When utilizing a tankless water heater, bypass pipes are not required.)
Reconnect the gas and electricity lines.
NOTE: Installation of the electrical components, including the user control panel, by the consumer is not advised by Girard, the leading maker of tankless water heaters for RVs.
Have a professional connect the device and control panel for you if you are not an electrician.
Reconnect the DC power to your RV after a professional has assisted you with all electrical connections.
Finally, from within the RV, switch on the water pump and the propane (at the tank).