You arrive at the campsite after a grueling day of riding.
You can hear the shower calling to you in the back of your head.
You have to ignite the pilot in your water heater since you are the happy owner of a dinosaur RV rather than one of those sophisticated “turn the switch and go” devices.
You push the pilot light control button, set the burner control valve to “pilot,” and then flicker some flame on the end of the pilot light burner.
The flame is excellent, so you remove the pilot light control button once the customary 30 seconds or so have passed.
The pilot light disappears as if by magic! You keep doing this until you’ve used matches to burn your fingertips or unrepeatable words to tint the air blue.
A malfunctioning thermocouple is the most typical source of this issue.
If the pilot light goes out, a thermocouple is a safety mechanism intended to close the gas valve.
The metal portion that makes up the thermocouple’s “business end” is positioned 3/8 to 1/2 inch into the pilot flame.
Back at the gas valve, a metal connection connects to a threaded connector.
In actuality, the thermocouple transforms the heat from the pilot flame into electrical electricity.
An electromagnetically controlled valve is kept open by the current, enabling gas to flow.
Valves close due to lack of current, and gas flow ceases.
The functional life of thermocouples ultimately ends.
You must remove them from their appliance and test them using a digital electrical tester equipped with a millivolt scale.
It’s a simple task that will save you a great deal of aggravation.
The propane gas valve(s) on your rig should be closed before you leave on this trip, advises “Mr. Safety.” Because propane gas is very volatile and may explode in large amounts, you should seek expert assistance if you feel in any way unqualified for the work.
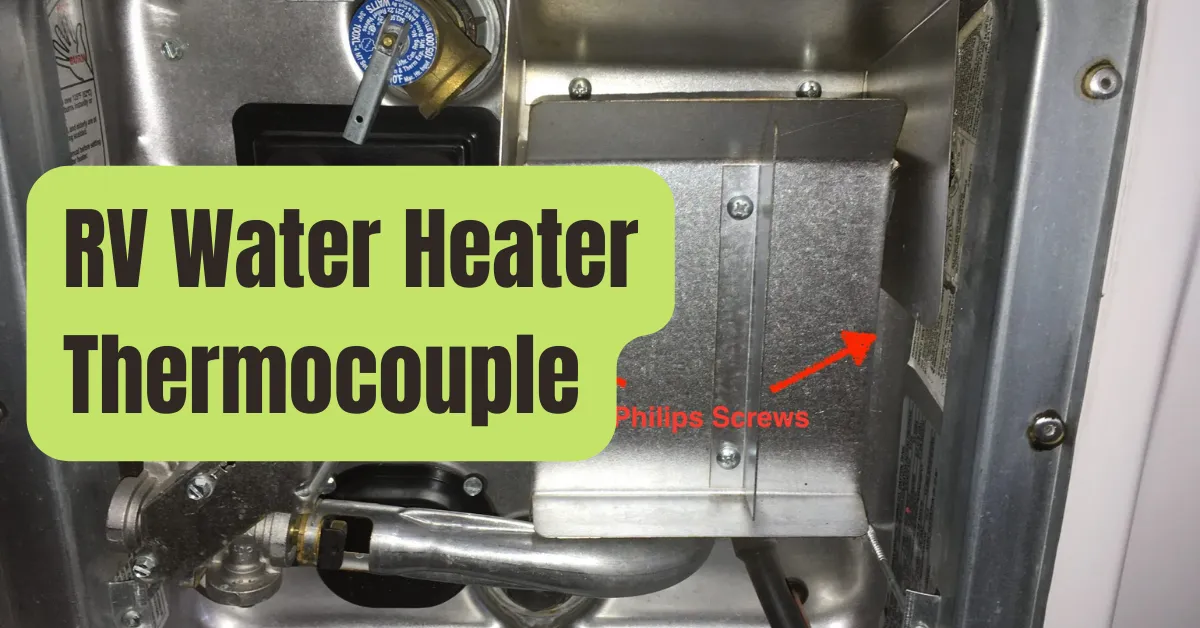
The thermocouple in your device must be located.
The thermocouple and the pilot flame burner will both be part of an assembly within the main burner.
Because it is cylindrical and rests in the pilot flame, the thermocouple will be placed on top of the pilot burner and thermocouple assembly.
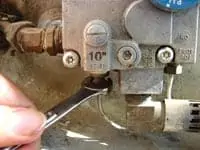
Chase the connecting wire—which may also resemble a tube—back to the gas valve, then loosen the threaded end of the thermocouple from the gas valve using the appropriate-sized open-end wrench (usually a 3/8-inch tool).
Gas shutoff? That is the metal box with the knobs for controls.
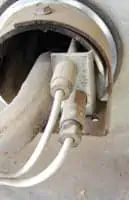
The pilot light assembly may now have the sensor bulb removed.
That is located on the other end of the connection that resembles a wire and comes from the fitting you removed from the gas valve.
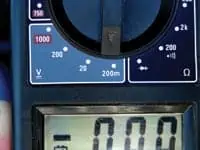
Set the millivolt scale on your digital voltmeter at this point.
The button on the threaded fitting’s end is where the positive lead should be connected.
Connect the thermocouple’s negative lead to the device’s jacket.
The tough part is right here: The sensor bulb has to be exposed to a live flame (a lighter works nicely) for around 45 seconds.
Use a set of pliers or get a helper with asbestos fingers.
The thermocouple should yield a voltage measurement of at least 12 millivolts after 45 seconds; ideally, the value would be close to 26 millivolts.
Replace the thermocouple if it falls below the minimum.
You could be dealing with a faulty gas control valve if the thermocouple readings fall within permissible ranges.
Reinstalling the replacement thermocouple is a straightforward “reverse order” task.
But be careful: when changing a thermocouple, tighten the fitting with your fingers before turning the wrench a further 1/4 turn.
Anymore might harm the thermocouple and make it worthless.
Now turn on the gas valve(s) and light the fire.
Take a shower now.