If you want to get the most out of your camping experience, your RV’s holding tanks need to be properly maintained.
This is particularly valid for your RV’s freshwater supply.
Your freshwater system must not only function properly, but also be clean, whether you are traveling in a new or used motorhome, such as a travel trailer or a used towable.
How Frequently Should Your RV’s Fresh Water Tank Be Sanitized?

You should clean the fresh water system on your RV once a year, often in the spring when you take it out of storage.
This is a basic maintenance procedure to make sure you have clean water for drinking, taking showers, cleaning dishes, and doing laundry when traveling.
There is really no need to have your RV’s fresh water tank sanitized, but you may hire a professional to do so.
You may do it without any special equipment and, if you’d like, using bleach or another ecologically friendly cleaning agent.
How to Use Bleach to Clean an RV’s Fresh Water Tank
All you need is a measuring cup, a funnel, and some household bleach to cleanse your RV water tank.
Simply follow these detailed steps after that:
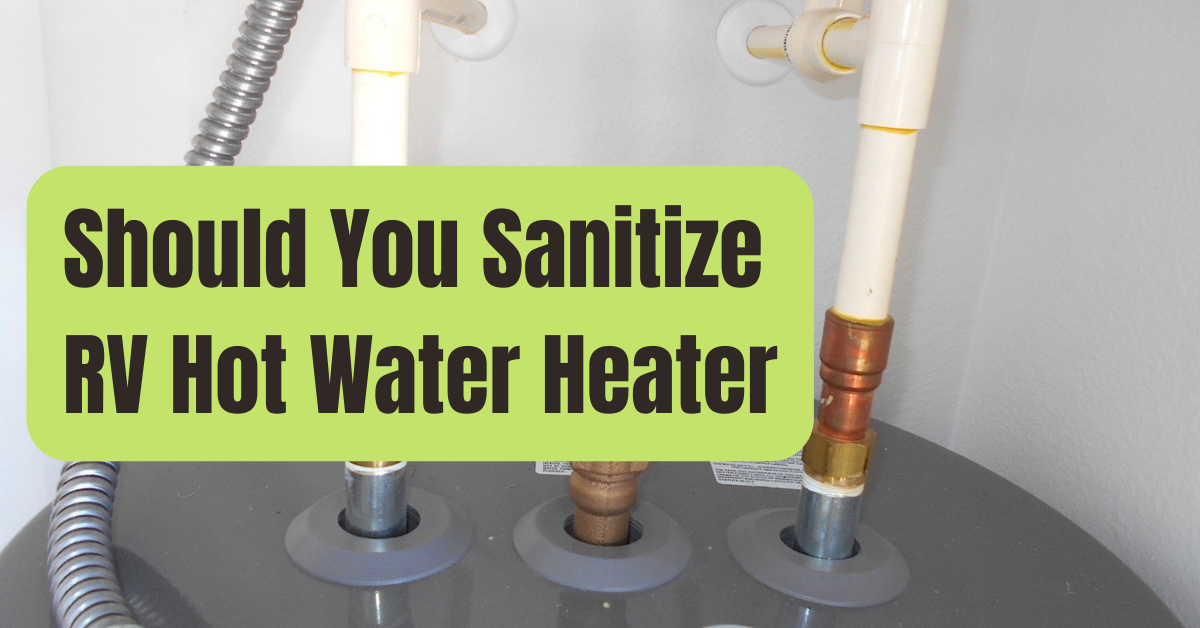
Step 1: Turn Off Your Water Heater And Water Pump

The water heater tank may be harmed if you drain your freshwater system while the water heater is running.
Before draining the water in the tank, turn off your water heater and allow the water to cool.
Use the water heater bypass button if your RV has one to stop the bleach solution from getting into your hot water tank.
Make sure your water pump is off at this time as well.
If you remove the lid from your car’s oil intake before draining the oil, opening all of the faucets in your kitchen and bathroom will enable air to naturally aid in the entire draining of water from your fresh water system.
Before starting, make sure your grey water holding tank is empty.
You may also, if you’re in a suitable position, connect your sewer to an outlet so that you can quickly empty your holding tanks when the time comes.
Step 2: Drain The Fresh Water Tank

Find the low-point valves beneath your motorhome and open them to empty the freshwater system.
These valves are often seen in pairs in RVs.
The other will be at the end of a blue water line, and one will be connected to a red water line (hot water) (cold water).
Step 3 may be skipped if your tank is already empty as a result of draining it during RV winterization.
The freshwater tank’s low-point valve is often located immediately below RVs.
Depending on the positions of the low spots in the plumbing of your coach, some have various valves for the cold water system.
If you’re having difficulties finding these valves on your RV, consult your owner’s handbook.
The water supply from your freshwater tank, plumbing, and hot water tank may then be drained by simply opening these valves.
Just make sure you’re at a location where water will safely go downhill or percolate into the earth.
You wouldn’t want to do this, for instance, in an RV park if the slope would result in a pool of water in your neighbor’s space.
Pro tip: Right now is a wonderful moment to inspect the hose clamp on the freshwater tank’s refill tube.
Before filling your freshwater tank, this clamp must to be snug.
However, it may sometimes be left open on new RVs.
This clamp is located on the freshwater tank’s side that is closest to the fill entrance.
The water tank may be hidden under the bed of smaller trailers or in a storage compartment on some trailers.
Step 3: Determine How Much Bleach You’ll Need

Calculate how much bleach you’ll need to sterilize your system as it drains.
For every 16 gallons of water your fresh water tank can contain, you’ll need around a quarter cup of bleach.
One ounce of bleach for every eight gallons of freshwater is another useful ratio for your calculator.
Based on one of those ratios, estimate how much bleach your RV needs.
For instance, to sanitize a 20-gallon freshwater tank, you would require roughly 2.5 ounces of bleach.
Recap your low-point valves after no more water is draining from them.
Step 4: Fill Your Fresh Water Tank With A Mixture Of Bleach.

Secondly, avoid pouring bleach directly into your freshwater tank.
Use your funnel to pour the bleach solution into the fresh water inlet on the side of your RV after diluting it in at least a gallon of water.
Pro tip: You may not be able to pour your bleach solution into your RV using a funnel if it has an overfill vent on the freshwater input.
To get the bleach into your tank in this situation, just pour the mixture into your hose and connect it to a water supply.
Step 5: Add Potable Water To The Tank And Then Pump It Through The System.

The next step is to add clean water to your tank.
Fill your tank entirely with water to ensure that the bleach dilution is mixed throughout the whole tank.
Connect your water hose to a freshwater connection.
To use the purest water possible while cleaning your tank, you could also think about utilizing an RV water filter when filling it.
Replace the freshwater inflow cap once your tank is full.
The bleach solution must then be pumped via the plumbing pipes.
Turn on the water pump inside your RV.
After that, turn on every faucet and showerhead and let the bleach water circulate through the whole freshwater system for two to three minutes.
You may close the taps and restart your water pump after the water has been running for a few minutes.
Step 6: Wait 12 Hours Before Using The Water.
It takes time to properly sanitize a tank.
Before emptying it again, let the clean water and bleach solution stay in the tank and plumbing pipes for approximately 12 hours.
Simply let it alone overnight if you begin this procedure in the afternoon, and then return in the morning.
Step 7: Drain the Tank

It’s time to drain out all the water again after at least 12 hours.
Your first choice is to carry out this procedure just as you did when you originally emptied your tanks to be ready for sanitization.
Allow the water to fully drain by opening the low-point valve (or valves).
It is advised against pouring your bleach tank into the soil if you are using it since it may impair the soil’s plant life and general health.
Placing a temporary RV holding tank or a five-gallon bucket beneath your low-point valve to collect your bleach combination and then dispose of it into the proper sewer inlet, such as those at RV dump stations, is a simple option.
Other methods include using a biodegradable cleanser or, if you’ve previously connected your grey water tank to a sewer, turning on your water pump, opening all of your taps (except from the shower), and letting the water flow through the system and into your tank.
You don’t want to leave this solution sitting in your grey holding tank since bleach and rubber don’t get along well.
However, flushing it through as you do so shouldn’t harm anything and may also partly disinfect your grey tank.
It is still preferable to open the low-point valve after turning off your water pump even if you do flow your bleach solution through your plumbing system and into your grey water tank.
This avoids a little quantity of water and bleach from being left behind and enables your freshwater tank to drain fully.
Step 8: Refresh The System

The last step is to add new water to your tank and use your water pump to circulate it throughout the system.
Open every faucet and cleanse the plumbing until the bleach odor is gone.
You may now leave the grey water tank handle open to keep the system running while you flush the leftover bleach solution.
Until the bleach odor is completely gone, you may need to replenish the tank and flush it multiple times.
By doing this, you can be confident that all of the sanitizing agents have been removed from the system and that the water in the tank is ready to be used once again.
PRO suggestion: If your RV has a built-in water filtration system, you should change the filters following the sanitization procedure.
More information on how to get safe drinking water in an RV, including information on water filters and water quality, may be found here.
After changing those filters, you may safely turn off your water heater bypass switch (if necessary), and you should be prepared to go camping for a further full year.
It’s better to wait until you really need water for usage inside your RV if you’re not immediately leaving on a trip before filling up your tank.
How To Clean The Fresh Water Tank In An RV Without Bleach

There is a more green method to disinfect an RV freshwater tank if you don’t want to use bleach.
You’ll proceed in the same manner as described above, but step three will be replaced by using a biodegradable cleaner, such as this freshwater system cleanser from Camco.
Make sure the RV fresh water tank sanitizer you choose has been authorized by the manufacturer of your RV and that you carefully follow the directions to use the recommended dosage for the size of your freshwater tank.
Optimum RV Fresh Water Tank Cleaner
We also suggest taking a look at this all-in-one kit from Thetford if you’re searching for a comprehensive freshwater tank cleaning solution.
You may enjoy safe water on all of your forthcoming RV excursions with the help of a simple two-part technique to clean and disinfect your freshwater tank and get rid of dangerous germs.

