Summer vacation is the finest, particularly when the weather is beautiful and there are so many interesting things to do.
However, it may become too hot at times, and you’ll need a spot to cool down, particularly if you’re camping.
This article will provide you some useful insights and “how to” instructions for keeping your RV cool and comfortable via its AC unit if you are new to the RV scene or need some troubleshooting.
What is the Function of an Air Conditioning Unit?
First and foremost! Before we start flicking switches, a good place to start learning how to use an air conditioner is to look at how it works.
The cool thing about these systems is that they work in a similar way as refrigerators, so you’re receiving more information than you bargained for!
RV Air Conditioners indeed cool the space down, but not in the manner you would expect.
Instead of blowing cold air, air conditioners pull heat and moisture from the air to chill your home.
Isn’t it cool?
When heated air is drawn into the unit, it transforms from a gas into a liquid and then back into a gas.
So there will be a heated input that will finally end up on the outside, with a circulation mechanism to cool things down.
The cooling process begins when the AC unit removes the heat from the room.
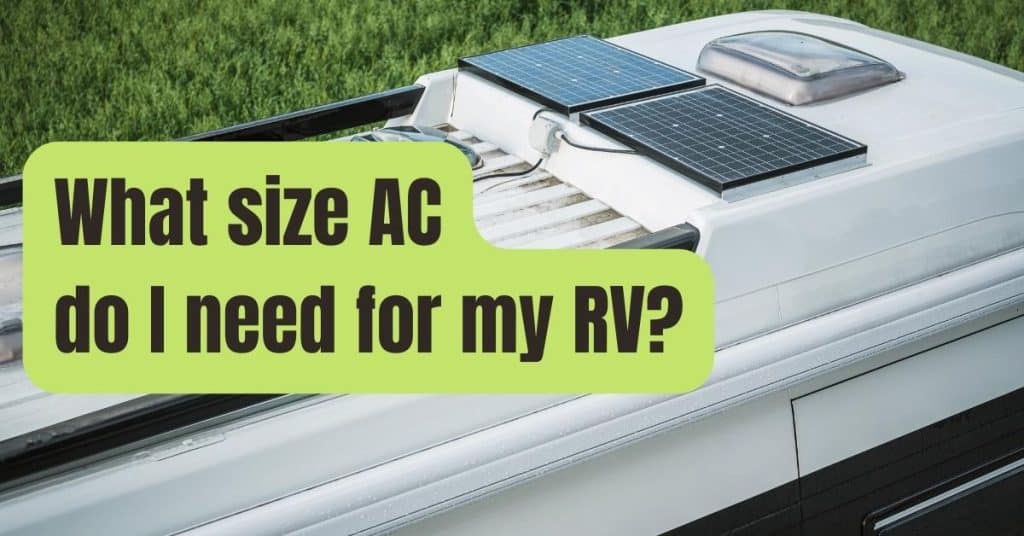
Read more: What size AC do I need for my RV?
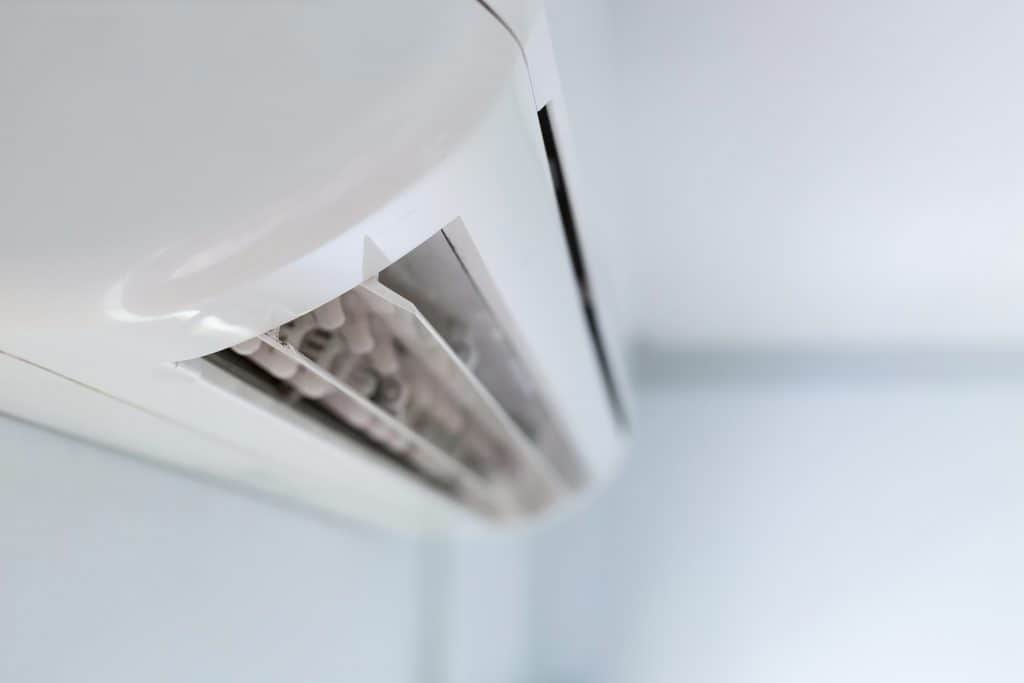
There are a lot of science-y things going on with coolants and compressors, but the important thing to remember is that your system works very well.
Because of the intake method, air conditioning systems in RVs are restricted. Instead of producing air that is cooled to your preference, it must process the heat in the cabin to a lower degree–which means it will be done in increments, and the temperature that is sucked into the intake will impact how chilly it becomes in your cabin.
The temperature conversion increase on most RV air conditioners is about 20 degrees.
This implies that your RV may be very hot, such as 100 degrees, yet your air conditioner can only cool it down by around 20 degrees.
According to my calculations, the air temperature will be approximately 80 degrees. Unless the intake temperature fell a little, it wouldn’t be able to go much lower.
Don’t worry, even if it’s blowing warm air, your unit is still operating; the outside temperature will only affect it until the AC kicks in to chill things down.
In the following parts, I’ll show you how to utilize your RV properly and efficiently so that you may enjoy the pleasure of your RV sooner rather than later–that is, before the sun sets–and go inside.
1. The “How To” Suggestion
First, let’s look at how to switch on the air conditioner.
Everyone’s RVs are a bit different in terms of design and manufacture, but it’s fortunate that the AC units in the majority of them are the same, with a few minor differences.
Although technology has improved rapidly, air conditioners have remained mostly unchanged for some time.
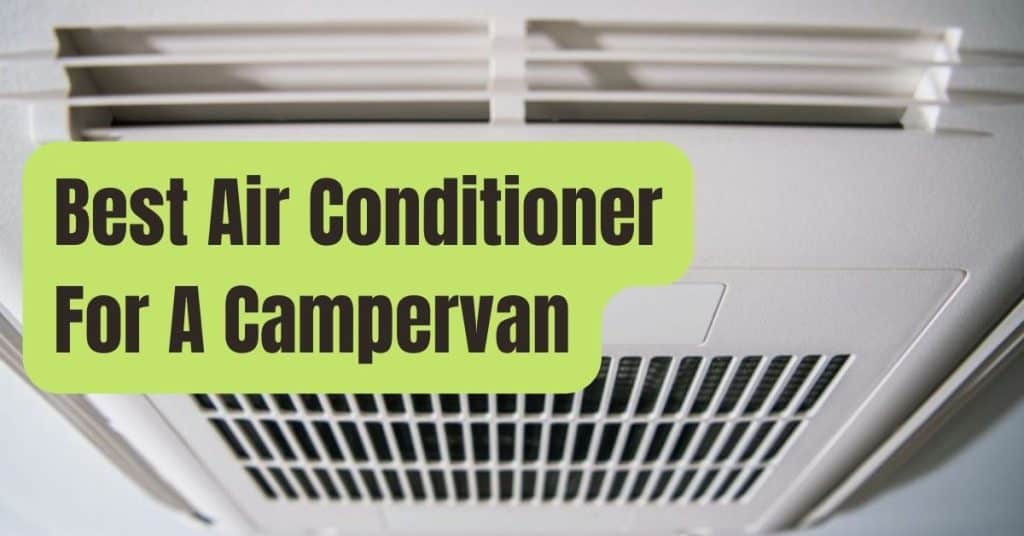
Your RV’s air conditioning unit is conveniently positioned in the middle, and it’s easy to overlook since it’s normally extended across the top of the ceiling.
Let’s hope you’ll be able to make it! The vents will either be on the AC unit or on the sidewalls. Keep an eye on the vents! It’s what’ll make your unit run more efficiently and save you money.
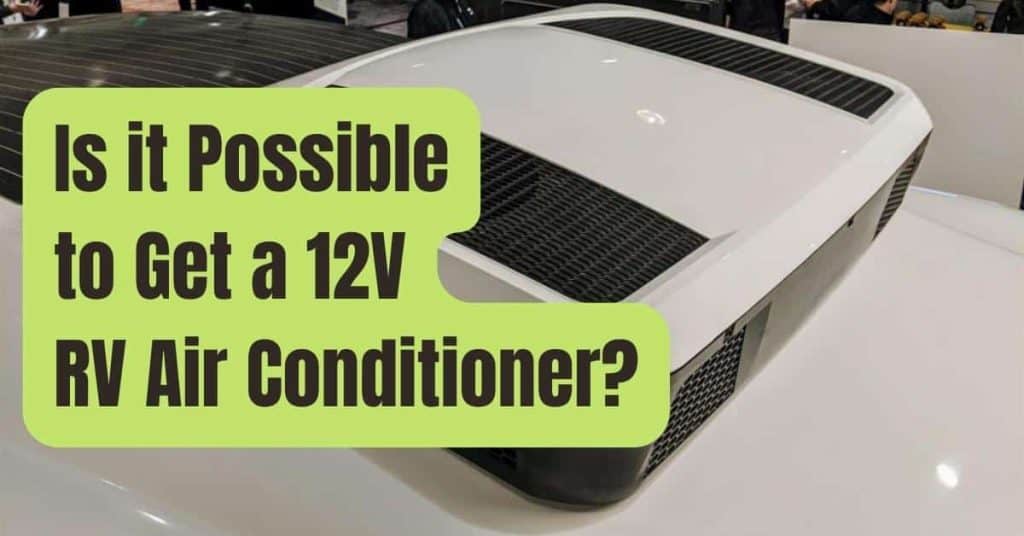
The real AC unit– where all of the sophisticated hot to cold conversion gizmos are stored– is on the roof of your RV, so if we get to the end of this article and still can’t get your AC to work, checking out that unit up top– safely– could be a possibility.
Just a heads up. When you walk up to inspect the unit or cover it in the winter, make sure your shoes aren’t spiked or have loose pebbles stuck in the soles so you don’t rip a hole through the top.
If you can get to your RV’s roof with a ladder, don’t stand in the middle of it; you could fall through the roof.
You got a free sunroof that you didn’t want, which was a horrible thing. Have it checked out by a professional.
This is how you get started, on a more serious tone.
To begin, make sure you have adequate electricity, either from a generator or a 30 or 50 amp outlet.
It will require a steady energy supply to provide your AC the power it needs to cool down your camper.
The AC will turn off if the camper’s battery is low or if it isn’t hooked into an outside outlet.
Be aware of how much electricity your air conditioner will use so you can ensure you have adequate power to support the function.
After you’ve connected in or started your generator, you may focus on the internal unit, which will allow you to start managing the weather in your RV.
There are two knobs on the surface of the internal AC unit that you will notice to alter the temperature.
The dials on your item may have slightly different wording, but the operation is the same. You’ll find settings like these for the first knob that controls the fans…
Fan speed: high/high
Low fan, low temperature, low temperature, low temperature, low temperature, low temperature, low
You’ll also notice a second knob that represents the heat and cold settings, often known as the thermostat.
To get the desired balanced setting, adjust both the fan and thermostat dials to the desired setting.
Because excessive temperatures without the proper quantity of air movement may shorten the life of your unit, I advised a balanced setting.
Like when your mother tells you not to listen to loud music because it would make you deaf? It’s the same notion… kind of.
But, as much as we love our Air Conditioners, we sometimes abuse them, reducing their life span or performance in our RV, so here are a few simple tips and tactics to get that unit up and running again!
Read more: Can You Recharge Your RV Air Conditioner and How Do You Do It?
2. Whoever is the first to turn on the AC gets the worm.
There are a few things you can do to gain a leg up on the competition when it comes to regulating heated temperatures.
Some RV owners keep their air conditioner running throughout the day while they are out and about if they are hooked into an outside outlet (at least 30-50 amps) or have enough electricity from their generator.
Instead of blasting the unit every few hours, this gives your camper more time to cool down, retain the nice temperature you enjoyed that evening, and use less electricity.
This will put a strain on both the device and yourself.
If you want to go even farther, switch on the air conditioner at night rather than during the day, since this helps the unit to keep the cool air circulating in your RV more continuously, saving you even more energy.
Overall, your unit will not have to exert as much effort in combating the sun. It may be a bit cold for you when you get up in the morning, but the objective is to keep it low and slow so that the cabin temperature is maintained rather than lava HOT or Arctic Cold Your RV will be refreshed by the time you arrive home after a long day.
Another option to use the fans is to use the “blast the AC technique,” which involves putting the fan on high, setting the temperature to the lowest level, and maybe leaving a door or window open for a bit. This will certainly give the air a boost, but don’t keep it on all the time since it consumes a lot of electricity.
Reduce the fan as well as the temperature after the cabin has begun to cool. If you don’t, your unit’s coils may freeze, causing it to malfunction or produce heated air.
It should be cool and pleasant by the time you return to your RV after attempting this. If not, here’s another suggestion!

3. Make sure your filters are clean.
If you’ve switched on your filter but no cold air is flowing through the vent or it’s low, it’s time to replace it. It’s possible that the filters/vents are clogged, or at the very least that the holes are blocked.
The filters may be mounted to the actual unit, with the dials off to the sides, depending on the RV you have. If not, there should be additional vents that may be removed along with the ceiling.
The technique for clearing them out is the same whether they are linked to the unit or not. Simply remove the grill (screws may or may not be present), shake off the dirt outside or discard it, and rinse with warm soapy water. Allow it to dry before replacing it in the vent.
It’s that simple! It will also extend the life of your filters, provide more precise temperature control, and help you conserve energy by reducing the amount of work the system has to do.
If your filters and temperature control are in fine working order but things are still not cooling down, here’s another idea to try!
4. You’re allowing the heat to stay in! Shut the Door!
We recognize that “keeping the door closed to keep the heat in” is quite useful in the cold. On the other hand, if you open the door, you’ll be able to cool things down, right? In the summer, though, your RV’s air conditioning system works a bit differently. Opening a window may not be the most effective way to keep your RV cool in the long run.
We indicated before that turning on the air conditioner and opening a door or window might assist for a short while, but your temperature will soon level off and you won’t be able to become much cooler. Because your unit will be drawing in hot air from outside rather than from within the cabin, you may still feel high temperatures inside.
As a result, shut the doors and windows! Another useful suggestion for ensuring that everything is covered up is to cover the windows that allow in the sunlight throughout the day. Pulling the blinds down or installing reflecting sun coverings in the windows is an easy repair.
RV outlet shops may have tiny reflecting pillows that you can tuck in there to keep the light out of the sun roof up top! That’s quite cool!
5. Dim the lights to a minimum!
We often overlook the fact that light bulbs produce a significant amount of heat. Have you ever had an Easy Bake Oven? Under one of those lights, you can bake a brownie! In any case, with all of your RV’s lights turned on, you may switch to LED lights to aid with heat transfer.
Let me clarify if it seems strange! Because technology is fantastic, a standard light bulb releases largely heat as its energy and just a little portion is truly light.
LED lights have been designed so that the majority of the energy that would have gone to heat is now concentrated on light, saving you energy and money in terms of how frequently and how much you spend changing your light bulbs.
This post has several tiny scientific courses, but the more you know, the better!
Read more: How to clean RV Air Conditioner?
The “What If Everything Else Fails” Strategy

Some RVs lack the energy required to run an air conditioner, since it takes a lot of electricity to keep one running. If you don’t have a means to connect to a power source, you will be heated throughout the duration of your journey.
I like becoming inventive in the spirit of MacGyver. I feel like there is always something that goes wrong or that you have to adjust to when I go camping, but there is no reason why we can’t outwit nature’s challenges. Here are a few suggestions to get you started!
- In the shadow of your campground, park. Even if there’s just partial shade, it will help you avoid a heat wave.
- Do activities throughout the day so you don’t have to deal with the heat in your RV for the whole day! Take a walk outdoors! Enjoy the weather while you’re there.
- Place yourself near a water source. You can go jump in the lake throughout the day and remain a little cooler if you do this.
- Remember that even a small amount of airflow, even if it is warm air, may assist in cooling our bodies. If you need to keep a window or door open to aid with circulation, do so!
- Bring a portable, battery-operated fan with you! That may be customized, or you can just remain in the main cabin while playing games.
- During the day, use your appliances like the oven, toaster, and microwave less.
- Switch on the fan! Most bathrooms have fans that assist in draining away moisture from showers, so leaving the door open and turning on the fan will help manage the air flow.
- If your RV has an awning or a shade feature, it will help keep things cool!


