A TV adds a touch of comfort and utility to any RV, whether it’s for watching your favorite programs or keeping up with the news and weather.
In a continually motion setting, though, you’ll need a well-secured mount to keep your TV in place.
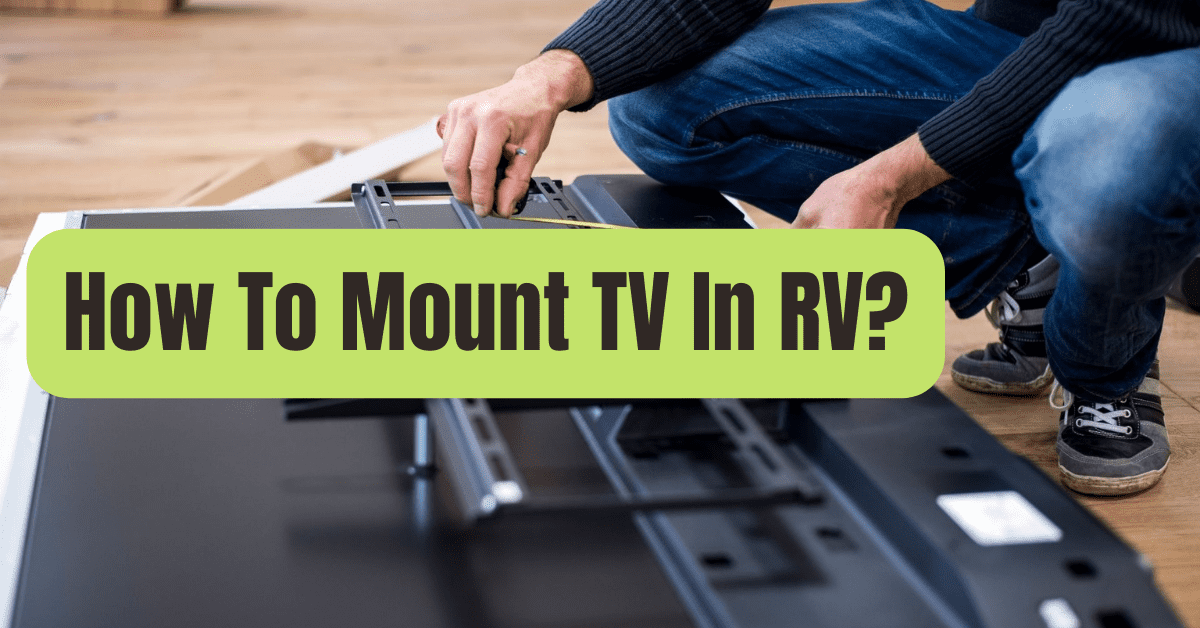
In this brief tutorial, we’ll teach you how to connect a TV mount to an RV wall, step by step, to keep it safe and secure.
Let’s get started!
What You Will Need To Install A TV Mount
Everything you’ll need to mount a TV to an RV wall is listed below.
Some supplies are required, while others are optional but highly advised to help the work go more smoothly.
TV Mount for RVs
RV TV mounts are built specifically for use in RVs and are advised if you want to keep your TV placed on the wall while traveling.
They include lockable swivel arms that keep the TV in position during transport and reduce vibration.
Perlesmith RV Lockable TV Wall Mount for Most 23-43″ Flat Screen TVs
Is it possible to utilize a standard TV mount in an RV? Yes, although it’s recommended that you remove the TV from the mount during travel if it has an adjustable arm that doesn’t lock.
Related: 5 Best RV Outside TV Mount of 2026
Drilling Using Power
What is the best way to screw into an RV wall? Using a standard screwdriver will work, but it will be time-consuming and tedious.
For a far more uncomplicated operation, we suggest using a power drill.
Drill Bits of Various Types
To drill pilot holes and drive the mounting screws, you’ll need masonry tools and a Phillips head bit.
Level
Putting your faith in your sight alone is a recipe for catastrophe.
You may prevent putting needless holes in your RV wall and a misaligned TV by using a level.
Related: How To Install A Flat Screen TV In An RV (Detailed Guide)
Stump Locator
A good, deep scanning stud finder can assist you in locating the optimum support points in your RV wall.
Your RV’s wall surface won’t be able to support the weight of your TV without a stud, and you might end up with an expensive mess.
However, in certain RVs, a stud finder may not operate as intended, therefore we’ve included some other stud-finding techniques below.
A Companion (Optional)
Having an additional set of hands to assist you transport the TV or hold items in place can make this process go much quicker and easier.
Adhesives Screwed (Optional)
For further stability, use industrial adhesive on your screws.
A little more help goes a long way in a constantly shifting setting like an RV.
Tape for painting (optional):
Mark your wall studs with painters tape after you’ve found them.
It’s easier to see, and there’s no need to scratch your wall!
Covers for Cables (Optional)
Route your wires through the RV wall or knot them up neatly and hide them under a table, stand, or other décor for a cleaner appearance.
Don’t worry if your RV’s layout prevents you from using these choices.
Cable covers that can be painted to match the color of your wall are a simple and cost-effective option.
Related: How To Remove TV From Wall Mount In RV?
How to Install a TV Mount
We’ll show you how to attach a TV to an RV wall in the steps below.
Check out our tutorial on how to install a flat screen TV in an RV if you want to put a new flat-screen TV in your existing TV box (where the old tube TV used to be) or beneath a cabinet.
Step 1. Position Your TV Mount
It might be difficult to modify the height and viewing angle of your TV after it’s been placed unless you purchased an adjustable mount.
Even with adjustable mounts, the amount you can raise, lower, and vary your TV’s viewing angle is restricted.
As a result, take your time while setting up your television.
Tip: Sit on the chair or bed where you’ll be watching TV and have someone hold the TV where you’ll be installing it to make sure it’s in the right place.
Step 2. Locate The Wall Studs
It’s time to locate the wall studs to mount your TV on after you’ve decided where you want it to go.
Some RV builders may attach a label on the wall indicating the placement of the TV backer.
That tag, in our experience, is not necessarily a reliable guide.
And it may not be in the exact spot where you want to put your TV.
So, until you discover a stud, move your stud finder around the broad vicinity of your selected site.
Mark its location with a pencil or painter’s tape.
Tip: If your stud finder allows it, check beyond the wall for any electrical wiring or plumbing.
In other words, whatever you don’t want to drill a hole in.
Can’t seem to find a stud?
Unfortunately, finding a stud in an RV wall may be tricky at times.
Here are a couple more options for finding those hard-to-find studs:
- Knock on the wall until a stud is discovered.
- For a print of where the studs are, contact the manufacturer.
- Use an infrared thermometer to check the temperature. If there is a significant temperature differential between the inside and the outdoors, this method works effectively. Because there is no insulation at the studs, you will notice a temperature differential as you scan the surface. Infrared thermometers may also be used to assess the temperature of the brakes and tires of the RV.
Etekcity Lasergrip Non-Contact Digital Laser Infrared Thermometer
Step 3. Drill The Pilot Holes
Use a level to keep the mount straight against the RV wall where it will be attached.
Mark the locations where the holes will be drilled.
Drill the pilot holes where you created the markings using the appropriate masonry bit.
This is a crucial step that should not be skipped.
Important: Pre-drilling holes might assist prevent the screw from shattering the wall when it’s being installed.
Step 4. Install The Mounting Bracket To Your Wall
Drill the mounting screws into the pilot holes while holding the mount against the wall.
Step 5. Connect The TV And The Mounting Plate
Remove any packing from the mounting plate attachment holes on your TV (if your TV has a stand, now is the time to remove it).
Then, using the provided hardware, mount the plate to the back of your TV.
Step 6. Mount Your TV To The Wall
Lift your TV, align the TV plate with the wall bracket, and attach them in the last step.
Important: Because TV mounts come in a variety of shapes and sizes, please follow the manufacturer’s recommendations for this stage.
You’re now ready to connect your TV to your RV’s RV antenna and/or satellite TV! If you have a smart TV, it’s already set up to connect to your wireless network.
Related: How To Mount A TV In An RV Bedroom?